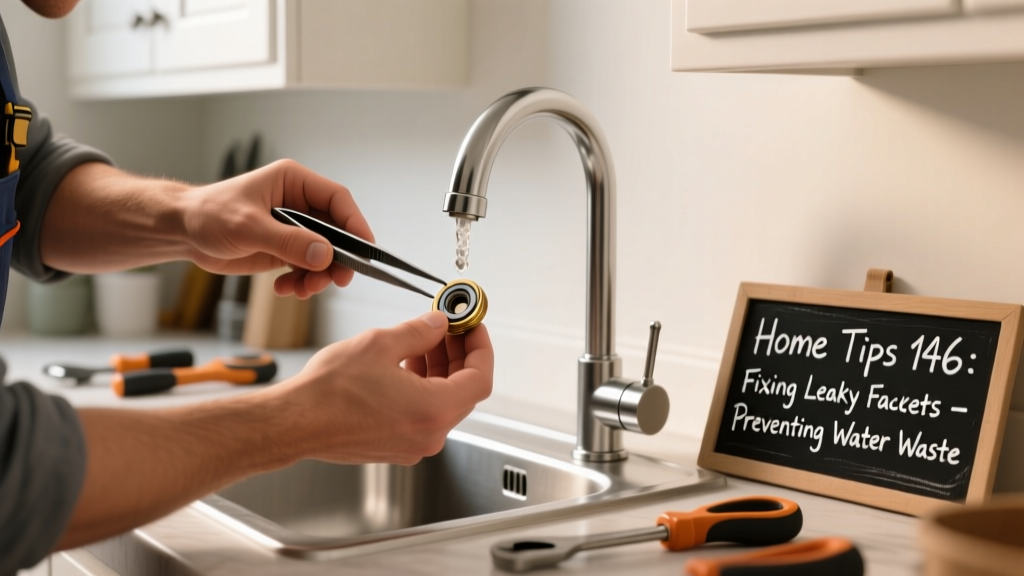
That drip-drip-drip isn’t just annoying—it’s costing you money and wasting water. A single leaky faucet dripping once per second wastes about 3,000 gallons annually, according to the U.S. EPA’s 2022 WaterSense report. Most kitchen and bathroom faucet leaks stem from worn cartridges, O-rings, or valve seats—not faulty plumbing.
Identify the Leak Source First
Before grabbing tools, observe where the drip originates. Is it coming from the spout? The handle base? Or only when the handle is turned? Each points to a different failure:
- Spout drip (even when off): Worn cartridge or ceramic disc—common in Moen and Delta single-handle models
- Drip at handle base: Compromised O-ring or compression nut—frequent in older two-handle faucets
- Leak only when turning on: Damaged valve seat or corroded washer—especially in brass-stem compression faucets
Turn off the shut-off valves under the sink first—don’t rely on the main house shutoff unless necessary. Use a flashlight and small mirror to inspect tight spaces behind the handle.
Replace Cartridges the Right Way
Cartridge-style faucets dominate modern kitchens and baths—but swapping them wrong causes cross-threading or misalignment. Moen 1225 and Delta RP50587 cartridges require exact orientation: the notched end must face upward, and the cartridge must slide fully into the valve body before tightening the retaining clip.
Use needle-nose pliers—not channel locks—to remove stubborn retaining clips. If the cartridge spins freely without resistance, the valve body itself may be cracked; replace the entire valve assembly (not just the cartridge).
"Over-tightening the retaining clip is the #1 cause of premature cartridge failure—hand-tight plus one-eighth turn max," says Ken L., lead technician at American Standard’s Service Training Center (2023).
Upgrade O-Rings with Silicone-Lubricated Variants
Standard rubber O-rings degrade fast under hot water and mineral buildup. Replace them with Viton or silicone-lubricated nitrile O-rings—they last 3× longer and resist calcium scaling. Measure the groove diameter with calipers: most bathroom faucet stems use 5/16" × 1/16" O-rings, while kitchen pull-downs often need 3/8" × 3/32".
Apply a pea-sized dab of silicone grease (not petroleum jelly) before installation. It prevents pinching and eases future removal. Keep a $6 O-ring assortment kit (O-ring kit guide) in your toolbox—it covers 95% of residential faucet sizes.
Quick Reference Checklist
| Tool/Part | When You’ll Need It | Notes |
|---|---|---|
| Adjustable wrench | Tightening compression nuts or mounting hardware | Avoid overtightening—snug + 1/8 turn past resistance |
| Hex key set (2–5 mm) | Removing decorative handle caps and set screws | Most Delta and Kohler handles use 3 mm; Moen uses 7/64" |
| Valve seat wrench | Replacing worn seats in compression faucets | Match seat type: flat, cone, or crown—use a dental mirror to verify |
| Silicone grease tube | Lubricating O-rings and cartridges | Never substitute with WD-40 or plumber’s grease |
Common Mistakes That Make Leaks Worse
Even experienced DIYers repeat these errors:
- Reusing old O-rings after cleaning—micro-tears are invisible but guarantee re-leak within days
- Forgetting to flush sediment from supply lines before reassembly—grit damages new cartridges
- Installing a cartridge upside-down—causes misaligned water channels and erratic flow
- Using Teflon tape on faucet internal threads—tape fragments clog aerators and cartridge ports
If your faucet still drips after replacement, check for debris in the aerator (clean aerator step-by-step). Clogged screens mimic internal leaks.
Why does my new cartridge leak immediately after installation?
It’s almost always misalignment or incomplete insertion. Remove the cartridge, inspect for burrs on the valve body, and ensure the alignment tab drops cleanly into its slot. If the cartridge feels stiff, don’t force it—re-seat and rotate gently until it clicks home.
Can I fix a leaking pull-down kitchen sprayer head myself?
Yes—90% of sprayer leaks come from a failed diverter valve inside the spout. Turn off water, unscrew the spout collar, and extract the diverter (often held by a single Phillips screw). Replace with OEM part—generic diverters rarely seal properly due to tolerance mismatches.
My bathroom faucet leaks only when I turn the hot handle—what’s wrong?
Hot-side-only leaks point to thermal expansion stress on the hot cartridge or a cracked valve seat. Check for white mineral deposits around the hot stem—those indicate localized overheating. Replace both hot and cold cartridges together, even if only one leaks; they wear at similar rates.
Is it worth repairing a 15-year-old faucet—or should I replace it?
Repair if parts are available and labor is under $40. But if the manufacturer discontinued cartridges (e.g., Price Pfister “Lindsey” series post-2012), replacement is smarter. Modern faucets use standardized cartridges and offer better flow control—plus many qualify for water-saving rebates.
How often should I replace O-rings in high-use faucets?
Every 18–24 months in hard-water areas (above 10 gpg), and every 36 months in soft-water zones. Set a calendar reminder when you replace your showerhead filter—it’s a good sync point.
Fixing a leaky faucet isn’t about perfection—it’s about consistency and correct parts. With the right O-rings, proper torque, and 20 minutes of focused work, you’ll stop the drip and save hundreds in water bills yearly. And if the leak returns in less than six months? Time to inspect your home’s water pressure—it may exceed 80 psi, accelerating wear across all fixtures.