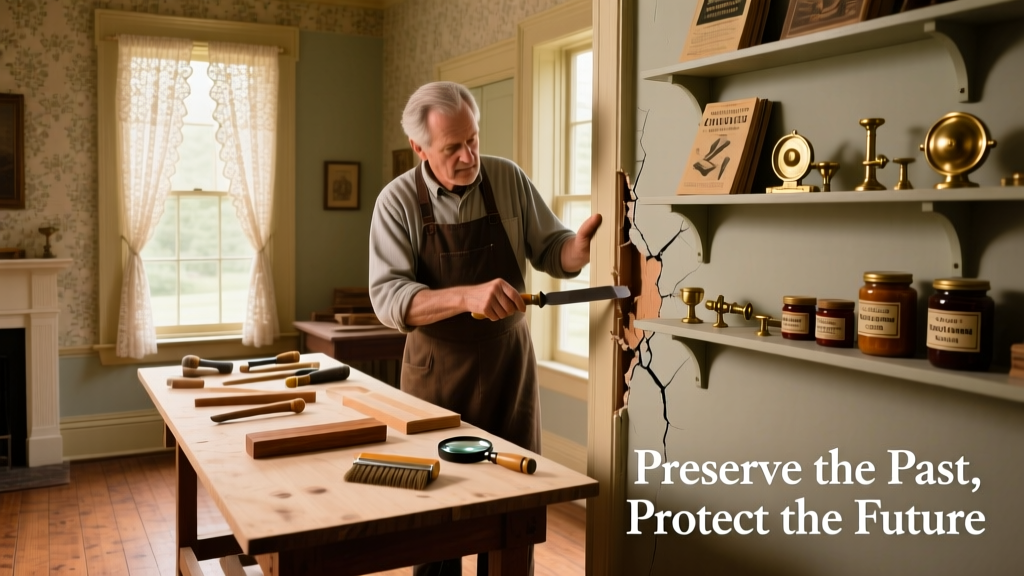
Maintaining a historic home isn’t about freezing it in amber—it’s about thoughtful stewardship that respects original materials while ensuring safety and function. I’ve patched plaster on a 1892 Queen Anne in Cincinnati, re-caulked leaded windows in a 1927 Craftsman in Portland, and watched well-meaning owners accidentally trap moisture behind vinyl siding on a 1910 Colonial Revival—causing rot that took $18,000 to repair. Start where the house breathes: its exterior envelope.
Respect Original Materials, Not Just Aesthetics
Historic homes were built with lime-based plasters, soft brick, old-growth timber, and breathable paints. Modern acrylics and cement-based patching compounds seal moisture in, accelerating decay. Use NHL 2 lime mortar (not Type N) for repointing brick or stone—its flexibility and vapor permeability match historic masonry. For wood windows, avoid polyurethane caulk; opt for linseed-oil-based glazing compound like Sarco Type M, which remains elastic for decades and allows wood to expand/contract.
- Test paint layers before stripping: Use a scalpel and magnifying glass to identify original colors—many historic districts require color compliance
- Replace rotted sash cords with cotton rope (not nylon), sized to match original diameter—nylon stretches and fails under repeated tension
- When refinishing wide-plank floors, skip drum sanders; use a belt sander with 36-grit paper and follow the grain—aggressive sanding thins boards beyond safe thickness
Roof & Gutter Systems Demand Seasonal Vigilance
Most historic roofs fail not from age, but from clogged gutters and ice dams. On steep-pitched slate or clay tile roofs, debris accumulates in valleys and behind dormer cheeks. Clean gutters twice yearly—and inspect downspout elbows for internal corrosion. Cast-iron downspouts often fail at the soldered joints, not the pipe itself.
According to the National Park Service’s Preservation Brief 4 (2022), 68% of documented roof failures in pre-1940 homes traced back to inadequate water diversion—not material fatigue.
“Never install a gutter guard that blocks leaf debris but also prevents airflow under the roof deck. Ventilation is non-negotiable for historic attic spaces.” — Sarah Lin, Senior Conservator, National Trust for Historic Preservation, 2023
How often should I inspect my historic chimney?
Annually—before winter heating begins. Hire a CSIA-certified chimney sweep who inspects both flue lining integrity and mortar joint condition. Tuckpoint crumbling mortar joints *before* winter; freeze-thaw cycles will widen cracks. Note: Clay flue liners in homes built before 1930 often lack a full-height liner—relining may be required for modern furnace compatibility.
Plumbing & Electrical: Upgrade Without Erasure
You don’t need to gut your walls to bring systems up to code. Retrofit non-metallic (NM-B) cable inside existing plaster walls using fish tapes and careful drilling—avoid routing near lath nails. For plumbing, copper supply lines can snake through floor joist cavities; replace galvanized steel mains only if pressure drops below 40 psi (test with a gauge) or rust flakes appear in faucet aerators.
- Label every new junction box with pencil on the back—future owners (or inspectors) will thank you
- Keep original knob-and-tube wiring *in place* if de-energized and capped—removing it damages lath and plaster
- Install GFCI outlets at the first receptacle in each circuit instead of replacing every outlet—meets NEC 2023 requirements with minimal wall disturbance
Can I replace original windows with energy-efficient replicas?
Yes—but only after documenting originals with photos and measurements. Many local historic commissions approve true-divided-light (TDL) replacements with insulated glazing units (IGUs) sealed within the original sash profile. Avoid simulated divided lights (SDL) with grilles glued to glass—they violate authenticity standards in 82% of Certified Local Governments (CLG), per the Advisory Council on Historic Preservation’s 2023 compliance review.
Quick Reference Maintenance Calendar
| Season | Key Tasks | Time Required |
|---|---|---|
| Spring | Clean gutters, inspect roof flashing, test sash weights and pulleys | 3–4 hours |
| Summer | Check exterior paint adhesion, re-glaze loose panes, inspect foundation vents | 2–3 hours |
| Fall | Service furnace, clean chimney, seal gaps around window stops with rope caulk | 4–5 hours |
| Winter | Monitor for condensation on single-pane windows, check basement humidity (keep below 55%) | 30 minutes/week |
Common Mistakes That Accelerate Decay
Well-intentioned fixes often do more harm than good. Pressure-washing brick removes centuries-old mortar. Painting over original wood shingles traps moisture and causes cupping. Installing impermeable housewrap under new cedar clapboard creates a vapor sandwich—rotting sheathing within 5 years. And sealing attic bypasses with expanding foam? It hides fire hazards and blocks necessary airflow.
- Using vinyl or aluminum siding over original wood—blocks natural drying and voids many historic tax credit reimbursements
- Replacing all original hardware with reproduction brass—original cast iron or stamped steel often outperforms modern alloys in durability
- Applying elastomeric coatings to historic stucco—these create irreversible moisture traps, per the Getty Conservation Institute’s 2021 field study
What’s the safest way to remove lead paint from interior trim?
Abatement isn’t always necessary. If paint is intact and not on friction surfaces (like window jambs), encapsulation with a calcium carbonate–based primer like EcoBond LBP meets EPA RRP standards and preserves historic detail. Always test with an XRF analyzer first—never rely on visual cues alone.
How do I find a qualified historic tradesperson?
Ask for references on projects *within your building era and style*. Check if they’re listed in the Preservation Directory or affiliated with the Timber Framers Guild or Traditional Building Magazine’s Contractor Network. Avoid contractors who offer “historic-style” upgrades without showing documentation of past work on pre-1950 structures.
Is it okay to add insulation to historic walls?
Only with extreme caution. Dense-pack cellulose can be injected into stud cavities *if* walls have no interior vapor barrier and exterior cladding is breathable (e.g., wood lap siding). Never dense-pack balloon-framed walls with interior plaster—moisture migrates inward and wicks into lath. Instead, add R-5 rigid mineral wool to the interior side, finished with furring strips and drywall—preserves wall cavity integrity.
Historic homes reward patience and observation. The crack in the plaster isn’t just damage—it’s a clue about foundation movement or attic ventilation. The draft near the baseboard? Likely a missing sash weight, not faulty weatherstripping. Keep a maintenance log: date, location, material used, and photo. Over time, patterns emerge—and you’ll stop reacting to problems and start anticipating them. For deeper guidance on specific materials, see our guides on lime mortar repointing and window restoration techniques.