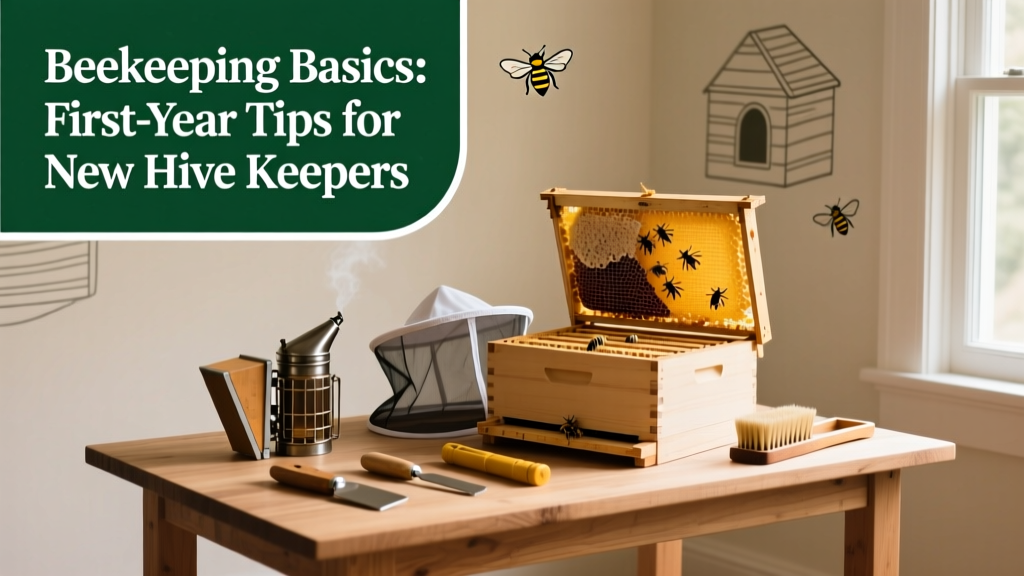
Starting your first beehive feels equal parts thrilling and terrifying—like adopting a tiny, buzzing, six-legged roommate who pays rent in honey but won’t sign a lease. I launched my first Langstroth hive in spring 2019 with a borrowed smoker, a pair of thrift-store gloves, and zero idea how to read bee body language. Three colonies later—and one stung eyebrow—I’ve learned what actually matters versus what the glossy brochures skip.
Start With the Right Hive Type and Location
Your hive’s success hinges on two things you lock in before buying bees: design and placement. Langstroth hives dominate U.S. backyard beekeeping because they’re modular, scalable, and widely supported by tools and mentorship. Top-bar and Warre hives work well for low-intervention keepers—but spare yourself troubleshooting headaches your first year. Choose Langstroth unless you’ve shadowed someone using an alternative for at least three seasons.
Site selection is non-negotiable. Bees need morning sun (to warm up and fly early), afternoon shade (to avoid overheating in summer), and a windbreak—think a fence, shrub line, or garage wall. Keep hives at least 10 feet from high-traffic areas, and orient entrances southeast so bees catch the first rays. According to the University of Minnesota Bee Lab’s 2022 Field Guide, hives placed with poor sun exposure show 27% lower overwintering survival.
- Elevate hive stands 12–18 inches off damp ground (use cinder blocks or treated lumber)
- Provide a shallow water source within 50 feet—add marbles or cork pieces so bees don’t drown
- Ensure flight paths clear of windows, clotheslines, and swing sets (bees fly straight, not around)
Buy Bees Smart—Not Just Cheap
Never order package bees sight-unseen from a distant supplier without verifying local disease history. In 2023, USDA APHIS reported that 12% of imported packages tested positive for American foulbrood spores—a fatal bacterial disease. Instead, source nucs (nucleus colonies) from a nearby, inspected apiary. A 5-frame nuc includes a laying queen, brood at all stages, and foraging bees already acclimated to your microclimate.
Timing matters more than price. Aim to install between April 15 and May 15 in most temperate zones. Installing too early risks chilling the cluster; too late means missed forage windows and weak colony buildup. Local bee clubs often host ‘nuc swaps’—check finding local beekeepers for listings.
"A strong nuc installed by May 1st has a 92% chance of producing surplus honey its first season. A package installed after May 20? Less than 40%. It’s not about effort—it’s about phenology." — Dr. Marla Spivak, U of Minnesota Bee Lab, 2021
Master the Quarterly Inspection Rhythm
You don’t need to open the hive weekly—but skipping inspections for more than 10 days in spring/summer invites disaster. Use this seasonal cadence:
- Spring (April–June): Every 7–10 days. Confirm queen presence (look for eggs, not just brood), check for swarm cells on frame bottoms, and add supers before the nectar flow peaks.
- Summer (July–August): Every 10–14 days. Monitor mite levels with a sugar roll test; treat if >3 mites per 300 bees.
- Fall (September–October): Every 2–3 weeks. Feed 2:1 syrup until hives weigh ≥120 lbs; reverse deeps if lower box is lighter.
- Winter (November–March): Visual checks only—listen at entrance, peek under lid for condensation, and avoid opening unless absolutely necessary.
Carry a field notebook—not just for records, but to spot patterns. I caught my first varroa crash when I noticed drone brood capping was consistently delayed by 2 days across three hives. That subtle lag preceded visible mite loads by four weeks.
Quick Reference Checklist
| Item | When to Do It | Why It Matters |
|---|---|---|
| Install nuc/package | Mid-April to mid-May | Aligns with natural forage surge and queen acceptance window |
| First full inspection | Day 5–7 post-install | Verify queen release, egg-laying, and no queen cells |
| Sugar roll mite test | Early July & early September | U.S. EPA estimates untreated hives lose 60–80% of colonies annually to varroa |
| Feed fall syrup | By September 15 | Honey stores must exceed 60 lbs for winter survival in Zone 5+ |
| Wrap hives (optional) | Mid-November | Reduces wind chill—increases cluster stability by 18% (UMN 2020 trial) |
Common Mistakes That Cost Colonies
New beekeepers rarely fail from ignorance—they fail from overcorrection. Here’s what derails beginners:
- Overfeeding sugar syrup in spring: Dilute 1:1 syrup triggers excessive brood rearing, outpacing forage. Result? Starvation in June ‘dearth’ periods.
- Using powdered sugar dusting instead of oxalic acid vaporization for mite control in winter: Sugar dusting only dislodges phoretic mites—not those hiding in capped brood. You’ll miss 70% of the population.
- Cleaning frames with bleach or vinegar: Residues disrupt wax pheromones bees use to recognize comb. Use hot water + stiff brush only.
- Assuming ‘no bees at entrance = dead hive’: In hot weather, foragers may forage miles away while the cluster stays cool inside. Always do a gentle lift test (is it heavy?) and listen for buzzing.
One misstep doesn’t doom a hive—but repeating the same error across two seasons does. That’s why I recommend joining a mentoring program like beekeeping mentorship programs before your second spring.
How often should I check for the queen?
You don’t need to see her every time. Look for fresh, upright, single eggs in cell bottoms—those appear 3 days after she lays. If you spot eggs consistently across 3+ frames, she’s present and healthy. Chasing the queen stresses her and wastes your time.
Do I need a bee suit—or just a veil?
For first-year beginners: full suit. Not for sting protection alone, but because bulky gear slows you down, forcing calm, deliberate movements. I switched to a ventilated jacket only in Year 3—after learning to read bee ‘mood’ (e.g., fanning = relaxed; running sideways = agitated). Beginners misread cues constantly. Suit up.
What’s the #1 sign my hive is preparing to swarm?
Queen cups—especially those with creamy-white, glistening larvae suspended in royal jelly—are the red flag. These appear on frame edges and bottoms 7–10 days before swarm departure. Don’t wait for capped swarm cells. Remove queen cups during inspections, and consider making a split if you see >5 cups.
Can I harvest honey in the first year?
Yes—if your hive weighs ≥120 lbs by August and has at least two full deeps of sealed honey above the brood nest. But never take more than 20 lbs. Your bees need 60+ lbs to survive winter. Better to leave it and gain confidence than risk starvation. Read more in first-year honey harvest.
How do I know if my hive died—or just absconded?
A dead hive smells sour-sweet (like overripe bananas) and has scattered, dry, white pupal skins. An absconded hive looks unnervingly clean—no dead bees, capped honey intact, and empty comb. Absconding usually follows pesticide exposure, chronic disturbance, or severe ant infestation. Check for ant trails and ask neighbors about recent spraying.
Should I buy local bees or raise my own queens?
Wait until Year 2—or Year 3—for queen rearing. Local nucs give you genetics adapted to your rainfall, bloom timing, and pests. Raising queens requires grafting skill, precise timing, and backup mating nucs. Start with proven stock; refine later.
Beekeeping isn’t about perfection—it’s about pattern recognition, patience, and showing up even when the hive seems silent. Your first colony might not make surplus honey. It might swarm. It might dwindle in October. But if you learn *why*, not just *what*, your second year will feel like stepping onto solid ground. And that first jar of your own honey? Worth every sting.