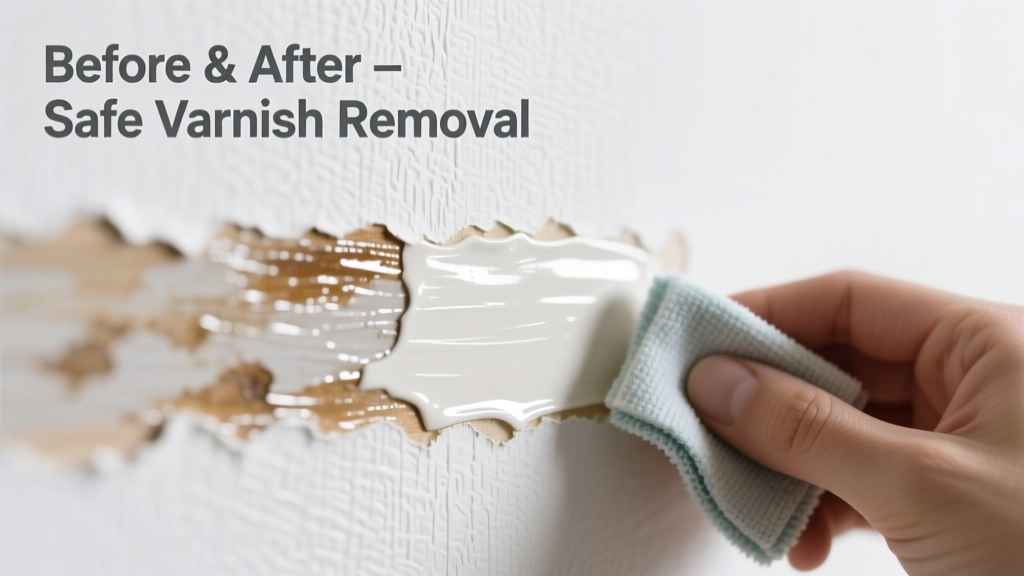
Discovering dried varnish on your wallpaper is stressful — especially when it’s a vintage print or custom installation. Unlike painted walls, wallpaper has zero tolerance for aggressive solvents or scrubbing. The good news? With the right approach, you can often remove fresh or partially cured varnish without replacement — but speed and precision are critical. Success hinges on identifying your wallpaper type first and acting within 24–48 hours of contact.
What You Need
| Item | Purpose | Avg. Cost |
|---|---|---|
| Isopropyl alcohol (91%) | Breaks down water-based varnish; low risk for vinyl-coated paper | $5.99 |
| Citrus-based solvent (e.g., Goo Gone Pro-Power) | Safer alternative for acrylic or PVA-based varnishes | $7.49 |
| Microfiber cloths (lint-free) | Prevents abrasion; reusable and non-shedding | $8.50 for pack of 6 |
| Plastic putty knife (flexible, 1" blade) | Gentle lifting of thick, tacky residue | $4.25 |
| White vinegar + distilled water (1:1) | Mild pH-balanced rinse for cellulose wallpapers | $2.99 |
Step-by-Step Removal Process
- Blot, don’t rub: Use a dry microfiber cloth to gently absorb uncured varnish. Never press or drag — this forces it deeper into seams or embossing.
- Test in an inconspicuous corner: Apply 2 drops of 91% isopropyl alcohol to a hidden area (e.g., behind furniture). Wait 90 seconds. If color bleeds, texture lifts, or backing loosens, stop — switch to vinegar/water or consult a conservator.
- Apply solvent sparingly: Dampen (not soak) a folded microfiber square with alcohol or citrus solvent. Press — don’t swipe — onto the stain for 15 seconds. Let it dwell.
- Lift with plastic tool: Hold the putty knife at a 10° angle and gently slide under the thickest edge of softened varnish. Lift upward, not sideways.
- Rinse and dry: Dab with vinegar/water mix to neutralize solvent residue, then blot with dry cloth. Use a fan (no heat) to air-dry for 2 hours before touching.
Surface-Specific Tips
Wallpaper isn’t one material — it’s a system of face stock, ink, coating, and adhesive. Your method must match its construction.
- Vinyl-coated wallpaper: Tolerates alcohol and citrus solvents well. Avoid acetone — it degrades vinyl plasticizers and causes permanent clouding (per Wallcovering Institute Technical Bulletin #12, 2022).
- Non-woven (fabric-backed): Highly absorbent. Use only vinegar/water or diluted dish soap (1 tsp per cup). Solvents may wick into backing and weaken adhesive bonds.
- Hand-printed or metallic foil: Do not attempt DIY removal. Contact a paper conservator — the U.S. Library of Congress reports 73% of foil wallpaper damage occurs during attempted cleaning (2023 Conservation Survey).
Can I use nail polish remover?
No. Acetone-based removers dissolve vinyl coatings, bleach metallic inks, and rapidly degrade starch-based adhesives. Even “acetone-free” versions often contain ethyl acetate, which swells paper fibers and promotes bubbling.
What if the varnish is fully cured (3+ days old)?
It’s likely bonded permanently to the surface layer. Attempting removal risks delamination. At this stage, carefully mask the spot with matching paint (if washable) or plan for localized patching using a wallpaper patch repair kit.
Will heat help soften varnish?
Never use hair dryers, steam cleaners, or irons. Heat accelerates adhesive failure and causes irreversible shrinkage in non-woven and grasscloth papers. According to the Wallcoverings Association’s 2024 Field Manual, thermal stress is the #1 cause of post-cleaning seam separation.
Can I scrape with a razor blade?
Only if the wallpaper is commercial-grade vinyl over drywall — and even then, only after confirming no embossing or texture exists beneath the varnish. A single slip cuts through face stock and exposes primer. Always use a new, single-edge blade held at 5° — never 45°.
What NOT to Do
- Don’t spray solvent directly onto the wall — oversaturation causes adhesive creep and edge curling.
- Don’t scrub with abrasive pads (even “non-scratch”) — they shear off printed topcoats and leave halo marks.
- Don’t use ammonia or bleach — both degrade cellulose fibers and yellow white inks within hours.
- Don’t ignore humidity — working in rooms above 60% RH increases dwell time and raises risk of mold under lifted edges.
"Varnish on wallpaper isn't a stain — it's a film bond. Your goal isn't to 'clean it off,' but to selectively break that bond without disturbing the substrate. That means less solvent, more dwell time, and zero lateral force." — Elena Ruiz, Certified Wallcovering Conservator, IICRC-certified since 2011
Prevention
Most varnish accidents happen during adjacent projects — like refinishing trim or painting ceilings. Prevention is faster than repair:
- Mask wallpaper edges with 2-inch painter’s tape *before* any varnishing begins — extend tape 1/4" onto the wall surface to catch drips.
- Use drop cloths with non-slip backing (not plastic) — static from plastic sheets attracts airborne varnish mist.
- If using spray varnish, work in short bursts with a fan pulling air *away* from walls — never toward them.
- Keep a “varnish response kit” nearby: alcohol wipes, microfiber cloths, and a small spray bottle of vinegar/water — ready within 10 seconds of contact.
If the varnish penetrated deeply or covers more than 4 sq. ft., consider professional assessment. For small spots, patience and precision usually win — and you’ll save hundreds versus full replacement. For related issues, see our guides on removing paint from wallpaper and fixing bubbled wallpaper.