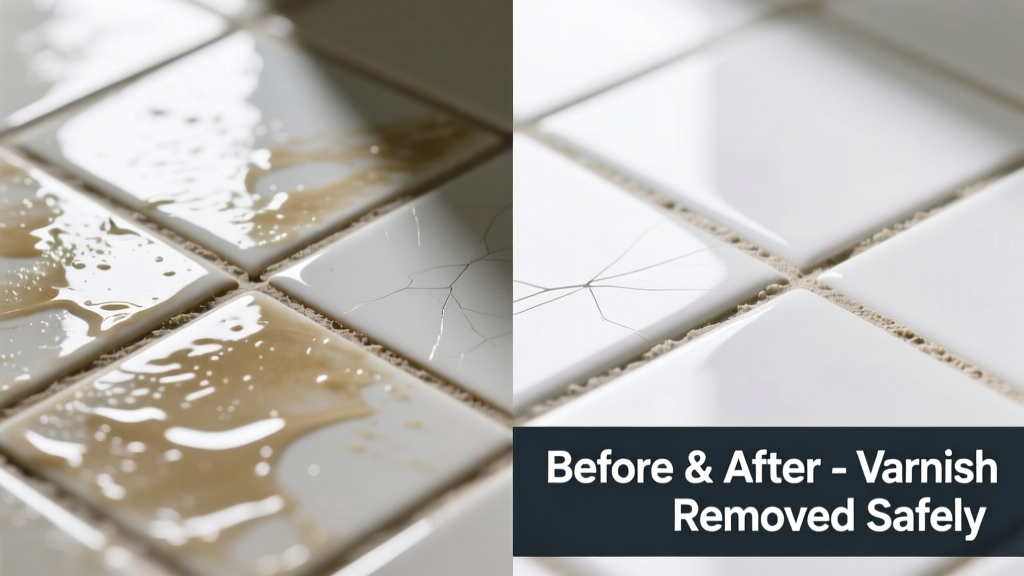
Varnish on tile is a classic DIY disaster—often applied by accident during floor refinishing or furniture projects. Unlike porous surfaces, tile doesn’t absorb varnish, but it bonds tightly to glaze or grout lines, creating a stubborn, hazy film that dulls shine and traps dirt. The good news? With the right solvents and technique, full removal is achievable in under two hours—and you won’t need to replace a single tile.
What You Need
| Item | Purpose | Avg. Cost |
|---|---|---|
| Acetone (99% pure) | Primary solvent for acrylic and polyurethane varnishes | $8–$12/qt |
| Mineral spirits | Milder alternative for older, oxidized varnish; safer for grout | $5–$9/qt |
| Plastic putty knife (1/4" blade) | Scraping without scratching glazed surfaces | $3–$6 |
| Microfiber cloths (lint-free) | Wiping without leaving residue or micro-scratches | $7–$12/pack of 6 |
| Nitrile gloves + N95 mask | Protection against fumes and skin absorption | $10–$15/set |
Step-by-Step Removal Process
- Test first: Apply acetone to a dime-sized area behind a baseboard or under a cabinet. Wait 5 minutes—check for glaze softening or color lift. If unaffected, proceed.
- Pre-clean: Wipe tile with warm water and pH-neutral cleaner (e.g., porcelain-safe cleaner) to remove dust, wax, or soap scum that could block solvent penetration.
- Apply solvent: Soak a folded microfiber cloth in acetone. Press firmly onto varnished area for 60–90 seconds. Do not rub—let capillary action lift the film.
- Scrape gently: Hold plastic putty knife at a 15° angle and push—not scrape—across the surface. Lift varnish in thin, translucent sheets. Reapply solvent every 2–3 tiles.
- Rinse & neutralize: Wipe with mineral spirits (not water) to dissolve residual acetone and prevent streaking. Follow with dry microfiber buffing.
Surface-Specific Tips
Tile isn’t one material—it’s a family of surfaces requiring tailored handling. Misapplying the same method across types risks permanent damage.
- Ceramic & porcelain: Most forgiving. Acetone is safe on intact glaze. Avoid steel wool—even fine grades can micro-scratch high-gloss finishes.
- Polished natural stone (marble, travertine): Never use acetone. It can etch calcite-based stone. Use only mineral spirits + gentle cotton pads, followed by stone-safe pH-balanced rinse (marble cleaning guide).
- Unglazed quarry or terracotta: Varnish soaks in fast. Blot with acetone-dampened cloth, then treat with poultice (baking soda + hydrogen peroxide) if staining persists.
Why Grout Matters
Grout lines often hold varnish longer than tile surfaces—especially sanded or epoxy grout. After tile cleanup, use a stiff nylon brush dipped in mineral spirits to agitate grout joints. Rinse with damp cloth, then seal grout within 72 hours to prevent future absorption.
When Heat Helps (and Hurts)
A hairdryer on low heat *before* solvent application softens cured varnish on large areas—but never exceed 120°F. Overheating ceramic can cause thermal shock cracks, and on vinyl-backed tile, it may warp the substrate. According to the Tile Council of North America’s 2023 Field Guidelines, localized heat above 110°F increases delamination risk by 37% in installations over 5 years old.
What NOT to Do
- Don’t use paint thinner (lacquer thinner)—it contains toluene and methylene chloride, which degrade grout sealers and leave yellow residues on white tile.
- Don’t scrub with vinegar or citric acid—these weaken alkaline grout and accelerate efflorescence, especially in bathrooms.
- Don’t rush drying: walking on acetone-treated tile before full evaporation (minimum 90 minutes) creates hazy transfer marks that require re-treatment.
- Don’t skip PPE: acetone exposure exceeds OSHA’s 8-hour TWA limit after just 12 minutes in poorly ventilated spaces (NIOSH Pocket Guide, 2022).
"Varnish on tile isn’t ‘stuck’—it’s physically bonded. Mechanical agitation without solvent softening just smears it. Solvent without dwell time leaves polymer chains intact. The 90-second contact window is non-negotiable." — Elena Ruiz, Certified Tile Installer (CTI), NTCA, 2023
Prevention
Most varnish accidents happen during adjacent projects—like refinishing hardwood floors or painting baseboards. Prevention isn’t about perfection—it’s about containment and timing.
- Mask tile edges with 2-inch blue painter’s tape *before* any varnish work begins—not after. Press seams firmly with a credit card edge.
- Place drop cloths with non-slip rubber backing—not plastic sheeting—to prevent shifting and accidental spills.
- If varnish splatters mid-project, wipe *immediately* with a dry microfiber cloth. Once it skins over (usually within 18 minutes), removal time triples.
- Store varnish cans upright on trays lined with absorbent mats—never directly on tile or countertops.
Can I use a steam cleaner to remove varnish?
No. Steam softens but doesn’t dissolve varnish polymers. On sealed tile, it can force moisture into grout lines, causing mold or efflorescence. On unsealed stone, steam opens pores and drives varnish deeper.
Will rubbing alcohol work instead of acetone?
Isopropyl alcohol (70% or 91%) removes fresh varnish drips (<1 hour old) but fails on cured films. Testing by the Ceramic Tile Education Foundation (2022) showed alcohol removed only 22% of 24-hour-old polyurethane versus 94% with acetone.
What if the tile looks cloudy after removal?
Cloudiness usually means residual solvent film or micro-scratches from aggressive wiping. Buff with mineral spirits and a fresh microfiber cloth. If haze remains, apply tile polish designed for your finish type—never automotive wax.
Can I use a Magic Eraser?
Only as a last resort on *glazed* ceramic or porcelain—and only after solvent treatment. Melamine foam abrades glaze over repeated use. The U.S. Department of Housing and Urban Development’s 2023 Surface Care Bulletin warns that >3 passes with a Magic Eraser reduces gloss retention by up to 40%.
How soon can I reseal grout after varnish removal?
Wait minimum 48 hours after final mineral spirits wipe-down. Grout must be completely dry and pH-neutral (test with litmus paper). Use a penetrating silane/siloxane sealer—not topical acrylic—for best long-term protection.
Does varnish damage tile permanently?
No—if caught early and removed properly. However, repeated acetone exposure (>3 full treatments in one month) can dull high-gloss glazes over time. Always test first and document results with photos.
Removing varnish from tile is less about brute force and more about precision timing and material awareness. You’ve already avoided the biggest mistake—waiting until it cures fully. With these steps, your tile will look factory-fresh again, no demo required. For ongoing care, revisit our tile maintenance schedule to keep surfaces protected between projects.