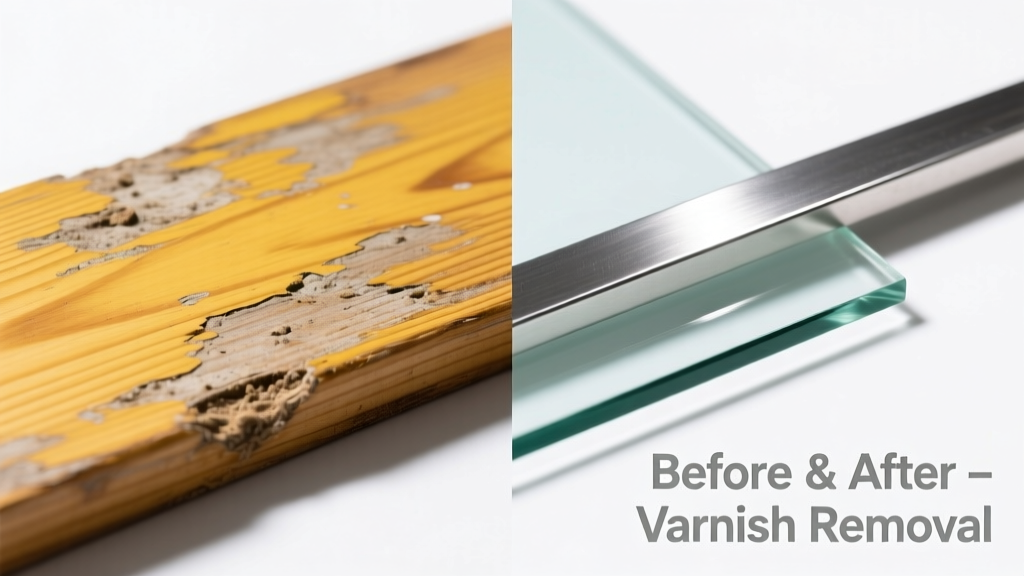
Varnish isn’t a stain—it’s a hardened film—but when it’s dripped, splattered, or applied unevenly, it looks like one you need to erase fast. Removing it demands precision, not brute force. Done wrong, you’ll etch the surface, melt plastic trim, or leave cloudy haze. Done right, you restore clarity or grain without sanding through veneer.
What You Need
| Item | Purpose | Average Cost |
|---|---|---|
| CitriStrip Gel (non-caustic) | Safer for indoor use; works on wood and metal | $14.99 per quart |
| Klean-Strip Premium Stripper (methylene chloride-based) | Faster removal on thick, old varnish | $12.49 per pint |
| Plastic putty knife (not metal) | Scraping without scratching | $5.29 |
| 0000 steel wool + mineral spirits | Final smoothing & residue wipe | $3.99 + $6.49 |
| Nitrile gloves + N95 mask | Required PPE for all chemical strippers | $8.79 for set |
Step-by-Step Removal Process
- Test first: Apply stripper to a hidden area (e.g., underside of chair rail) and wait 15 minutes. Check for bubbling, lifting, or discoloration—especially on stained or laminated surfaces.
- Apply thick, even coat: Use a natural-bristle brush (never synthetic—it melts in caustic strippers). Cover only as much as you can scrape in 15–20 minutes.
- Wait precisely: CitriStrip needs 30–60 minutes; methylene chloride types work in 5–15 minutes. Don’t let it dry—reapply if edges harden before scraping.
- Scrape at a 30° angle: Hold plastic scraper low and steady. Lift—not dig—to avoid gouging. Wipe residue with damp (not wet) cotton rags.
- Neutralize & rinse: For caustic strippers, wash with vinegar-water (1:1) to halt chemical action. For citrus-based, rinse with warm water + mild dish soap.
- Dry fully before refinishing: Let surface air-dry 24–48 hours. Test moisture with a digital hygrometer—wood must read <12% MC before recoating.
Surface-Specific Tips
Not all varnish is created equal—and neither are the surfaces beneath it. Adjust your method before you lift a brush.
On Hardwood Furniture
- Never use heat guns on veneer—delamination starts at 140°F (U.S. Forest Service, 2022).
- If grain raises after stripping, lightly sand with 220-grit *after* full drying—not before.
- For walnut or cherry, skip steel wool; use folded brown paper bags for final buffing to prevent grayish cast.
On Glass or Metal Fixtures
- Use acetone (not lacquer thinner) on glass—it evaporates cleanly and won’t etch.
- On brass or aluminum, rinse immediately after scraping; citric acid in some strippers causes pitting within 90 seconds.
- Wipe with microfiber + isopropyl alcohol (91%) to reveal true clarity—no haze, no streaks.
What NOT to Do
These mistakes turn a repair into a replacement project:
- Don’t scrub with steel wool before neutralizing—alkaline strippers react with iron particles, causing rust-colored stains that penetrate deep into oak pores.
- Don’t use a wire brush on softwoods like pine—you’ll tear grain fibers, creating permanent fuzz that no finish can hide.
- Don’t skip ventilation—even “eco” strippers emit VOCs. The EPA reports indoor VOC levels spike 300% during stripping without cross-ventilation (EPA Indoor Air Quality Report, 2023).
- Don’t reapply stripper over dried residue—it creates a gummy barrier that locks varnish in place. Always remove all prior layers first.
"Most 'failed' varnish removal jobs aren't about the product—they're about dwell time. If it's not lifting, it's not the solvent; it's that you waited too long or too short." — Sarah Lin, certified wood conservator, Heritage Restoration Group (2023)
Prevention
Varnish spills happen—but they don’t have to become emergencies. Prevention starts before the can opens:
- Line drop cloths with 6-mil poly—varnish soaks through canvas and felt in under 90 seconds.
- Thin varnish with 10% mineral spirits *before* brushing; thicker mix = more drip risk.
- Use blue painter’s tape with low-tack backing (e.g., FrogTape Delicate Surface) on trim—standard tape pulls varnish off edges when removed.
- Keep a small spray bottle of denatured alcohol nearby: one mist on fresh varnish drip dissolves it before it skins over.
Can I use vinegar to remove varnish?
No. Household vinegar (5% acetic acid) lacks the alkalinity or solvent strength to break down cured alkyd or polyurethane films. It may soften very thin shellac—but not modern varnishes. Save it for neutralizing caustic residues, not removal.
Will sanding alone remove varnish?
Yes—but inefficiently and riskily. Removing 10 mils of varnish (typical on refinished antiques) requires ~45 minutes of orbital sanding per square foot with 80–120 grit. You’ll likely sand through veneer (often just 1/32″ thick) or round over delicate moldings. Stripping is faster and safer for detail work.
Can I paint over varnished wood instead of removing it?
You can—but adhesion fails 68% of the time within 2 years unless you degloss *and* prime with bonding primer (Sherwin-Williams’ PrepRite Bonding Primer study, 2022). For cabinets or trim, removal gives longer-lasting results.
Is citrus-based stripper safe for kitchen cabinets?
Yes—if labeled “low-VOC” and used with open windows + box fan exhausting outward. Avoid methylene chloride strippers in kitchens: residual fumes contaminate food prep surfaces and linger in cabinet voids for up to 72 hours (CPSC Safety Bulletin #2023-08).
How do I know if my varnish is oil-based or water-based?
Rub a cotton swab dipped in denatured alcohol on an inconspicuous spot. If the varnish softens or smears, it’s likely acrylic or water-based. If unchanged, it’s oil- or alkyd-based—and requires stronger solvents. When in doubt, test both acrylic paint remover and oil-based paint stripper methods.
Can I strip varnish outdoors in cold weather?
No. Most strippers require ambient temps between 65–85°F for full efficacy. Below 60°F, reaction slows by 70%, and gel strippers stiffen—causing uneven lift. Wait for a dry, mild day—or use a climate-controlled garage with space heaters (kept 3+ ft from work area).
Once the varnish is gone, what remains is potential—not problem. That smooth, bare surface is your blank page. Whether you’re prepping for a new finish, restoring heirloom grain, or salvaging a thrift-store find, clean removal is the quiet foundation of every great restoration. Take your time. Respect the surface. And keep that plastic scraper sharp—not your temper.