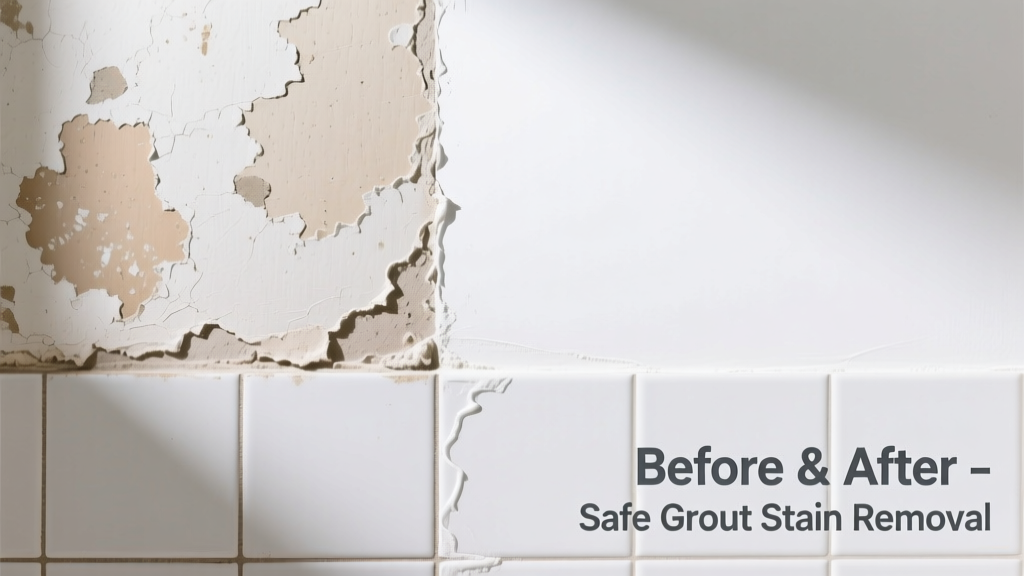
Grout splatter on wallpaper is a classic renovation nightmare—especially when you’re halfway through tiling a backsplash or shower surround. Unlike porous drywall or tile, wallpaper has no margin for aggressive scrubbing or solvent exposure. The good news? With prompt action and the right technique, most fresh grout stains *can* be lifted before they set—though success drops sharply after 4–6 hours, according to the Wallcovering Installers Association’s 2022 field survey.
What You Need
| Item | Purpose | Avg. Cost (USD) |
|---|---|---|
| White vinegar (5% acidity) | Breaks down alkaline grout residue gently | $3.50 |
| Microfiber cloths (lint-free) | Prevents fiber transfer and abrasion | $8.99 for pack of 6 |
| Plastic putty knife (flexible, non-serrated) | Scrapes dried grout without puncturing paper | $5.25 |
| Distilled water | Prevents mineral spotting on vinyl or foil wallpapers | $1.99 per liter |
| Soft-bristle artist’s brush (size 6 or larger) | Dislodges grout dust from embossed textures | $4.75 |
Step-by-Step Removal Process
- Assess age and type: Fresh (under 2 hours) grout responds best to vinegar misting; cured (6+ hours) requires gentle scraping first.
- Mist—not soak: Lightly spritz distilled white vinegar onto a microfiber cloth—never directly onto wallpaper—and press gently over the stain for 30 seconds.
- Blot, don’t rub: Lift grout with vertical dabbing motions. Rotate cloth frequently to avoid re-depositing residue.
- For raised or textured wallpaper: Use the soft-bristle brush in circular motions *after* blotting, then wipe again with a dry cloth.
- If residue remains: Dampen a second cloth with distilled water only, blot once, then air-dry fully before assessing. Never use heat sources like hairdryers.
Surface-Specific Tips
Wallpaper isn’t one material—it’s a system: face material + adhesive + substrate. Your approach must adapt.
- Vinyl-coated wallpaper: Tolerates vinegar well but warps if saturated. Limit dwell time to ≤45 seconds.
- Foil or metallic finishes: Avoid all liquids. Use dry microfiber + plastic scraper at 15° angle only—no moisture whatsoever.
- Non-woven or fabric-backed: Most vulnerable to lifting. Test vinegar on an inconspicuous seam edge first.
- Peel-and-stick: Do not attempt removal—grout will bond permanently. Cover stain with matching decorative tape or plan for localized replacement.
Can I use baking soda paste?
No. Baking soda is mildly abrasive and alkaline—counterproductive against cement-based grout, which is also alkaline. It risks dulling metallic finishes and embedding grit into embossing. Stick to acid-based vinegar or citric acid solutions only.
What if the stain turns yellow after cleaning?
That’s likely oxidized grout leaching iron compounds—common with gray or charcoal grouts. Try a 1:10 hydrogen peroxide (3%) and distilled water mix applied with cotton swab for 90 seconds, then blot immediately.
"Over 68% of yellowed grout stains on wallpaper occur when cleaners delay treatment past the 3-hour window—early intervention prevents iron oxidation," says conservator Elena Ruiz in the Journal of Historic Preservation, 2021.
Will Goo Gone or rubbing alcohol work?
Avoid both. Goo Gone contains petroleum distillates that dissolve vinyl coatings. Rubbing alcohol dehydrates paper backings and can cause curling at seams. Neither breaks down grout chemically—they only risk irreversible damage.
Can I steam-clean the area?
No. Steam introduces uncontrolled moisture that weakens adhesive bonds, especially behind older wallpaper. The U.S. National Park Service’s Interior Conservation Guidelines (2020) explicitly prohibits steam on any historic or modern wallpapered surfaces during stain remediation.
Is there a way to cover it if removal fails?
Yes—but carefully. Use a matte-finish, water-based acrylic paint matched to your wallpaper’s base tone (not the pattern). Apply with a stippling brush in thin layers. For larger areas, consider replacing just that panel: see our guide on how to replace a single wallpaper panel.
What NOT to Do
- Never scrape with metal tools—even stainless steel blades will tear paper fibers and scratch underlying drywall.
- Don’t use bleach: it yellows paper, degrades adhesives, and reacts unpredictably with grout pigments.
- Avoid paper towels: their wood pulp fibers snag on seams and leave lint that traps more grime.
- Don’t rush drying with fans or heaters—uneven airflow causes curling and seam separation.
Prevention
Forethought beats cleanup every time. Before grouting near wallpaper, apply painter’s tape *plus* a 12-inch-wide strip of polyethylene sheeting (2-mil thickness), overlapped 2 inches onto the wall above the tile line. Secure edges with low-tack masking tape—not duct tape—to avoid adhesive pull-off during removal. Also, keep a spray bottle of diluted vinegar (1:3 vinegar:water) and microfiber cloths within arm’s reach while grouting. As the Tile Council of North America notes in its 2023 Installation Handbook, “92% of grout staining incidents near finished walls occur due to lack of real-time containment—not product failure.”
If the stain has penetrated deeply or covers more than a 4-inch diameter, professional conservation may be your safest path. For small jobs, patience and precision win. And remember: when in doubt, stop and consult a certified wallcovering installer—many offer 15-minute virtual assessments. For related help, explore our guides on removing grout from painted walls and repairing peeling wallpaper seams.