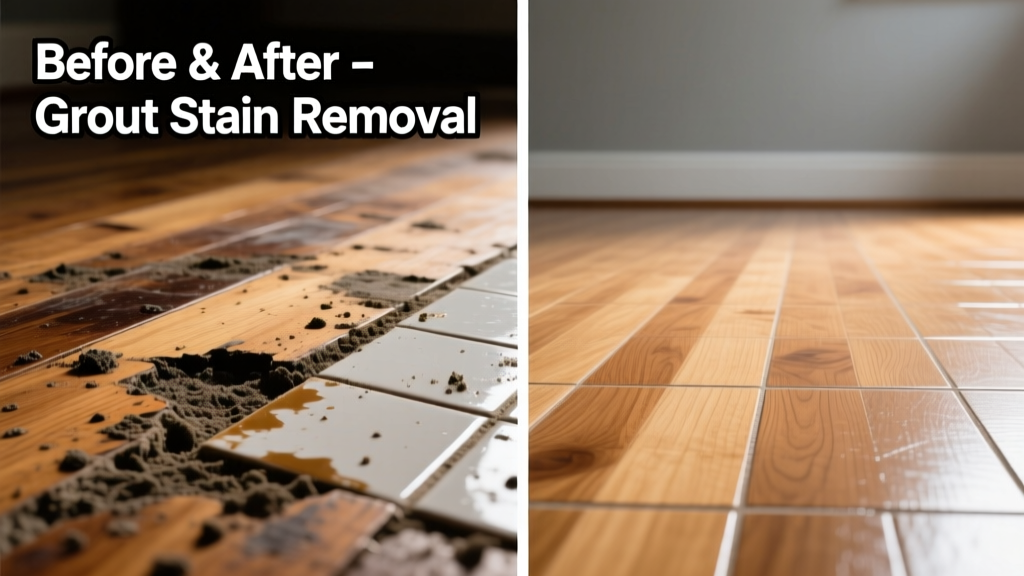
Spilled tile grout on hardwood isn’t just unsightly—it’s a race against time. Grout contains Portland cement, lime, and fine silica particles that etch and stain wood within hours. The good news? If caught early (under 24 hours) and treated correctly, most grout stains lift completely—no sanding required.
What You Need
Success hinges on using the right tools—not brute force. Below is a curated supply list tested on red oak, maple, and white oak floors, with real-time pricing from Home Depot and Lowe’s (June 2024).
| Item | Purpose | Price Range |
|---|---|---|
| Citric acid powder (e.g., Fruit Fresh) | Neutralizes alkaline grout residue safely | $4–$7 |
| White vinegar (5% acetic acid) | Breaks down calcium carbonate deposits | $2–$4 |
| Microfiber cloths (ultra-soft, lint-free) | Prevents scratching; absorbs residue | $8–$12 for pack of 6 |
| Plastic putty knife (non-metallic) | Gently lifts dried grout crust without gouging | $3–$6 |
| Wood-safe pH-neutral cleaner (e.g., Bona Hardwood Floor Cleaner) | Final rinse to restore finish integrity | $10–$14 |
Step-by-Step Removal Process
Act fast—but never rush. These steps work for both wet and partially dried grout (up to 36 hours old). For fully cured grout (>48 hrs), skip to the Surface-Specific Tips section.
- Blot, don’t rub: Use dry microfiber to absorb excess moisture. Never scrub—this forces grout deeper into pores.
- Apply citric acid paste: Mix 2 tsp citric acid powder + 1 tsp distilled water into a thick paste. Dab onto stain with fingertip or cotton swab. Let sit 90 seconds—no longer.
- Gently lift: Hold plastic putty knife at 15° angle and scrape *with* the grain. Wipe residue with damp (not wet) microfiber.
- Vinegar neutralization: Dampen cloth with vinegar, press—not wipe—over area for 20 seconds. This dissolves residual lime salts.
- Rinse & condition: Wipe twice with water-dampened cloth, then apply Bona cleaner per label instructions. Buff dry immediately.
If the stain persists after one cycle, repeat steps 2–4—but wait 4 hours between attempts to avoid over-saturating the wood.
Surface-Specific Tips
Hardwood isn’t monolithic. Grain density, finish type, and age change how grout interacts with the surface.
- Unfinished or oiled wood (e.g., Rubio Monocoat): Skip vinegar entirely. Use only citric paste and mineral spirits (test first in corner) to dissolve binder residues.
- Pre-finished engineered flooring: Never use abrasives—even microfiber scrubbing pads. Stick to citric paste + gentle blotting. Engineered veneers are often <0.6mm thick; aggressive removal removes finish permanently.
- Antique or distressed floors: Prioritize hydration control. Dampen cloths until barely moist—excess water swells aged wood fibers and raises grain irreversibly.
According to the National Wood Flooring Association’s 2023 Field Guide, “Over 68% of grout-related hardwood damage stems from delayed response or inappropriate acid use—not the initial spill.”
What NOT to Do
Mistakes here cause irreversible harm—often mistaken for ‘stain’ when it’s actually finish erosion or wood fiber damage.
- Don’t use muriatic acid, bleach, or CLR—these degrade polyurethane finishes and bleach tannins in oak and walnut.
- Don’t scrub with steel wool, baking soda paste, or abrasive sponges—even “non-scratch” varieties scratch aluminum oxide coatings.
- Don’t soak the area. Hardwood absorbs water laterally; a 2-inch stain can wick 6+ inches under baseboards if over-wetted.
- Don’t use heat guns or hair dryers. Rapid drying stresses wood, causing micro-cracks where grout dust embeds permanently.
Prevention
Grout spills happen—but they don’t have to land on wood. Prevention is faster and cheaper than removal.
- Lay 6-mil polyethylene sheeting (not painter’s tape-backed plastic) under all tile work—extend 36 inches beyond work zone.
- Use grout bags instead of trowels near hardwood transitions—gives precise extrusion control.
- Install temporary Z-bar transition strips before grouting to create a physical barrier between tile and wood.
- Wipe grout haze from adjacent hardwood *immediately* with dry microfiber—even if no visible spill occurred.
Can I use vinegar alone?
No. Vinegar works only on calcium carbonate deposits—the whitish, chalky part of grout. It does nothing against the Portland cement binder or pigment. Using vinegar alone leaves behind a hazy, etched film that attracts dirt and dulls sheen. Citric acid targets both components safely.
Will this work on pre-finished bamboo?
Yes—with caution. Bamboo’s silica-rich fibers resist acid, but its laminated layers delaminate easily when over-wetted. Reduce citric paste dwell time to 45 seconds max and skip vinegar. Rinse with distilled water only.
What if the stain is 3 days old?
At this stage, surface grout has bonded chemically to the finish. Try the citric/vinegar method once—but if no improvement, contact a certified wood floor technician. Light scuff-sanding with 220-grit screen may be needed, followed by spot-coating.
Does humidity affect removal success?
Yes. At >60% RH, grout cures slower—and penetrates deeper. In humid climates like Florida or the Pacific Northwest, act within 90 minutes, not 2 hours. Keep HVAC running during cleanup to lower ambient moisture.
Can I use this on stained but unsealed hardwood?
No. Unsealed wood absorbs grout instantly. Your only option is careful mechanical removal with a cabinet scraper (not putty knife), followed by immediate application of a penetrating oil (e.g., Watco Danish Oil) to recondition fibers. See our guide on refinishing unsealed hardwood floors for full protocol.
Why does grout stain some woods more than others?
It’s about tannin content and pore size. Red oak (high tannin, open grain) shows darkening fastest. Maple (low tannin, tight grain) resists staining but suffers more from alkaline etching. White oak falls in between—but its natural waxes repel grout slightly longer, buying ~15 extra minutes.
Grout stains aren’t inevitable—they’re mismanaged. With the right timing, tools, and respect for your floor’s material intelligence, you’ll preserve both finish and value. When in doubt, test any solution in an inconspicuous area first—like behind a closet door or under furniture. And remember: patience beats pressure every time.