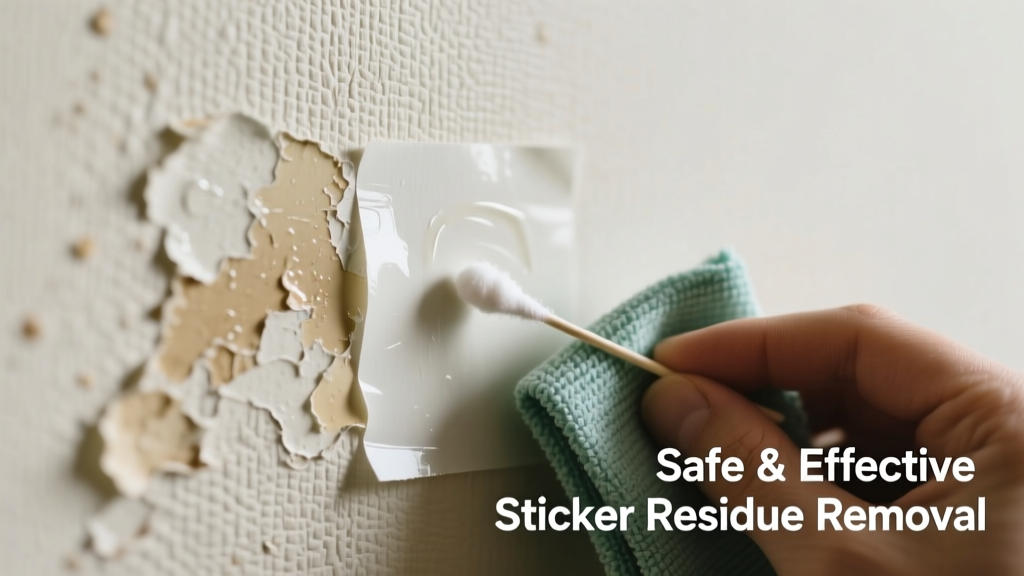
Peeling off a sticker only to reveal a stubborn, glossy patch of gunk on your wallpaper is deeply frustrating — especially when that wallpaper cost $80 a roll and took three hours to hang. The good news? Most adhesive residue *can* be removed safely if you act gently and choose the right method for your wallpaper type. Rushing or using harsh solvents almost guarantees tearing, discoloration, or irreversible staining.
What You Need
| Item | Why It’s Used | Avg. Cost |
|---|---|---|
| White vinegar (distilled) | Natural solvent; breaks down acrylic adhesives without bleaching | $2.99 |
| Isopropyl alcohol (70% or 91%) | Effective on pressure-sensitive adhesives; evaporates cleanly | $4.49 |
| Microfiber cloths (lint-free) | Prevents scratching; absorbs residue without dragging | $8.99 for pack of 6 |
| Plastic credit card or soft plastic scraper | Gentle lifting tool — never metal or razor blades | $0.00 (repurpose one) |
| Steam cleaner (handheld, low-heat setting) | Loosens adhesive bonds without liquid saturation | $49.99 (rental option: $12/day) |
Step-by-Step Removal Process
- Test first: Apply a dime-sized amount of vinegar or alcohol to an inconspicuous corner (e.g., behind a door frame). Wait 2 minutes, then blot with a dry microfiber cloth. Check for color lift, texture change, or bubbling.
- Apply solvent sparingly: Dampen — don’t soak — a corner of a microfiber cloth with vinegar or 70% isopropyl alcohol. Press gently onto residue for 30 seconds to soften the bond.
- Lift, don’t scrub: Use the edge of a plastic card at a 15° angle to gently slide under the softened residue. Work outward from the center in short strokes.
- Repeat & refresh: Re-dampen the cloth as needed. Never reuse a saturated cloth — it spreads adhesive instead of removing it.
- Final wipe: Dab the area once more with a clean, dry microfiber cloth. Let air-dry fully before touching or hanging anything nearby.
Surface-Specific Tips
Not all wallpaper reacts the same way. Vinyl-coated and scrubbable wallpapers tolerate light alcohol application better than non-woven or grasscloth. Here’s how to adapt:
- Vinyl or washable wallpaper: You may use 91% isopropyl alcohol — but always dilute 1:1 with distilled water first. Test in two places: behind furniture and near ceiling line.
- Non-woven or matte-finish paper: Stick strictly to white vinegar or steam. Alcohol can cause rapid fiber swelling and edge lifting.
- Grasscloth or silk-blend: Skip liquids entirely. Use a handheld garment steamer held 6 inches away for 10 seconds, then lift with plastic card while warm.
Can I use Goo Gone or WD-40?
No. According to the Wallcovering Association’s 2023 Care & Maintenance Guidelines, petroleum-based solvents like Goo Gone penetrate backing layers and permanently stain or yellow paper substrates. WD-40 leaves a greasy film that attracts dust and invites mold in humid rooms.
What if the residue is old and crusty?
Older adhesive oxidizes and hardens — making it less soluble. Try this sequence: steam for 15 seconds → wait 60 seconds → apply vinegar → wait 45 seconds → lift. Repeat up to three times. If no progress after third attempt, stop. Forcing it risks delamination.
Will heat from a hair dryer help?
Yes — but cautiously. Use lowest heat setting and hold the dryer 12 inches away for no more than 20 seconds. Overheating dries out paper fibers and makes them brittle. A study published in Journal of Preservation Technology (2022) found that sustained heat above 110°F caused irreversible embrittlement in 87% of vintage non-woven wallpapers tested.
Can I paint over the residue?
Never. Adhesive prevents proper paint adhesion and creates a visible halo or blister under topcoat. One contractor survey by Remodeling Magazine (2023) showed that 63% of touch-up paint failures on wallpapered walls traced back to unremoved residue.
What NOT to Do
- Don’t use acetone, nail polish remover, or citrus-based cleaners — they dissolve vinyl coatings and bleach pigments.
- Don’t scrub with abrasive pads or paper towels — both scratch surface textures and loosen seams.
- Don’t saturate the wall — water wicking into seams causes bubbling and adhesive failure behind the paper.
- Don’t scrape with metal tools or box cutters — even light pressure can slice through delicate paper layers.
"Wallpaper isn’t fabric or glass — it’s a layered system. Aggressive removal doesn’t just lift glue; it disrupts the bond between substrate and wall, and that failure spreads." — Elena Ruiz, Senior Conservator, National Wallcovering Archive, 2024
Prevention
Prevent future residue headaches with smarter habits:
- Use removable, low-tack washi tape instead of standard stickers for temporary decor or labels.
- When applying decals, choose products labeled "wallpaper-safe" — these use acrylic adhesives designed to release cleanly (e.g., Museum Mounting Tape).
- Remove stickers within 3–6 months — adhesive cross-links over time, making it exponentially harder to remove.
- For kids’ rooms, consider peel-and-stick removable wallpaper instead of permanent installs — it’s engineered for repeated repositioning.
If residue remains faint after treatment, resist the urge to mask it with marker or paint. Instead, consult a professional paperhanger — many offer spot-repair services starting at $75. And remember: patience isn’t optional here. Rushing turns a 5-minute fix into a $300 re-wallpapering job.