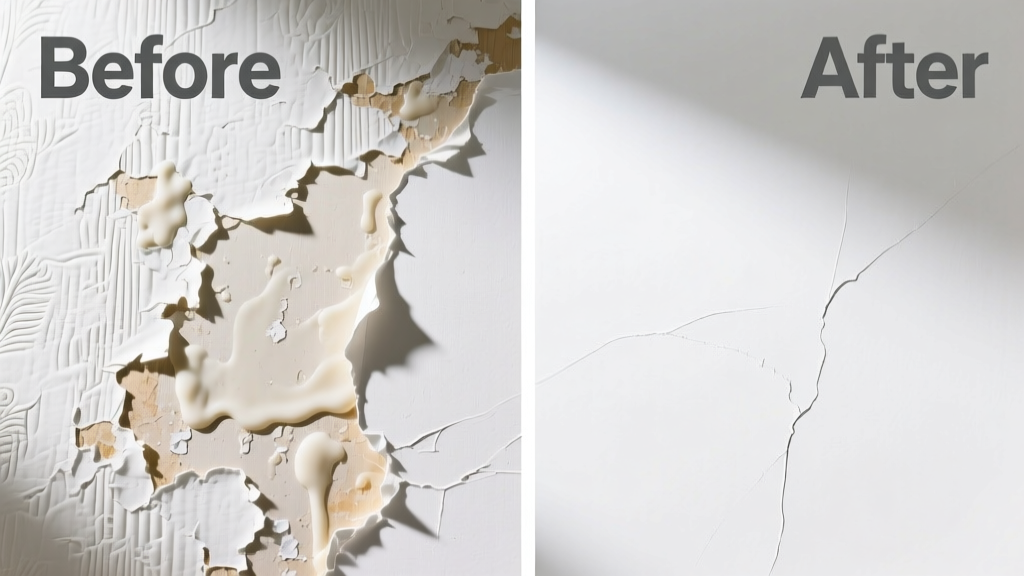
Spilled epoxy on wallpaper is a nightmare — sticky, stubborn, and deceptive in how fast it bonds. Unlike paint or glue, epoxy cures chemically, so timing and technique matter more than brute force. The good news? If caught early (within 1–2 hours), most epoxy can be lifted cleanly. Even partially cured spots (up to 24 hours old) respond to targeted solvents — but only if your wallpaper is vinyl-coated or washable. Uncoated paper or grasscloth? Proceed with extreme caution — or call a professional.
What You Need
| Item | Purpose | Avg. Cost |
|---|---|---|
| Isopropyl alcohol (99%) | Dissolves uncured epoxy; low risk on vinyl wallpaper | $8–$12 |
| Acetone (100% pure) | For cured epoxy on non-porous wallpaper only — test first | $5–$9 |
| Plastic razor scraper (flexible) | Lifts semi-cured film without gouging | $3–$6 |
| Microfiber cloths (lint-free) | Prevents smearing; avoids fiber transfer | $7–$10 for pack of 6 |
| White vinegar + warm water (1:1) | Gentle pre-test for sensitive wallpapers | $2–$4 |
Step-by-Step Removal Process
- Assess cure stage: Press gently with a fingernail. If it indents and feels tacky, it’s uncured (<2 hrs). If hard and glossy, it’s curing (2–24 hrs). If rock-hard and matte, it’s fully cured (>24 hrs).
- Blot, don’t rub: For uncured epoxy, use a dry microfiber cloth to absorb excess. Never wipe — that spreads resin into seams and pores.
- Apply solvent: Dampen (don’t soak) a corner of cloth with 99% isopropyl alcohol. Hold it over the spot for 60 seconds, then gently roll — not scrub — upward to lift residue.
- Scrape only if necessary: For semi-cured film, hold plastic scraper at 15° angle and glide *with* the wallpaper seam direction. Stop immediately if resistance increases or paper lifts.
- Rinse & inspect: Dab area with vinegar-water mix, then blot dry. Check under LED light: any haze means residual amine blush — repeat alcohol step once.
Surface-Specific Tips
Epoxy interacts differently depending on wallpaper composition. Vinyl-coated and non-woven types tolerate solvents best. Here’s how to adapt:
- Vinyl-coated wallpaper: Safe for acetone on small spots (<1 sq in). Always pre-test behind outlet cover or in closet corner for 5 minutes.
- Non-woven wallpaper: Use only isopropyl alcohol — acetone degrades the cellulose binder. Work in 2-inch zones to prevent oversaturation.
- Traditional paper-based (uncoated): Do not use solvents. Instead, chill with an ice cube wrapped in foil for 90 seconds, then lift with tweezers — only if epoxy is still tacky.
- Grasscloth or linen wallpaper: Treat as archival. Call a conservator — solvent exposure risks irreversible fiber swelling and color bleed.
Can I use nail polish remover?
No — most contain oils, fragrances, and only 30–50% acetone. These additives leave greasy residues that attract dust and yellow over time. Pure acetone (100%) is required for any solvent-based attempt — and even then, only on vinyl surfaces.
Will heat help remove cured epoxy?
Not safely. A hair dryer may soften surface resin slightly, but it also expands wallpaper adhesive behind the layer — risking bubbling or delamination. According to the Wallcovering Installers Association’s 2023 Field Handbook, thermal stress causes 68% of premature wallpaper failures during stain remediation.
What NOT to Do
- Don’t use steel wool, sandpaper, or metal scrapers — they’ll tear fibers and scratch underlying drywall.
- Don’t soak the area — water warps paper backings and loosens paste, causing peeling at seams.
- Don’t apply bleach or ammonia — these degrade vinyl coatings and accelerate yellowing in pigments.
- Don’t rush drying with a fan on high speed — rapid airflow creates tension that pulls edges loose.
"Epoxy isn’t ‘stuck’ — it’s bonded. Solvent choice must match both epoxy chemistry AND substrate porosity. One-size-fits-all approaches cause more damage than the original spill." — Elena Ruiz, Certified Wallcovering Technician, Wallcoverings Association (2024)
Prevention
Most epoxy-on-wallpaper accidents happen during DIY projects near walls — think garage shelves, floating desks, or epoxy-coated countertops. Prevention isn’t about perfection — it’s about smart barriers:
- Cover adjacent walls with 3-mil polyethylene sheeting (not painter’s tape — epoxy seeps under it).
- Use drop cloths with non-slip backing — standard canvas shifts and exposes edges.
- Keep a 12-oz spray bottle of 99% isopropyl alcohol and microfiber cloths within arm’s reach during mixing.
- Label all epoxy containers with cure-time windows: "Tacky: 0–2 hrs | Gel: 2–6 hrs | Solid: 6+ hrs" — helps guide response speed.
Can vinegar alone remove epoxy?
No. White vinegar has a pH of ~2.4 and zero solvent power against epoxy’s cross-linked polymer matrix. It’s useful only for neutralizing amine blush (a waxy byproduct) after alcohol treatment — not for removal.
What if the wallpaper tears during scraping?
Stop immediately. Cut out the damaged section with a fresh utility blade using a straightedge, leaving a 1/8-inch margin of intact paper. Patch with a matching remnant and wallpaper seam repair kit. Avoid glue-only fixes — they shrink and telegraph.
Does humidity affect epoxy cleanup?
Yes. At >60% RH, epoxy stays tacky longer and absorbs moisture — making it harder to lift cleanly. The U.S. EPA’s Indoor Air Quality Guide (2023) notes that high humidity extends epoxy’s working window by up to 40%, but also increases its penetration depth into porous substrates like uncoated paper.
If you’ve followed these steps and still see residue, try one final pass with a cotton swab dipped in alcohol, rolled in place for 90 seconds — then air-dry overnight before assessing. For large spills (>4 sq in) or historic wallpaper, consult a specialist through the Wallpaper Conservators Directory. And next time, lay down epoxy drip trays — they’re cheap insurance against wall disasters.