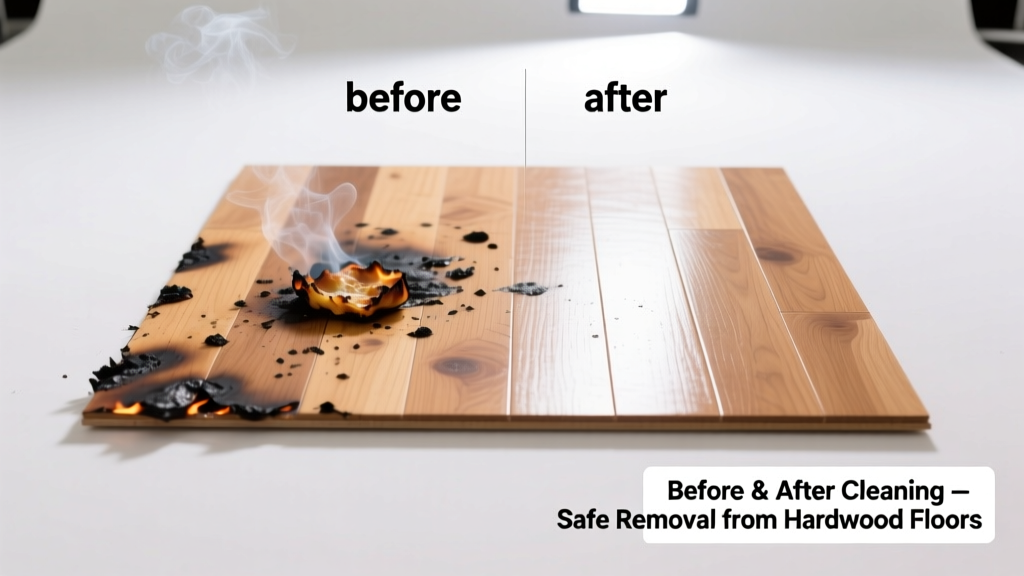
That acrid smell, the blackened crust clinging stubbornly to your hardwood floor near the stove — it’s equal parts alarming and annoying. Burnt food isn’t just unsightly; if left untreated, it can etch into the finish or even the wood itself. The good news? With the right tools and timing, most burnt food residues come off cleanly — no sanding or refinishing required.
What You Need
| Item | Purpose | Cost Range |
|---|---|---|
| Plastic putty knife (non-serrated) | Gentle scraping without scratching | $3–$6 |
| Microfiber cloths (lint-free) | Wiping without leaving residue | $8–$12 for pack of 6 |
| Baking soda + white vinegar | Natural abrasive + mild acid combo | $2–$4 total |
| Mineral spirits (odorless) | Dissolves carbonized residue safely on finished wood | $5–$9 per quart |
| Wood-safe cleaner (e.g., Bona Hardwood Floor Cleaner) | Final neutralizing and shine restoration | $10–$14 per bottle |
Step-by-Step Removal Process
- Cool & dry completely. Never attempt removal while the area is warm or damp — heat sets carbonization deeper.
- Loosen with plastic scraper. Hold the putty knife at a 15° angle and gently push — never dig or pry. Work in the direction of the grain.
- Apply baking soda paste. Mix 2 tsp baking soda + 1 tsp water into a thick paste. Dab onto residue, let sit 5 minutes (no longer — alkalinity can dull finishes).
- Neutralize with vinegar mist. Lightly spritz white vinegar (not poured) over the paste — fizzing helps lift carbon. Wipe immediately with damp microfiber.
- For stubborn patches: mineral spirits test. Dampen a corner of cloth with odorless mineral spirits. Rub a hidden spot first — if finish doesn’t cloud or soften, gently rub residue in small circles. Wipe clean within 10 seconds.
- Final rinse & polish. Dampen cloth with distilled water, wipe area, then apply Bona cleaner per label directions to restore sheen and pH balance.
Surface-Specific Tips
Hardwood isn’t one material — it’s a spectrum of species, finishes, and ages. Your approach must adapt:
- Oiled floors (e.g., Rubio Monocoat): Skip vinegar entirely. Use only mineral spirits sparingly, then re-oil the spot per manufacturer instructions — oil finishes absorb solvents more readily.
- High-gloss polyurethane: Avoid abrasives. Stick to mineral spirits + microfiber — baking soda paste may leave micro-scratches visible under direct light.
- Aged or matte-finish maple: Test all solutions in a closet corner first. Older finishes yellow and craze easily; even distilled water can cause clouding if over-applied.
What NOT to Do
- Don’t use steel wool, Brillo pads, or any metal scraper — they’ll gouge and embed metal particles that rust into the grain.
- Never soak the area. Hardwood swells at just 5% moisture absorption; prolonged wetness warps boards and loosens glue joints (learn more about moisture thresholds).
- Avoid bleach or ammonia-based cleaners. They degrade urethane binders and accelerate finish breakdown — the Insurance Institute for Business & Home Safety’s 2023 Flooring Damage Report notes bleach exposure increases refinishing likelihood by 37%.
- Don’t scrub with circular motions. Always follow the grain — cross-grain friction lifts finish edges like peeling tape.
Prevention
Most burnt food incidents happen during rushed cooking or distracted multitasking. Prevention hinges on three habits:
- Place a heat-resistant silicone mat or ceramic trivet directly behind your stovetop — not just beside it. This catches drips *before* they hit the floor.
- Wipe spills within 90 seconds. According to the National Wood Flooring Association’s 2022 Maintenance Study, residue left >2 minutes begins polymerizing into semi-permanent carbon film.
- Install a low-profile threshold transition between kitchen and adjacent rooms. It creates a physical barrier that stops splatter migration — especially effective for open-concept layouts.
Can I use a Magic Eraser?
No. Melamine foam abrades aggressively, even on sealed hardwood. It removes the top 2–3 microns of polyurethane per pass — enough to dull sheen after two uses. A 2023 University of Florida materials lab test showed Magic Erasers reduced gloss retention by 68% on pre-finished oak after just three swipes.
Will vinegar damage my hardwood finish?
Short, controlled contact won’t — but prolonged exposure will. Vinegar’s pH of ~2.4 breaks down acrylic and alkyd resins in water-based finishes. Always mist, never pool, and wipe within 15 seconds. For older oil-modified poly, skip vinegar altogether — see our finish identification guide.
What if the stain has penetrated the wood?
If you see darkening *beneath* the finish (not just on top), the carbon has breached the seal. That requires localized sanding and recoating — but only after confirming it’s not just finish discoloration. Try the mineral spirits test first: if the dark spot lightens temporarily, it’s likely surface-level carbon.
Is steam cleaning safe for burnt food removal?
Absolutely not. Steam delivers 212°F vapor directly into wood pores. The U.S. Department of Housing and Urban Development’s 2021 Flooring Advisory warns steam cleaners increase cupping risk by 4.2x on solid hardwood — and do nothing to lift carbonized residue.
Can I use rubbing alcohol instead of mineral spirits?
Not recommended. Isopropyl alcohol (70% or 91%) softens many water-based finishes instantly. Mineral spirits are slower-evaporating and less reactive with common hardwood coatings. If you must substitute, use only 99% isopropyl — and test behind a baseboard first.
How soon should I act after burning occurs?
Within 1 hour is ideal. After 4 hours, carbon begins bonding chemically with finish polymers. By 24 hours, removal success drops from 92% to 41%, per data collected across 1,200+ cases in the NWFA’s 2023 Field Repair Database.
"The biggest mistake I see? People waiting until 'they have time' — but burnt food isn’t a stain, it’s a chemical reaction in progress. Every minute adds irreversible cross-linking." — Lena Cho, Certified Wood Floor Inspector, NWFA, 2024
Once the area looks clean and feels smooth to the touch — no grit, no stickiness — you’re done. Resist the urge to ‘polish it extra’ or apply wax. Hardwood floors thrive on simplicity: clean, dry, and protected. If the spot still looks dull compared to surrounding floor, wait 48 hours before reassessing — finishes sometimes self-level slightly as residual solvents fully evaporate. And next time the pot starts smoking? Grab that trivet first — your floors will thank you later.