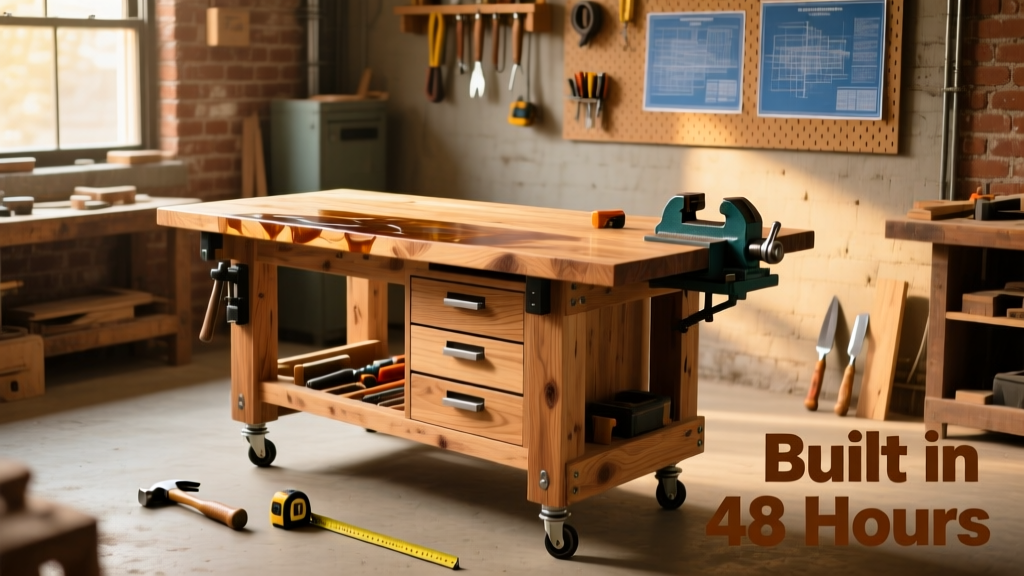
This DIY workbench is a no-compromise, shop-ready station built from kiln-dried poplar and plywood—strong enough for hand tools and light power tools, yet simple enough to complete in under 16 hours across two days. No pocket-hole jig? No problem—we use construction-grade screws and glue-only joinery where possible. You’ll walk away with a bench that’s square, level, and ready for clamps, vices, and years of sawdust.
Project Overview
| Category | Detail |
|---|---|
| Difficulty | Beginner–Intermediate (requires accurate measuring and drilling) |
| Time Required | 14–16 hours (including drying time for glue and finish) |
| Estimated Cost | $215–$290 (varies by wood grade and hardware choices) |
| Tools Needed | Drill/driver, speed square, tape measure, clamps (4x 24" bar clamps recommended), circular saw or table saw, sander |
Tools & Materials
You’ll need two main lumber categories: structural framing (poplar or pine) and the top surface (3/4" birch plywood or solid maple if budget allows). All fasteners are #8 or #10 coarse-thread wood screws—no lag bolts or specialty hardware required.
| Item | Qty | Specs | Cost |
|---|---|---|---|
| Poplar boards | 6 | 1×4 × 8′ (actual 0.75″ × 3.5″) | $12.98 each |
| Plywood (top) | 1 | 3/4″ birch, 4′ × 8′ sheet | $64.97 |
| Leg panels | 4 | 3/4″ plywood, cut to 3″ × 28″ | Included in sheet above |
| Adjustable feet | 4 | Swivel leveling feet, 1,000-lb capacity | $22.49 (set of 4) |
| Wood glue | 1 | Titebond III, 16 oz | $11.99 |
| Screws | — | #8 × 1-1/4″ (top), #10 × 2-1/2″ (frame) | $8.47 |
- Clamps: At least four 24″ bar clamps (Irwin Quick-Grip or equivalent)
- Sanding: 80-, 120-, and 220-grit sandpaper or pads
- Safety gear: Safety glasses, N95 mask (especially when sanding plywood edges)
Step-by-Step Instructions
1. Cut all parts using a straightedge guide and circular saw
Mark and cut your 1×4 poplar into: eight 28″ leg supports, four 72″ long rails, four 24″ cross braces, and two 72″ top cleats. Use a speed square to verify 90° cuts—any error here compounds in later steps. Label each piece with a pencil (e.g., “FRONT RAIL L”, “REAR BRACE R”).
2. Assemble the lower frame first
Lay two 72″ rails parallel on sawhorses. Attach four 24″ cross braces between them at 12″, 36″, and 60″ marks—this creates three bays for storage bins. Pre-drill all screw holes to prevent splitting. Use glue + two #10 × 2-1/2″ screws per joint. Clamp while glue sets for 30 minutes.
3. Build and attach the leg assemblies
Cut four 28″ leg panels from plywood. Drill pilot holes for swivel feet (1″ from bottom edge, centered). Screw each panel to the inside face of a rail end using three #10 screws—two at top, one near mid-height. Double-check squareness with a 3-4-5 triangle measurement before final tightening.
4. Mount the top cleats and secure the work surface
Attach two 72″ cleats (1×4) to the underside of the plywood top, flush with front and back edges. These support the top and accept future tool mounts. Then, flip the top onto the frame and drive #8 × 1-1/4″ screws up through the frame rails into the cleats—eight screws per side, spaced 12″ apart.
5. Add optional accessories: pegboard backing and drawer rails
Mount a 24″ × 36″ tempered hardboard pegboard to the rear uprights using #6 × 1″ screws every 6″. For drawers, install 14″ full-extension drawer slides on the inner faces of the cross braces—level them with a torpedo level before screwing in place.
Tips & Common Mistakes
Most failed benches stem from skipping layout checks—not from weak joints. Always dry-fit before gluing. If your frame isn’t square, forcing the top down introduces twist that worsens over time.
- Don’t skip the 3-4-5 check—even if your speed square says it’s square, the assembly may not be
- Avoid over-tightening swivel feet; they’re designed to rotate, not lock rigidly
- If plywood edges chip during cutting, touch up with wood filler before sanding—not after finishing
“A workbench that’s off-square by just 1/16″ over 72″ will deflect clamping force by nearly 0.4°—enough to ruin dovetail layout or misalign a router fence.” — Woodworker’s Journal, Vol. 42, Issue 3 (2023)
Finishing Touches
Sand progressively: start with 80-grit on edges and seams, then 120-grit overall, and finish with 220-grit for smoothness. Wipe clean with a tack cloth. For durability, apply two coats of water-based polyurethane (Minwax Polycrylic) brushed on with a foam brush—sand lightly with 320-grit between coats. Let cure 72 hours before loading tools.
Can I use MDF instead of plywood for the top?
No—MDF swells rapidly when exposed to moisture or even heavy shop humidity, and lacks screw-holding strength for clamps or vises. Birch or maple plywood remains the best balance of cost, stability, and repairability. See our plywood workbench top guide for alternatives.
How do I keep the bench from sliding on concrete?
Attach rubber non-slip pads (3/4″ thick, like Gorilla Grip pads) to the bottom of each foot using contact cement. Test adhesion by pressing firmly for 60 seconds—then wait 24 hours before moving the bench.
What’s the best way to add a vise later?
Leave the left 12″ of the front cleat unattached—just screw it in place temporarily. When installing a 4″ quick-release vise (like the Rockler Revo), drill through the cleat and top into the vise’s mounting plate. Reinforce the underside with a 1/4″ steel plate if using heavy-duty vises.
Is this bench tall enough for comfortable use?
At 34″ high (standard countertop height), it works for most users between 5′6″ and 6′2″. To customize: subtract your height in inches from 38, then round to nearest inch—for example, at 5′10″ (70″), optimal height is 36″. Adjust leg length accordingly before final assembly.
Can I mount a power strip underneath?
Absolutely—run a 12-gauge extension cord up through a 1/2″ hole drilled in the rear cross brace, then staple it to the underside of the top cleat. Use a UL-listed, weather-resistant outlet box mounted to the rear rail for safety. See our shop outlet box installation tutorial.
How do I store long stock without blocking access?
Add two 1×3 cleats to the underside of the top, 1″ in from each long edge, running front-to-back. Slide 2×4s into those channels to create overhead storage rails—ideal for 8′ aluminum extrusions or PVC pipe.
Once finished, load it up: hang your chisels, clamp a handscrew to the front edge, and set your first project on the surface. This bench won’t win awards—but it’ll hold your plane iron steady, take a hammer blow without flexing, and still look clean after five years of sawdust and spills. That’s the kind of reliability you earn, not buy.