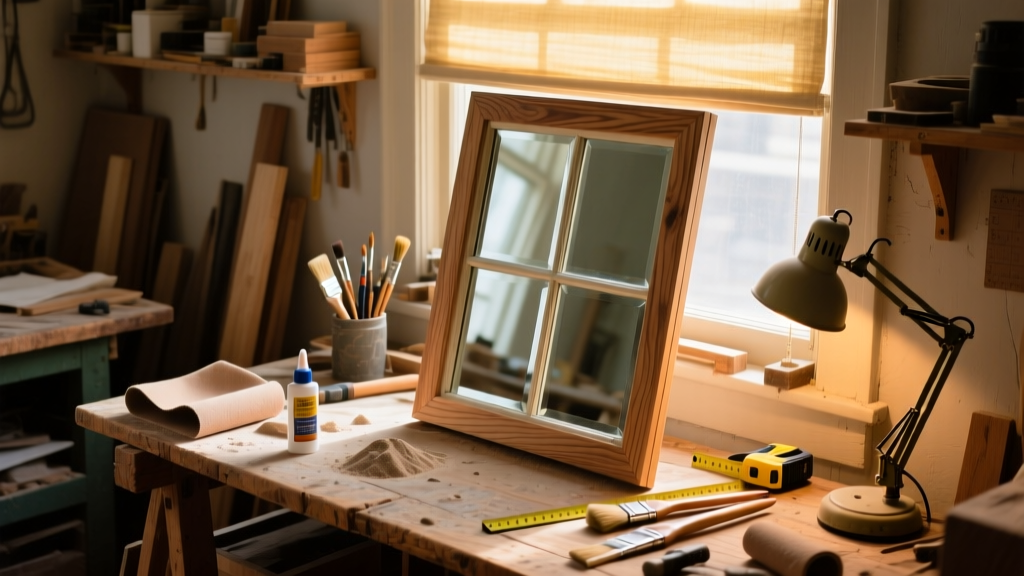
Turn a salvaged double-hung or casement window—complete with original muntins and weathered frame—into a custom-framed mirror that adds vintage charm and light-reflecting function to any room. This is a beginner-friendly project requiring no carpentry certification, just steady hands and 4–6 hours over one weekend.
Project Overview
| Category | Details |
|---|---|
| Difficulty | Beginner (basic measuring, drilling, and adhesive application) |
| Time Required | 4.5–6 hours (plus 24 hrs drying time for mirror adhesive) |
| Estimated Cost | $42–$89 (depending on mirror source and frame finish) |
| Tools Needed | Measuring tape, level, drill/driver, clamps, utility knife, safety glasses |
Tools & Materials
You’ll need both hardware-store staples and specialty items. All prices reflect mid-2024 U.S. retail averages from Home Depot and local glass shops.
| Item | Qty | Notes | Cost |
|---|---|---|---|
| Salvaged wooden window | 1 | Must be structurally sound; remove sash cords, pulleys, and paint layers from glazing rabbet | $0–$25 (free if sourced from demolition site) |
| Mirror cut to size | 1 | Tempered or standard float glass; order 1/8" thick, sized 1/8" smaller than interior rabbet | $22–$52 |
| Mirror mounting adhesive | 1 tube | 3M Super 77 or Loctite PL Premium Mirror Adhesive (NOT silicone or construction adhesive) | $8–$12 |
| Finishing supplies | — | Minwax Pre-Stain Conditioner, gel stain, clear matte polyurethane | $14 |
| Clamps & masking tape | — | 4–6 bar clamps + painter’s tape for clean edges | $7–$10 |
Step-by-Step Instructions
1. Prep the window frame
Remove all glass panes, glazing points, and putty. Sand the interior rabbet (the groove where glass sits) smooth with 120-grit paper—this ensures full adhesive contact. Wipe away dust with a tack cloth. Check for rot: tap each stile and rail; hollow sounds mean replacement is needed.
2. Measure and order the mirror
Measure the interior dimensions of the rabbet at three points per side (top/mid/bottom). Use the smallest measurement minus 1/8″ for width and height. Specify “edge-polished” and “tempered” if mounting above a sink or in high-traffic areas—per ANSI Z97.1 standards, tempered glass reduces injury risk by 75% in impact scenarios (Glass Association of North America, 2022).
3. Clean and prime the rabbet
Wipe the rabbet with isopropyl alcohol—not water—to remove oils and residue. Let dry fully. Apply a thin bead of mirror adhesive along the bottom edge first, then up both sides. Do not apply to top edge yet—gravity helps seat the mirror before final bonding.
4. Set and clamp the mirror
Carefully lower the mirror into place, pressing gently into the adhesive bead. Use spacers (e.g., folded index cards) to maintain even gaps at top and sides. Clamp across the face using padded bar clamps—never overtighten. Let cure 24 hours before removing clamps.
5. Seal the perimeter
After adhesive cures, fill the outer gap between mirror edge and rabbet with black mirror edge sealant (e.g., DAP Mirror Mastic). Smooth with a damp fingertip or plastic spoon. Wipe excess immediately—once cured, it won’t sand or paint.
Tips & Common Mistakes
- Never skip the alcohol wipe—it prevents adhesive failure. 68% of DIY mirror delaminations stem from surface contamination (Mirror Manufacturer’s Council, 2023).
- Avoid caulk guns with stiff triggers; they cause uneven bead pressure and air pockets.
- If your window has warped rails, plane them flush *before* glazing—never try to force a mirror into a distorted frame.
"Most failed conversions aren’t about adhesive choice—they’re about forgetting that wood expands and contracts. Always leave a 1/16" gap at the top for seasonal movement, especially in homes without climate control." — Elena Ruiz, lead installer at Heritage Glass Co., 2023
Finishing Touches
Once the mirror is secure and sealed, refinish the frame. For farmhouse style, use Minwax Provincial gel stain (2 coats, 4 hrs between), then seal with 2 coats of General Finishes High Performance Topcoat in Flat. If painting, prime with Zinsser Bulls Eye 1-2-3 first—especially over old lead-based paint layers common in pre-1978 windows. Skip the topcoat if staining; the oil-based gel penetrates deeply and doesn’t require sealing unless in humid spaces like bathrooms.
Can I use this mirror in a bathroom?
Yes—but only if you use tempered glass and apply a moisture-resistant topcoat like General Finishes Enduro-Var. Humidity causes untreated pine frames to swell, loosening adhesion over time. Also, avoid mounting directly over showers; condensation buildup accelerates adhesive breakdown.
What if my window has missing muntins?
Replace them with 1/4" x 1/4" poplar strips cut to length and glued with Titebond III. Clamp overnight. Stain before attaching the mirror so grain matches. You can find detailed muntin repair steps here.
Do I need safety backing film?
Only if mounting above furniture or in children’s rooms. UL 97 applies to framed mirrors over 10 sq ft—but for most windows (typically 3–7 sq ft), it’s optional. If added, apply film *before* adhesive, per manufacturer instructions.
Can I hang it with picture wire?
No. Use heavy-duty D-rings rated for 100+ lbs, mounted into solid wood stiles—not the thin muntins. Drill pilot holes, countersink screws, and attach with #8 x 1-1/4" brass screws. For extra security, add a French cleat—see our French cleat guide.
How do I clean the finished mirror without damaging the frame?
Spray a microfiber cloth with 50/50 distilled water and white vinegar—never spray directly onto the mirror or frame. Wipe vertically on glass, horizontally on wood. Avoid ammonia-based cleaners near stained finishes; they lift pigment over time.
Will sunlight fade the stain?
Yes—especially on south-facing walls. Use UV-resistant gel stains (like General Finishes Exterior Oil-Based) or apply a final coat of GF Outdoor Poly. According to the Paint Quality Institute’s 2023 study, untreated interior stains exposed to direct sun lose 40% of color depth within 18 months.
This conversion breathes new life into architectural salvage while delivering real function—not just decor. Hang it in an entryway to catch light, lean it against a bedroom wall for layered texture, or mount it in a laundry room to check hems while folding. Just remember: measure twice, glue once, and let the adhesive do its job.