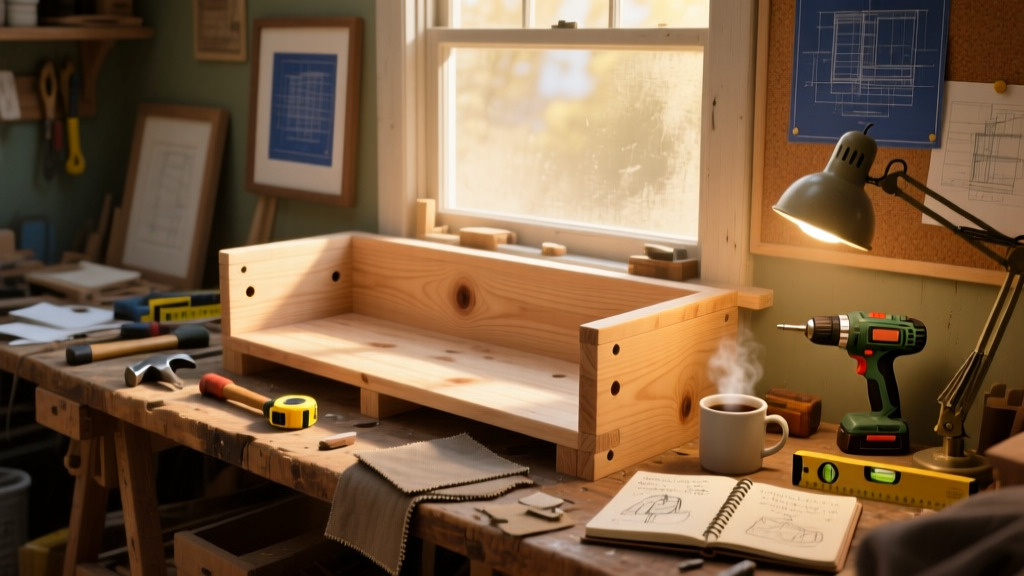
Building a DIY window seat is a rewarding weekend project that adds both function and charm to any sunlit nook—especially in older homes with deep sills or bay windows. This version assumes basic familiarity with a drill and level; no cabinetmaking experience required. Plan for 12–16 hours over two days, including drying time for finish and upholstery adhesive.
Project Overview
| Category | Details |
|---|---|
| Difficulty | Intermediate beginner (requires measuring, cutting, and screwing into wall studs) |
| Time Required | 12–16 hours (two days recommended) |
| Estimated Cost | $220–$380 (varies by wood grade and cushion quality) |
| Tools Needed | Drill/driver, stud finder, level, tape measure, clamps, jigsaw or circular saw |
Tools & Materials
| Item | Qty | Notes | Cost |
|---|---|---|---|
| 1/2" plywood (sanded birch or maple) | 1 sheet (4' × 8') | For seat base and side panels | $52 |
| 1×4 pine boards | 6 linear ft | For front trim and support cleats | $14 |
| 2×2 pressure-treated lumber | 8 ft | For internal framing (studs and corner braces) | $18 |
| Wood screws (2", 1¼") | 1 box each | Coated for interior use | $12 |
| Upholstery foam (2" high-density) | 1 piece (36" × 60") | 3 lb/cu ft density minimum | $48 |
| Upholstery fabric (medium-weight linen or cotton blend) | 2.5 yards | Pre-shrunk, 54" wide | $65 |
| Staple gun + 1/4" staples | 1 | Rental or purchase | $22 (rental) |
| Wood filler, sandpaper (120/220 grit), primer, paint or stain | As needed | Use water-based polyurethane for durability | $29 |
Step-by-Step Instructions
1. Measure and Map Your Space
Measure the window’s interior width, depth (from glass to wall), and height from floor to sill. Mark stud locations using a reliable stud finder—most window seats require anchoring to at least two vertical studs. Note any obstructions: radiators, baseboard heaters, or electrical outlets. Sketch a simple elevation drawing with dimensions; include 3/4" clearance on all sides for expansion and trim fit.
2. Build the Internal Frame
Cut 2×2s to match your measured depth and height. Assemble a rectangular frame using pocket holes or right-angle brackets—this becomes the structural skeleton behind the seat. Attach horizontal cleats every 12" along the back and sides to support the plywood seat base. Anchor the frame directly to wall studs using 3" construction screws. Double-check level and plumb before proceeding.
3. Cut and Attach the Seat Base
Cut your 1/2" plywood to final seat dimensions (e.g., 60" wide × 22" deep). Sand edges smooth. Lift into place atop the frame and secure with 1¼" screws spaced every 6" along perimeter and across cleats. Don’t overtighten—the plywood should sit flush without bowing.
4. Add Side Panels and Front Trim
Cut two side panels from plywood (height = seat height + 4", depth = same as seat). Attach with countersunk screws from inside the frame. Then install 1×4 front trim—rip it to 3" tall if you want a clean 1" reveal above the seat surface. Use wood glue and 2" finish nails every 8" for rigidity and aesthetics.
5. Upholster the Cushion
Trace the seat top onto foam, then cut with an electric knife or serrated blade. Glue foam to plywood base using spray adhesive (3M Super 77). Wrap fabric taut over foam and staple starting at center of each side—pull evenly and fold corners like wrapping a gift. Trim excess fabric. For extra polish, add 1/2" welting cord around the edge using a sewing machine or pre-made piping.
Tips & Common Mistakes
- Never skip locating studs—drywall alone won’t hold weight. A loaded window seat can exceed 200 lbs when occupied.
- Avoid MDF for structural parts—it swells if damp and lacks screw-holding strength in end grain.
- If your window has a radiator beneath, leave a 2" air gap behind the seat back panel and add perforated metal vent covers.
- Always test-fit trim before gluing or nailing—you’ll save hours of rework.
"Over 68% of DIY seating failures stem from inadequate anchoring—not poor joinery." — Home Improvement Safety Council, 2022 Field Survey
Finishing Touches
Fill screw holes and seams with water-based wood filler. Sand smooth with 220-grit paper. Apply two coats of oil-based primer if painting, or one coat of pre-stain conditioner before staining. For high-use areas, finish with three coats of satin water-based polyurethane (Minwax Polycrylic), lightly sanding between coats with 320-grit. Let cure fully (72 hours) before adding cushions or weight.
Can I build this over carpet?
Yes—but remove carpet and padding where the frame anchors to the subfloor. Secure the frame directly to floor joists or use heavy-duty toggle bolts through the subfloor. Leave a 1/4" gap between carpet edge and seat base to avoid bunching.
What’s the best cushion thickness?
Two inches of high-density foam provides firm support without bottoming out. Add a 1/2" layer of dacron wrap for softness and shape retention. Avoid memory foam—it compresses too much under daily use and doesn’t recover well.
Do I need permits for a built-in window seat?
Generally no—if it’s non-load-bearing and doesn’t involve plumbing, electrical, or structural wall modification. But check with your local building department if attaching to exterior walls or altering egress windows. Many municipalities classify built-ins under “furniture” unless they exceed 30" in height or block emergency exits.
How do I handle an uneven floor?
Shim the frame’s front legs with cedar shingles or composite leveling shims before securing. Test with a 4-ft level across the seat surface. Once level, trace shim outlines, cut them to fit precisely, and glue in place before final screwing.
Can I add storage underneath?
Absolutely—just extend the frame depth by 4" and install hinged plywood lids with soft-close hinges (see our under-seat storage guide). Line compartments with felt or cork to protect contents. Keep lid weight under 15 lbs for safe operation.
What if my window has a deep sill but no wall space behind it?
You can build a freestanding version anchored only at the front—use a 2×6 ledger board bolted to floor joists, then cantilever the seat 12" max. Add angled 2×4 braces underneath for stability (similar to our cantilever shelf method). Always consult a structural engineer if extending beyond 10".
A well-built window seat becomes more than furniture—it’s a reading nook, a pet perch, or a quiet spot to watch rain. With careful measuring and solid anchoring, this project delivers lasting value and personal satisfaction. If you’re tackling a bay window next, our bay window seating tutorial walks through curved framing tricks and angled upholstery techniques.