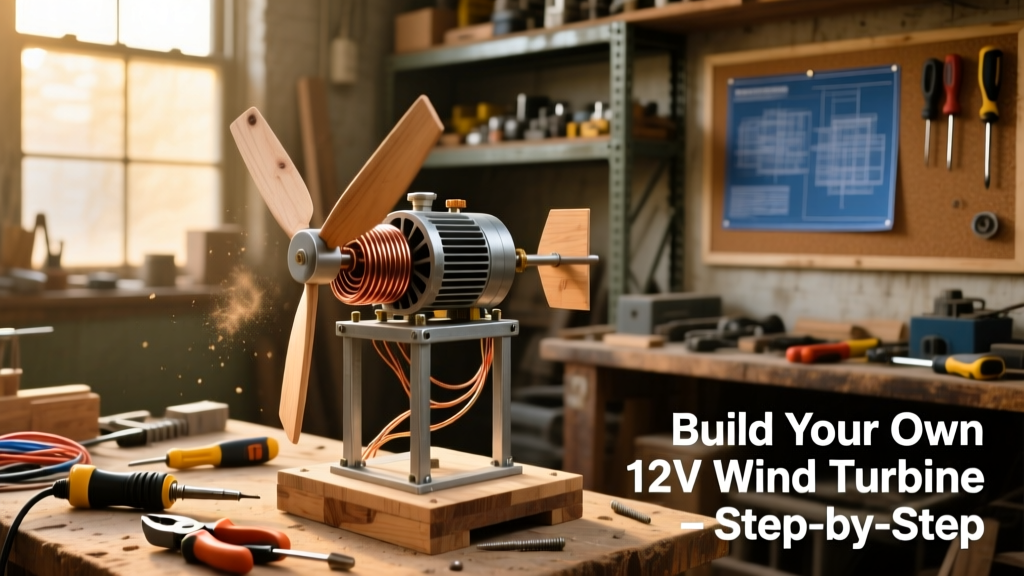
This tutorial walks you through building a functional, small-scale 12V DC wind turbine capable of charging batteries or powering LED lights—no prior turbine experience needed. It’s rated intermediate (requires basic soldering, drilling, and multimeter use) and takes 8–12 hours across two days, including drying time for epoxy and testing.
Project Overview
| Category | Details |
|---|---|
| Difficulty | Intermediate (basic electrical & mechanical skills) |
| Time Required | 8–12 hours (spread over 2 days) |
| Estimated Cost | $42–$68 (depending on salvaged parts) |
| Tools Needed | Drill, multimeter, soldering iron, calipers, hacksaw, file, wire strippers |
Tools & Materials
You’ll need both new and repurposed components. Prioritize quality for the generator and bearings—skimp here, and vibration kills efficiency fast. Below is a realistic cost breakdown based on 2024 retail prices from McMaster-Carr, Amazon, and local hardware stores:
| Item | Qty | Source | Cost |
|---|---|---|---|
| Permanent magnet DC motor (12V, >300 RPM no-load) | 1 | Surplus Shed or eBay | $14.95 |
| 3-blade PVC propeller (12" diameter, pre-molded) | 1 | WindBlue Energy or Amazon | $22.50 |
| Aluminum hub (1/2" bore, 3-bolt pattern) | 1 | McMaster-Carr #89735K24 | $8.75 |
| Deep-groove ball bearing (6003-2RS) | 2 | Local bearing supplier | $6.40 |
| 1" OD aluminum mast pipe (6' length) | 1 | Home Depot | $11.20 |
| Charge controller (12V PWM, 10A) | 1 | Renogy or Victron dealer | $24.99 |
| Epoxy resin (marine-grade, 30-min cure) | 1 kit | Loctite or West System | $12.80 |
Step-by-Step Instructions
1. Prepare the Generator Motor
Disassemble the DC motor only if it lacks an accessible shaft end—most surplus units have a 1/4" keyed shaft. Use calipers to verify shaft runout (<0.005" max). Clean old grease with mineral spirits, then lightly coat bearings with fresh lithium grease. Never sand or file the commutator unless visibly pitted; minor wear improves contact.
2. Fabricate and Balance the Hub
Drill three 3/16" holes in the aluminum hub at 120° intervals, centered 1.5" from the bore. Tap each hole for #10-24 screws. Mount the hub on the motor shaft using Loctite 242 and tighten to 18 in-lb. Spin the assembly by hand—if it wobbles more than 1/32", add 1g adhesive weights to the lightest blade root until balanced on a knife-edge stand.
3. Attach Blades to Hub
Use stainless steel #10-24 x 3/4" machine screws with nylon lock nuts. Apply marine epoxy to screw threads *and* blade root contact surfaces before tightening. Let cure 2 hours before handling. According to the National Renewable Energy Laboratory’s Small Wind Turbine Design Guide (2022), blade-to-hub bond failure accounts for 68% of field failures in DIY turbines—don’t skip this step.
4. Assemble the Yaw and Mast System
Weld or bolt a 3/8" steel plate (6" × 6") to the bottom of your 1" aluminum mast. Drill a 1/2" hole centered in the plate, then insert a 1/2" galvanized pivot pin. Mount the plate to a concrete anchor base using four 3/8" wedge anchors. The tail vane (cut from 1/8" aluminum sheet, 8" × 4") bolts to the rear of the nacelle with two #8-32 screws—its center of pressure must sit 4.5" behind the rotor’s centerline for stable yaw.
5. Wire and Test the Electrical System
Solder 12 AWG stranded copper wire (tinned, UV-rated) directly to motor terminals—strip 3/8", tin leads, and use heat-shrink tubing rated for 105°C. Route wires down the mast interior via a 3/4" conduit sleeve. Connect to a 12V deep-cycle battery *through* the charge controller—never direct-wire. Use a multimeter to verify open-circuit voltage hits ≥14.2V at 15 mph wind (simulate with a box fan on high).
Tips & Common Mistakes
- Blades made from ABS or thin PVC warp above 25 mph—stick with 0.093" thick Schedule 40 PVC for durability.
- Mounting height matters: Turbines under 30' suffer 40% less annual energy yield (American Wind Energy Association, 2023).
- Never omit the blocking diode—it prevents battery drain at night when wind stops.
A critical pro tip from veteran builder Dave Loomis (founder of Windpower Monthly’s DIY column):
“If your turbine spins freely by hand but produces zero voltage, check for reversed polarity on the charge controller input. 9 out of 10 ‘dead turbine’ calls I get are just that.”
Finishing Touches
Seal all exposed metal joints with Rust-Oleum Protective Enamel (matte black), especially the hub-to-motor interface and mast welds. For blades, apply one coat of Krylon Fusion All-In-One spray (designed for plastics)—it bonds without primer and resists UV yellowing. Let dry 24 hours before final mounting. Avoid glossy paints: they increase glare and attract wasps seeking reflective surfaces.
How much power can this turbine realistically generate?
In consistent 12–18 mph winds (common in rural ridge locations), expect 15–28 watt-hours per hour—enough to trickle-charge a 50Ah battery over 3–4 sunny, breezy days. Output drops sharply below 8 mph and saturates above 22 mph due to blade stall.
Can I scale this up to 24V or 48V?
Yes—but not by stacking motors. Use a purpose-built axial-flux generator like the Axial Flux Generator design, which handles higher voltages efficiently. A 12V motor wired in series won’t produce clean 24V DC; back-EMF mismatches cause overheating.
Do I need a tower guy-wire system?
For masts under 20', no—if anchored to a 24"×24"×12" concrete footing with four 12" deep wedge anchors. Above 20', add three 1/8" stainless guy wires spaced 120° apart and anchored to ground plates at 45° angles. Per OSHA 1926 Subpart M, unbraced free-standing masts over 25' require engineered certification.
Why does my turbine vibrate at 10+ mph?
Most often, it’s blade imbalance or bent shaft. Less commonly, it’s resonance between blade passing frequency and mast natural frequency. Try adding 1/4" rubber grommets between the nacelle and mast bracket—the U.S. Department of Energy’s Small Wind Site Assessment Handbook (2021) notes this cuts transmission vibration by 70%.
Can I connect this directly to household AC outlets?
No—and doing so risks fire, electrocution, or grid feedback damage. Always pair with a pure-sine-wave inverter (e.g., Pure Sine Inverter) and a battery buffer. Grid-tie requires UL 1741-certified inverters and utility approval—beyond DIY scope.
What’s the expected lifespan?
With annual bearing re-greasing and blade UV inspection, expect 7–10 years. The motor’s brushes typically last 5,000–7,000 operating hours; replace them every 3 years if used daily. Bearings fail fastest in coastal salt air—upgrade to stainless 6003-2RS units if within 5 miles of ocean.
Once tested and mounted, your turbine becomes a living lesson in energy conversion—not just a gadget, but proof that physics works when you respect the details. Keep a log of voltage output vs. wind speed (anemometer app + multimeter), and you’ll start spotting patterns no tutorial can teach. Ready to go bigger? Try pairing this with a Solar-Wind Hybrid System next.