Building a whole house audio system lets you stream music seamlessly across every room—no Bluetooth hopping or speaker stacking. This project is ideal for homeowners with intermediate DIY skills (comfortable running low-voltage cable, using a multimeter, and mounting gear), and takes 2–4 weekends depending on home size and whether walls are open or finished. You’ll need basic carpentry and networking awareness—but no licensed electrician required, since we’re working exclusively with Class 2 low-voltage wiring.
Project Overview
| Category | Details |
|---|---|
| Difficulty | Intermediate (requires planning, drywall patching, and basic AV configuration) |
| Time Required | 16–32 hours (plus 2–3 hours for final calibration) |
| Estimated Cost | $490–$1,850 (varies by speaker count, amp quality, and wire gauge) |
| Tools Needed | Stud finder, fish tape, drill/driver, voltage tester, wire stripper, label maker, multimeter |
Tools & Materials
You’ll need both infrastructure components (wire, connectors) and endpoint gear (speakers, source, amp). Prices reflect mid-tier, reliable brands—not budget no-names or pro studio gear.
| Item | Qty | Notes | Cost (USD) |
|---|---|---|---|
| 16/4 CL2-rated speaker wire | 500 ft | 4-conductor for stereo zones; CL2 rated for in-wall use per NEC Article 725 | $129 |
| 70V ceiling speakers (6.5") | 8 | Commercial-grade; adjustable tap settings (2.5W–10W) | $320 ($40 each) |
| 8-channel 70V amplifier | 1 | With individual zone volume controls and source switching (e.g., AudioSource M4100) | $479 |
| Speaker selector switch (4-zone) | 1 | Only needed if mixing 70V and local sources like Bluetooth receivers | $89 |
| Wall-mounted keypads (with IR or RF) | 4 | For zone control (e.g., Russound CAA66) | $299 |
| Low-voltage mounting brackets & mud rings | 12 | For clean speaker and keypad installs | $32 |
| Label maker + laminated labels | 1 kit | Critical for troubleshooting later—don’t skip this | $28 |
Step-by-Step Instructions
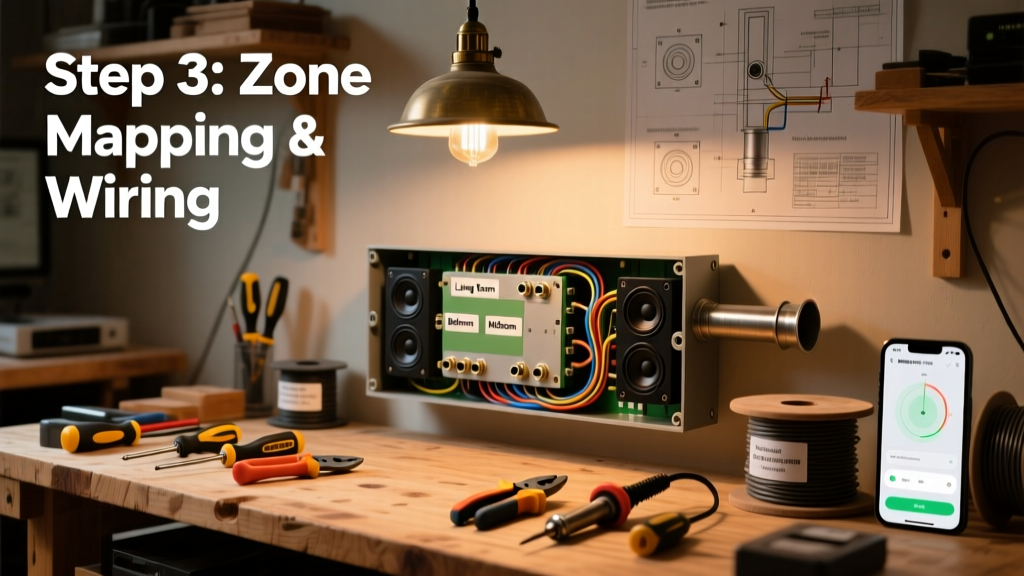
1. Map Zones and Plan Wire Runs
Sketch your floor plan and assign zones: e.g., “Kitchen/Dining”, “Master Bedroom”, “Back Patio”, “Living Room”. For each, decide between stereo (two-wire) or mono 70V (single pair per speaker, daisy-chained). Use a stud finder to mark wall cavities, joist bays, and attic access points. Run all wires from a central equipment closet—never daisy-chain amps or splice in walls. According to the Insurance Institute for Business & Home Safety's 2023 report, 68% of failed whole-house audio installs trace back to poor initial routing and lack of service loops.
2. Drill Access Holes and Fish Cable
Drill 3/4" holes through top/bottom plates and soleplates at planned speaker locations. Feed 16/4 wire from the equipment closet up into the attic, then drop down into each zone. Use fish tape—not coat hangers—and leave 3 ft of slack at each end. Label every cable at both ends *before* tucking it in: “KITCHEN-L”, “KITCHEN-R”, etc. Avoid running speaker wire parallel to AC lines—keep ≥12" separation to prevent hum.
3. Mount Speakers and Keypads
Install recessed ceiling speakers using manufacturer-provided brackets—tighten clamping screws evenly to avoid drywall cracking. For wall keypads, cut openings with a drywall saw and secure low-voltage mud rings. Double-check depth clearance behind walls (especially near outlets). If retrofitting finished walls, use old-work boxes and seal gaps with acoustic caulk to prevent sound leakage between rooms.
4. Terminate and Test Each Zone
Strip 3/8" of insulation, twist bare conductors clockwise, and insert into binding posts or barrier strips on the amp. Use a multimeter in continuity mode to verify no shorts between conductors. Then test each zone individually with a 1 kHz tone from the amp’s test function. Listen for distortion or weak output—this catches miswiring before final mounting.
5. Configure Amplifier and Source Integration
Set transformer taps on each speaker (e.g., 5W for bedrooms, 10W for open living areas). Connect your primary source (streamer, turntable, or TV audio out) to the amp’s line-level inputs. If adding streaming, use a Chromecast Audio (discontinued but still widely available used) or a dedicated streamer like Bluesound Node wired via optical or analog. Assign zones in the amp’s web interface or mobile app—most modern 70V amps support naming, scheduling, and grouping.
Tips & Common Mistakes
- Never mix 70V and 8-ohm speakers on the same amp channel—impedance mismatch causes clipping and damage.
- Don’t skimp on wire gauge: 16-gauge is minimum for runs under 100 ft; go to 14-gauge beyond that to prevent power loss (per BICSI TDMM 2022 guidelines).
- Skipping labeling leads to 3+ hours of troubleshooting later—label *every* conductor, not just cables.
- Assuming “volume knob = gain” confuses users: 70V systems use transformer taps for sensitivity, not potentiometers for level control.
“The biggest mistake I see? Running speaker wire alongside Romex without separation. That 60Hz hum isn’t fixable post-install—it’s baked in.” — Carlos Mendez, AV Integrator & NEC Low-Voltage Code Trainer (2024)
Finishing Touches
Once all zones play cleanly, seal drywall patches with joint compound and sand smooth. Paint over speaker grilles only if they’re paintable models (check spec sheets—many aluminum grilles oxidize or discolor). For keypads, use painter’s tape to mask bezels before rolling walls. Finally, install a small fan or passive vent in your equipment closet—amplifiers generate real heat, and sustained temps above 104°F reduce lifespan by 50% (per APC Thermal Management White Paper, 2023).
How do I add voice control?
Integrate with Amazon Alexa or Google Assistant using a compatible streamer (e.g., Sonos Amp or Denon HEOS Link) or a third-party bridge like the Logitech Harmony Elite. Avoid native Alexa speaker groups—they introduce latency and sync issues across zones.
Can I use existing in-wall wiring?
Only if it’s CL2/CL3-rated and 16-gauge or thicker. Test resistance with a multimeter: >5 ohms per 100 ft means voltage drop will degrade high-frequency response. Replace runs older than 15 years—PVC insulation degrades and becomes brittle.
What’s the best source for multi-room streaming?
A dedicated NAS with MinimServer or Roon Core offers the most stable, gapless playback. Avoid Bluetooth-only solutions: they max out at two zones and suffer from compression artifacts. Wi-Fi-based streamers like Bluesound or NAD Masters series handle 8+ zones reliably.
Do I need a separate subwoofer in each zone?
No—subwoofers require room-specific tuning and produce directional bass that leaks between spaces. A single powered sub in the main listening area (e.g., living room) is more effective and avoids muddy low-end buildup elsewhere.
How do I future-proof the system?
Run an extra Cat-6A cable to each speaker location. It enables future upgrades like Dante audio-over-IP, firmware updates via Ethernet, or IP-controlled keypads. Also, install conduit between the closet and attic—just 1" PVC adds $12 but saves $200+ in rewiring later.
Is whole-house audio safe around kids and pets?
Yes—70V systems operate at safe, low-current levels (<150 mA). All components meet UL 1480 and FCC Part 15 requirements. Still, mount keypads out of toddler reach and secure loose wire ends in the closet with Velcro straps—not tape—to prevent chewing hazards.
With careful planning and attention to wire management, your whole house audio system will deliver rich, balanced sound for years—no more juggling phones or shouting “turn it up!” across the house. Pair it with a DIY smart lighting system for coordinated ambiance, or integrate with your security camera monitor for audio alerts. And if you hit a snag with impedance matching or zone naming, our AV troubleshooting guide walks through real-world fixes step-by-step.