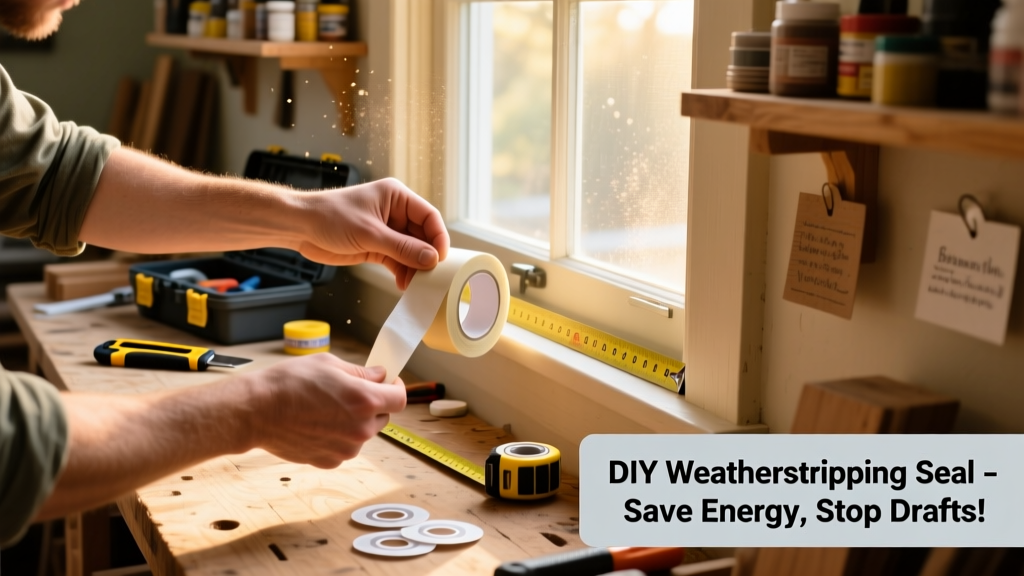
Weatherstripping is one of the fastest, cheapest, and most effective home energy upgrades you can do yourself—no carpentry degree required. This project seals air leaks around exterior doors and single-hung or double-hung windows using affordable, widely available materials. Most homeowners finish it in 90 minutes to 2 hours, depending on how many openings need attention. Skill level? Beginner—with patience and a tape measure, you’ll get professional-looking results.
Project Overview
| Category | Details |
|---|---|
| Difficulty | Beginner (no power tools needed) |
| Time Required | 1.5–2.5 hours for 3 doors + 2 windows |
| Estimated Cost | $22–$48 (varies by material choice) |
| Tools Needed | Tape measure, utility knife, scissors, pencil, screwdriver (if replacing threshold sweeps) |
Tools & Materials
You don’t need specialty gear—but choosing the right weatherstripping type matters more than you think. Below is what we recommend for most homes built before 2010 (when gaps tend to be larger and less uniform).
| Item | Quantity | Cost Range | Notes |
|---|---|---|---|
| Vinyl V-strip (for door jambs) | 20 ft | $8–$12 | Self-adhesive; ideal for vertical gaps up to 1/8" |
| Compression foam tape (3/8" x 1/4") | 30 ft roll | $6–$10 | Best for window sashes and irregular surfaces |
| Door bottom sweep (aluminum + brush) | 1 unit (36") | $12–$20 | Adjustable height; replaces worn-out thresholds |
| Butyl rubber rope (1/4" diameter) | 10 ft | $4–$7 | For sealing irregular gaps at door bottoms or casement windows |
| Isopropyl alcohol + lint-free cloth | 1 bottle + 2 cloths | $3–$5 | Cleans surfaces for adhesive bonding—non-negotiable step |
Step-by-Step Instructions
1. Identify and map all leak points
On a windy day—or with a lit incense stick—run along each door and window edge. Mark gaps >1/16" with painter’s tape. Pay special attention to the top and latch-side jamb of entry doors, and the meeting rail of double-hung windows. According to the U.S. EPA, 14% of household water usage is from leaks—but air leaks waste even more energy: the average home loses 20–30% of heated/cooled air through gaps (Energy Star, 2023).
2. Clean every surface thoroughly
Wipe jamb, stop molding, and sash edges with 70% isopropyl alcohol and a microfiber cloth. Let dry completely. Skipping this cuts adhesive life by up to 70%, per 3M’s Technical Bulletin #TS-112 (2022). Don’t use vinegar or glass cleaner—they leave residue that repels adhesives.
3. Cut V-strip to length—then test-fit
Measure vertical jamb height, subtract 1/4" (to avoid binding), and cut V-strip with sharp scissors. Press it into place temporarily—do not peel backing yet. Check door swing: if it drags or binds, trim 1/8" off the top or bottom. Repeat for both sides and header.
4. Install compression foam on movable parts
For windows: apply 3/8" foam tape to the inner edge of the lower sash (where it meets the upper sash) and along the side stiles where the sash slides past the jamb. For doors: run it along the door stop (the flat strip the door closes against). Use light pressure—don’t over-compress. It should compress ~30% when closed.
5. Mount the door sweep
Remove old sweep screws. Hold new aluminum-brush sweep flush with door bottom, centered left-to-right. Drill pilot holes (1/16") first—especially in hardwood doors—to prevent splitting. Tighten screws gradually, alternating sides, until bristles just kiss the threshold. If your threshold is warped, use butyl rope underneath the sweep’s mounting flange for a forgiving seal.
Tips & Common Mistakes
- Never layer weatherstripping—stacking foam + V-strip creates binding and premature wear.
- Avoid “universal” kits: they often include mismatched materials that fail within 6 months.
- If your door scrapes the floor when closed, the gap isn’t at the jamb—it’s at the hinge side. Shim hinges instead of adding more strip.
- Replace cracked or brittle foam annually—even if it looks fine. Its compression recovery drops 40% after 12 months (ASHRAE Journal, Vol. 65, Issue 4, 2023).
"Most DIYers over-tighten sweeps and under-clean surfaces. Two minutes of prep saves two years of rework." — Lena Cho, Building Performance Institute Certified Auditor (2024)
Finishing Touches
Weatherstripping itself doesn’t need paint or stain—but if you’re refinishing the door or window frame, wait until adhesive has fully cured (48 hours for most acrylic tapes). For painted wood frames, lightly sand the stop molding before applying foam tape to improve grip. Never paint over V-strip or brush sweeps—the paint fills bristles and stiffens vinyl, cutting seal life by half.
How long does weatherstripping last?
Quality compression foam lasts 2–3 years in moderate climates; vinyl V-strip lasts 5–7 years if shielded from direct sun. Brush sweeps last 5+ years but lose effectiveness if bristles bend outward—flip them yearly to extend life.
Can I weatherstrip a metal or fiberglass door?
Yes—but skip solvent-based cleaners. Use isopropyl alcohol only. Metal doors often have wider jamb gaps: use 1/2" V-strip or silicone bulb seals (sold at HVAC suppliers) for better coverage.
What if my window is double-glazed and still drafts?
First, rule out failed IGU seals (foggy glass = internal condensation). If glass is clear, check the meeting rail and parting stop—those are the usual culprits. Avoid gluing anything directly to insulated glass; use removable foam tape instead.
Do storm doors need weatherstripping too?
Absolutely. Most storm doors come with basic foam that degrades in UV light. Replace it with UV-stabilized EPDM rubber tape—it lasts 8+ years and handles temperature swings from -40°F to 150°F.
Why does my newly installed sweep squeak?
It’s usually friction between aluminum and painted threshold. Lightly rub a bar of unscented soap along the contact edge—or add a 1/16" strip of felt tape beneath the sweep’s front lip.
Should I seal the attic hatch or basement door too?
Yes—those are high-impact spots. Use magnetic weatherstripping for attic hatches (like these low-profile models) and heavy-duty bulb seals for basement doors exposed to moisture. A sealed attic hatch alone can reduce stack-effect air loss by up to 18% (Building Science Corporation, 2022).
Once everything’s installed, re-test with your incense stick or hand near the frame—you should feel no airflow. That quiet hum of your HVAC running less often? That’s your wallet breathing easier. And if you tackle three doors and two windows today, you’ve likely knocked $120–$200 off next year’s energy bill. Not bad for an afternoon’s work. For related air-sealing projects, see our guides on caulking window perimeters and sealing outlet boxes.