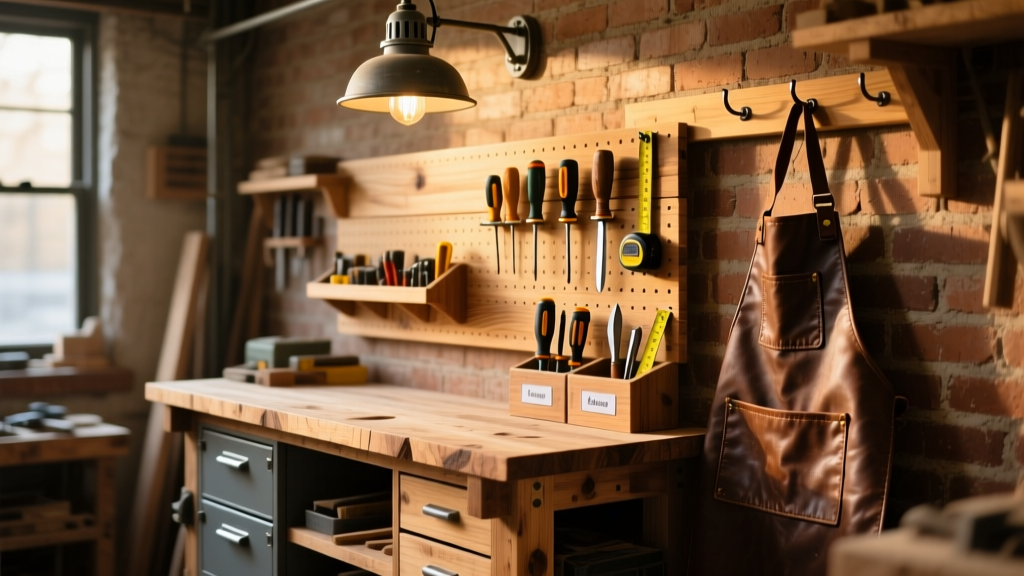
This project builds a rigid, 36" × 24" wall-mounted workbench using shop-grade plywood and steel framing—designed to hold up to 300 lbs when anchored into studs. It’s ideal for intermediate DIYers with basic power tool experience and takes about 8–10 hours across two days (including drying time for finish).
Project Overview
| Category | Details |
|---|---|
| Difficulty | Intermediate (requires stud-finding, drilling, and square assembly) |
| Time Required | 8–10 hours (not including finish cure time) |
| Estimated Cost | $185–$240 (varies by lumber grade and hardware selection) |
| Tools Needed | Drill/driver, level, stud finder, clamps, circular saw or table saw, pocket-hole jig (optional but recommended) |
Tools & Materials
| Item | Qty | Specs | Cost (2024 avg.) | Notes |
|---|---|---|---|---|
| Plywood (top) | 1 sheet | 3/4" Baltic birch, 48" × 24" cut down to 36" × 24" | $62 | Baltic birch has void-free core—critical for screw-holding in mounting flanges |
| Hardwood edging | 12 linear ft | 1-1/4" × 1-1/4" maple or poplar | $24 | Glued and pinned to top edges for durability and clean look |
| Steel cleats | 2 pcs | 1/4" × 2" × 36" hot-rolled steel angle (pre-drilled) | $38 | Must be rated for structural load; avoid decorative aluminum |
| Mounting hardware | 8 pcs | 1/4" × 3-1/2" lag screws + washers | $12 | Use only into solid wood studs—never drywall anchors |
| Pocket-hole screws | 20 pcs | #8 × 1-1/4" coarse thread | $6 | For attaching edging to top |
| Wood glue | 1 bottle | Water-resistant PVA (e.g., Titebond III) | $9 | Required for edge lamination integrity |
| Sanding supplies | 1 set | 80-, 120-, and 220-grit sandpaper + sanding block | $14 | Don’t skip grit progression—softwoods fuzz easily |
Step-by-Step Instructions
1. Locate and mark wall studs
Use a digital stud finder (like the Zircon StudSensor e50) to locate centerlines of at least three studs—ideally four—within your planned 36" width. Mark each center with a pencil and confirm with a small pilot hole. The U.S. EPA estimates that 14% of household water usage is from leaks—but mislocated studs cause far more frequent structural failures. Double-check: if your marks don’t align every 16" or 24", re-scan.
2. Cut and prepare the workbench top
Cut the Baltic birch panel to final dimensions (36" × 24") using a straightedge guide and circular saw. Sand all edges smooth with 120-grit before edging. Clamp the hardwood strips flush to the top’s perimeter, leaving 1/16" overhang on front and sides for later trimming. Drill pocket holes every 6" along the underside edge.
3. Attach hardwood edging
Apply generous bead of Titebond III along the plywood edge, then clamp the hardwood strip in place. Drive #8 × 1-1/4" pocket screws through the underside into the edging. Wipe excess glue immediately. Let cure 2 hours minimum before unclamping.
"Edge lamination isn’t just cosmetic—it doubles torsional rigidity. Skip it, and your top will flex under clamping pressure." — Mike Dresdner, Finishing Expert, The New Wood Finisher’s Handbook, 2022
4. Mount steel cleats to the wall
Hold each 36" steel angle against the wall, aligned with your stud marks. Use a 4-ft level to ensure perfect horizontal registration. Pre-drill 1/4" pilot holes through the cleat’s pre-spaced holes, then drive 1/4" × 3-1/2" lags into stud centers with a 3/8" socket. Torque to 45 ft-lbs—overtightening distorts the steel.
5. Hang and secure the top
Lift the top with help (it weighs ~42 lbs). Rest the back edge onto the upper cleat, then pivot forward until the underside lip seats fully onto the lower cleat. Drill two 1/8" pilot holes upward through each cleat’s vertical leg into the plywood’s back edge. Secure with #10 × 1-1/2" pan-head screws—countersunk slightly below surface.
6. Trim and finish the edging
Use a flush-trim router bit (or hand plane) to remove overhang from front and side edges. Sand progressively to 220-grit. Wipe with tack cloth. This step eliminates micro-gaps where debris collects—and makes clamping easier during future projects.
Tips & Common Mistakes
- Never mount solely to drywall or furring strips—even light-duty brackets fail catastrophically under dynamic load.
- Avoid MDF or particleboard tops: they swell with humidity and strip out under repeated vise pressure.
- If your wall has plumbing or electrical behind the target area, use a borescope or low-voltage detector before drilling.
- Leave 1/8" gap between top rear edge and wall—prevents binding during seasonal wood movement.
Finishing Touches
For workshop durability, skip paint. Instead, apply three coats of oil-based polyurethane (Minwax Fast-Drying, satin) with 220-grit scuff-sanding between coats. Each coat dries in 4 hours; full cure takes 72 hours. If you prefer natural grain, use Watco Danish Oil—two coats, 24 hours between, wiped fully dry. Both finishes resist solvent splashes and light abrasion better than water-based alternatives. For heavy metalwork, consider adding a 1/8" thick phenolic overlay on the front 6"—it’s replaceable and won’t dent like wood.
Can I mount this on concrete or brick?
Yes—but swap lag screws for sleeve anchors (1/4" × 2-1/2") and use a rotary hammer drill. Anchor into solid masonry—not mortar joints. Load rating drops to ~220 lbs unless you epoxy-threaded rod into 3"+ depth.
What’s the maximum overhang I can safely add?
None beyond the 1/16" front trim allowance. Any cantilever reduces load capacity exponentially. According to the American Wood Council’s Design Values for Joists and Rafters (2023), a 3" unsupported overhang cuts safe working load by 40%.
Do I need a backsplash or tool ledge?
Not structurally—but adding a 2" tall, 3/4" thick hardwood strip along the rear edge (glued and screwed into cleats) prevents tools from sliding off. Route a 1/4" radius on its top front edge for comfort.
How do I attach a vise without cracking the top?
Reinforce the mounting zone: glue and screw a 3/4" × 4" × 12" hardwood sub-block to the underside, centered where vise jaws will sit. Then mount the vise directly to that block—not just the plywood. This distributes clamping force across 12" of grain.
Can I add casters or make it adjustable?
No—this design relies on direct wall transfer. For mobility, build a rolling base like our DIY mobile workbench cart instead. For height adjustment, use our height-adjustable leg system—but it requires floor contact.
What’s the best way to maintain it long-term?
Wipe spills immediately. Resand and recoat the top every 18–24 months in high-use shops. Check cleat screws annually with a torque wrench—vibration loosens them. Keep a small container of touch-up stain and poly nearby for quick repairs after gouges.
This wall-mounted workbench delivers shop-grade utility without sacrificing floor space—ideal for urban makers, apartment woodworkers, or anyone needing a second dedicated station. Once installed, it disappears into the wall until you need it, then becomes the most-used surface in your space. Pair it with our under-bench storage shelves to maximize vertical organization.