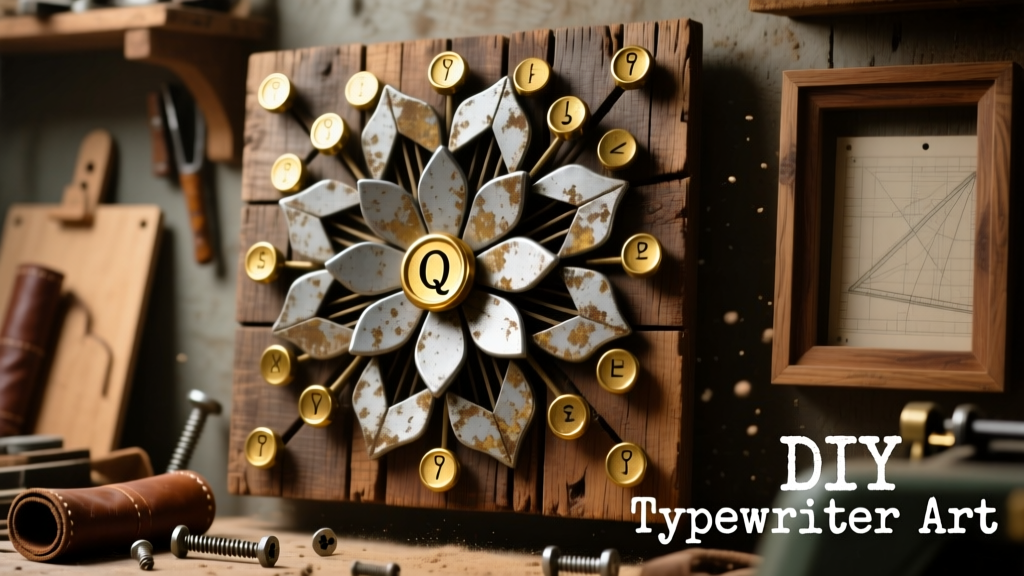
Turn a dusty, nonfunctional typewriter into bold, conversation-starting wall art—no typing skills required. This project is beginner-friendly, takes about 3.5 hours (plus drying time), and works whether you scored a $5 yard-sale relic or inherited Grandpa’s Underwood No. 5.
Project Overview
| Category | Details |
|---|---|
| Difficulty | Beginner — requires basic hand tools and patience with small parts |
| Time Required | 3.5 hours active work + 12–24 hours for stain/sealant drying |
| Estimated Cost | $22–$48 (depending on whether you source the typewriter free or buy one restored) |
| Tools Needed | Needle-nose pliers, wire cutters, orbital sander (or sandpaper), drill, level, stud finder |
Tools & Materials
| Item | Qty | Notes | Cost |
|---|---|---|---|
| Vintage typewriter (non-working OK) | 1 | Check thrift stores, Facebook Marketplace, or estate sales; avoid plastic-bodied models | $0–$35 |
| Minwax Ebony Wood Stain | 1 small can | Works well on metal keys and painted frames; dries in 4 hrs | $8.97 |
| Clear matte polyurethane (spray) | 1 can | Minwax Fast-Drying Poly; prevents fingerprints and tarnish | $12.49 |
| Wall-mounting hardware | 1 kit | Includes D-rings, 50-lb-rated picture wire, and wall anchors | $6.29 |
| Steel wool (0000 grade) | 1 pad | For gentle polishing of brass key stems and typebars | $3.49 |
Step-by-Step Instructions
1. Disassemble and Sort Components
Unscrew the carriage, ribbon spools, and spacebar assembly using a Phillips #1 screwdriver. Remove all keys by gently prying up the keycap with needle-nose pliers—don’t force brittle plastic. Group parts: keys, typebars, frame pieces, and decorative trim. Set aside any cracked or warped keys (they’ll weaken adhesion later).
2. Clean and Degrease Thoroughly
Soak metal parts in warm water + 2 tbsp white vinegar for 15 minutes to loosen decades of ink and grime. Rinse, then wipe down with isopropyl alcohol (91%) on lint-free rags. Let air-dry completely—moisture trapped under stain causes clouding.
3. Sand Key Surfaces Lightly
Use 220-grit sandpaper wrapped around a flat block to scuff just the top surface of each keycap—only enough to remove gloss and create tooth for stain adhesion. Skip this step on Bakelite keys (they’re brittle); instead, polish with 0000 steel wool. According to the Antique Typewriter Collectors’ Association’s 2022 Conservation Handbook, “Over-sanding Bakelite removes original lettering and compromises structural integrity.”
4. Apply Stain Evenly
Wear nitrile gloves. Apply Minwax Ebony with a foam brush, working in small sections (5–6 keys at a time). Wipe excess after 60 seconds with a clean cotton rag. Let dry 4 hours before handling. For deeper contrast, apply a second coat only to the metal typebars—not the keys—to highlight mechanical detail.
5. Reassemble Selectively
Reattach only the front-facing keys and typebars—the ones visible when mounted. Leave internal mechanisms (carriage rails, escapement) removed. Use Loctite 222 (low-strength threadlocker) on reinstalled screws to prevent vibration loosening over time.
6. Mount Securely to Wall
Mark wall studs with a stud finder. Attach heavy-duty D-rings to the typewriter’s rear frame using #6 x 3/4" brass wood screws. Thread 50-lb picture wire between rings, leaving 2" slack. Hang using two 50-lb-rated wall anchors—never drywall nails. Level with a 24" aluminum torpedo level before final tightening.
Tips & Common Mistakes
- Don’t skip degreasing—even invisible oil residue blocks stain absorption, causing blotchy patches.
- Avoid acrylic paint on keys: it chips within months from casual brushing against walls or clothing.
- If your typewriter has chrome-plated parts, use Brasso sparingly before staining—not after—to avoid dulling the finish.
- Never mount directly over a radiator or HVAC vent; thermal cycling warps vintage metal and cracks finishes.
Finishing Touches
After stain fully cures (12 hours), spray two light, even coats of Minwax Fast-Drying Poly in a well-ventilated area, waiting 30 minutes between coats. Hold the can 12 inches away—too close causes drips on intricate key stems. Let cure 24 hours before hanging. For extra dimension, lightly dry-brush metallic silver paint (metallized acrylic paint) onto raised lettering only, then seal again.
Can I use a modern electric typewriter?
No—most post-1980 models use ABS plastic frames and silicone rubber keys that won’t accept wood stain or polyurethane evenly. Stick to pre-1975 mechanical models like Olympia SM series, Royal Quiet DeLuxe, or Smith-Corona Silent Super.
What if some keys are missing?
Fill gaps with blank brass keycaps sourced from vintage typewriter parts suppliers like The Typewriter Store (they list compatible replacements by model year). Avoid 3D-printed replicas—they lack weight and authenticity.
How do I protect the finish long-term?
Dust monthly with a microfiber cloth dampened with distilled water only—never glass cleaner or all-purpose sprays. UV exposure fades stain; hang away from direct southern windows. The U.S. Library of Congress’ 2021 Preservation Guidelines notes that “unsealed typewriter finishes degrade 3x faster in high-UV environments.”
Can I add lighting?
Yes—but use low-voltage LED strip lights (under 12V DC) mounted *behind* the typewriter, not inside. Heat from higher-voltage bulbs accelerates oxidation of aged metal. Wire through a hidden channel in the wall or baseboard for clean installation.
Is it safe to hang above a bed or sofa?
Yes—if mounted properly into studs with rated hardware. Double-check anchor load ratings: a typical Underwood No. 5 weighs 28 lbs. Always use a safety cable anchored to a nearby stud as a backup, especially in homes with children or pets.
What’s the best way to photograph it for social media?
Shoot at golden hour with the typewriter angled 15° toward natural light. Use a reflector card opposite the light source to lift shadows in key grooves. Edit in Lightroom: boost Clarity +15, Dehaze +10, and add subtle grain for vintage texture—avoid oversharpening, which exaggerates scratches.
This isn’t just decor—it’s layered history made tactile. Every key tells a story, and now it hangs where guests pause, point, and ask, “Where did you find that?” Keep your originals intact, your stain even, and your mounting rock-solid—and you’ll have a piece that outlasts trends, just like the machine itself.