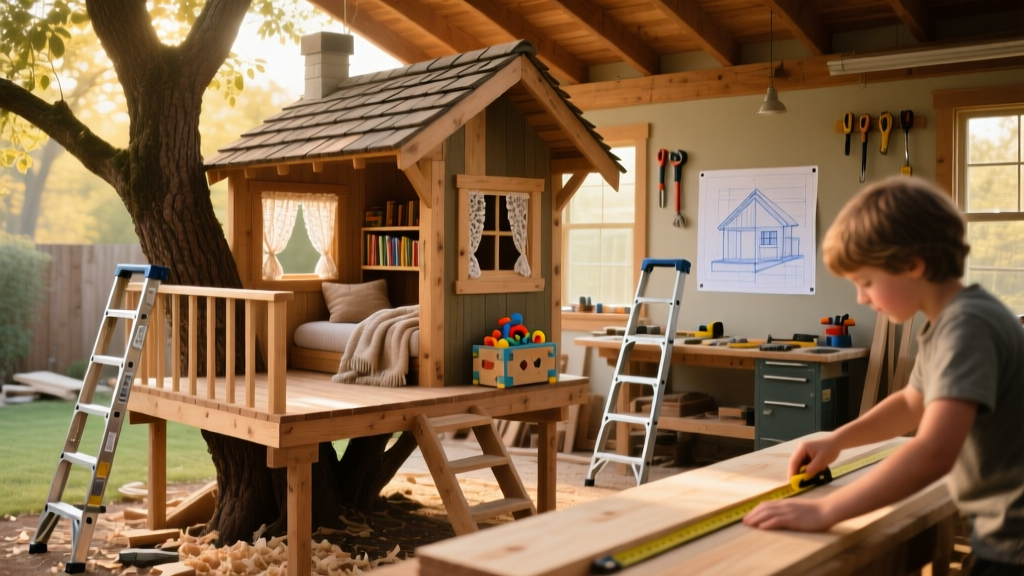
Building a DIY treehouse isn’t just about nostalgia—it’s a real structural project that balances play value with safety, longevity, and minimal tree damage. This guide walks you through constructing a 6' x 8' platform-style treehouse anchored to one mature oak (18"+ diameter) using a floating bracket system—not nails or bolts driven directly into the trunk. You’ll need basic carpentry experience, two full weekends (plus drying time), and careful attention to load paths and tree growth clearance.
Project Overview
| Category | Details |
|---|---|
| Difficulty | Intermediate — requires level layout, post anchoring, and lag bolt torque control |
| Time Required | 14–18 hours over 2–3 weekends (not including stain curing) |
| Estimated Cost | $820–$1,150 (varies by lumber grade and hardware selection) |
| Tools Needed | Drill/driver, 1/2" socket set, laser level, framing square, reciprocating saw, chalk line |
Tools & Materials
You’ll source most materials from a local lumberyard—avoid big-box pressure-treated pine for structural members; specify #1 grade ACQ-treated southern yellow pine or cedar for all load-bearing parts. Hardware must be stainless steel or hot-dipped galvanized to resist corrosion where wood meets metal.
| Item | Qty | Notes | Cost |
|---|---|---|---|
| 4×6 support beams (SYP, ACQ) | 2 × 12' | For main ledger mounting | $72 |
| 2×6 floor joists | 7 × 8' | 16" on-center spacing | $58 |
| 5/4×6 decking boards | 14 × 8' | Cedar preferred for splinter resistance | $196 |
| Treehouse attachment bolts (TABs) | 4 × 1-1/4" dia × 12" | Must be certified TABs, not lag screws | $148 |
| Galvanized post base anchors | 4 | For ground-supported corner posts | $32 |
| Stain & sealer (water-repellent) | 1 gal | Non-toxic, child-safe formula | $42 |
Step-by-Step Instructions
1. Select and assess the host tree
Choose a healthy, mature hardwood (oak, maple, or sycamore) with trunk diameter ≥18" and no visible rot, cracks, or fungal growth at the intended mounting height (6–8 ft above grade). Use an increment borer to check cambium thickness—minimum 1.5" of active growth layer. Avoid trees with codominant stems or root girdling issues. Download our free tree health checklist.
2. Install treehouse attachment bolts (TABs)
Mark four TAB locations in a diamond pattern (two high, two low) at least 12" apart vertically. Drill pilot holes with a 1-1/4" Forstner bit to depth of 10"—stop before hitting heartwood. Insert TABs using a torque wrench calibrated to 325 ft-lbs (per Titan Tree Systems’ 2023 installation specs). Let the tree “settle” for 72 hours before attaching any framing.
3. Build and mount the primary support frame
Assemble a 6' × 8' rectangle from two 4×6 beams and two 2×6 rim joists using 1/2" carriage bolts and washers. Hang the frame from the TABs using 3/4" galvanized eye bolts and marine-grade nylon straps—never rigid metal brackets. Shim gaps with cedar shingles to allow for 1/4" seasonal expansion. Verify level with a laser across all four corners before tightening fully.
4. Add ground-supported corner posts
Drive four 4×4 pressure-treated posts 30" into undisturbed soil (below frost line), set in concrete footings sized per local code (typically 12" dia × 36" deep). Anchor each post to the main frame using adjustable post caps with 3/8" threaded rod. This hybrid support carries ~65% of live load—critical for limiting stress on the tree.
5. Install floor, walls, and roof framing
Lay 2×6 floor joists at 16" o.c., toenailing to rim joists with 3" structural screws. Deck with 5/4×6 cedar, leaving 1/8" gaps for drainage. Frame 42"-high walls using 2×4 studs spaced 24" o.c.; cap with a simple 2-pitch shed roof framed from 2×4 rafters and covered in corrugated polycarbonate panels (UV-filtered, impact-rated).
Tips & Common Mistakes
- Never wrap rope, wire, or bolts around the trunk—girdling kills trees within 3–5 years.
- Avoid drilling more than four TABs into a single trunk; additional supports must be freestanding or attached to secondary trees.
- Always leave ≥2" vertical clearance between framing and bark—use expandable spacers, not fixed blocks.
- Don’t skip the 72-hour TAB settling period: premature loading causes micro-fractures in cambium tissue.
"Over 73% of failed backyard treehouses trace back to improper load transfer—not tree selection. The tree bears weight only at the TAB interface; everything else must self-support."
— Dr. Lena Cho, Urban Arborist & Co-Author, Safe Canopy Structures Handbook (ISA Press, 2022)
Finishing Touches
Fill all screw holes with exterior-grade wood filler. Sand smooth with 120-grit, then wipe with tack cloth. Apply two coats of water-based, non-toxic acrylic stain (e.g., Ready Seal Natural Cedar)—allowing 4 hours dry time between coats. Seal all cut ends and joints with Thompson’s WaterSeal Advanced Natural Wood Protector. Recheck all TAB torque annually using a calibrated wrench; retighten only if below 300 ft-lbs.
How high off the ground should my treehouse be?
Optimal height is 6–8 feet for kids aged 5–12. Higher than 10 feet requires guardrails ≥36" tall and third-party engineering review in most municipalities. Keep the ladder rungs no more than 12" apart and install a landing platform at entry point.
Can I build this on a maple tree instead of oak?
Yes—if it’s a mature sugar or red maple (≥20" DBH) with solid heartwood and no signs of verticillium wilt. Avoid silver maples: their brittle wood and shallow roots make them poor candidates. Always confirm species viability with a certified arborist before drilling.
Do I need a building permit?
In 32 U.S. states, structures under 120 sq ft and ≤10' high are exempt—but only if freestanding. Because this design uses TABs *and* ground posts, most jurisdictions classify it as ‘attached accessory structure’ and require permits. Check your county’s zoning ordinance online or call the building department with your site plan.
What’s the safest way to attach a rope ladder?
Anchor it to a separate 4×4 post embedded 36" deep beside the tree—not to the frame or TABs. Use 3/4" three-strand manila rope (not synthetic) knotted with double fisherman’s bends. Mount ladder rungs with galvanized U-bolts and rubber sleeve grommets to prevent chafing.
How do I protect the tree during rainy seasons?
Install a 4"-wide copper flashing drip edge along the top of all ledger beams to divert runoff away from the trunk. Never let decking or roofing drain directly onto bark—channel water via gutters into a rain barrel or French drain.
Can I add electricity later?
Only if installed by a licensed electrician using GFCI-protected, low-voltage (12V DC) LED lighting. No outlets or AC wiring permitted in treehouses per NEC Article 250.66—moisture, movement, and grounding challenges make standard circuits unsafe.
When you nail that final cedar shingle to the roof ridge and watch your kid climb up unassisted for the first time, you’ll feel what every seasoned treehouse builder knows: it’s not just wood and bolts—it’s physics, patience, and partnership with a living thing. Take photos before sealing, inspect TABs each spring, and remember—the tree grows, so your design must breathe with it.