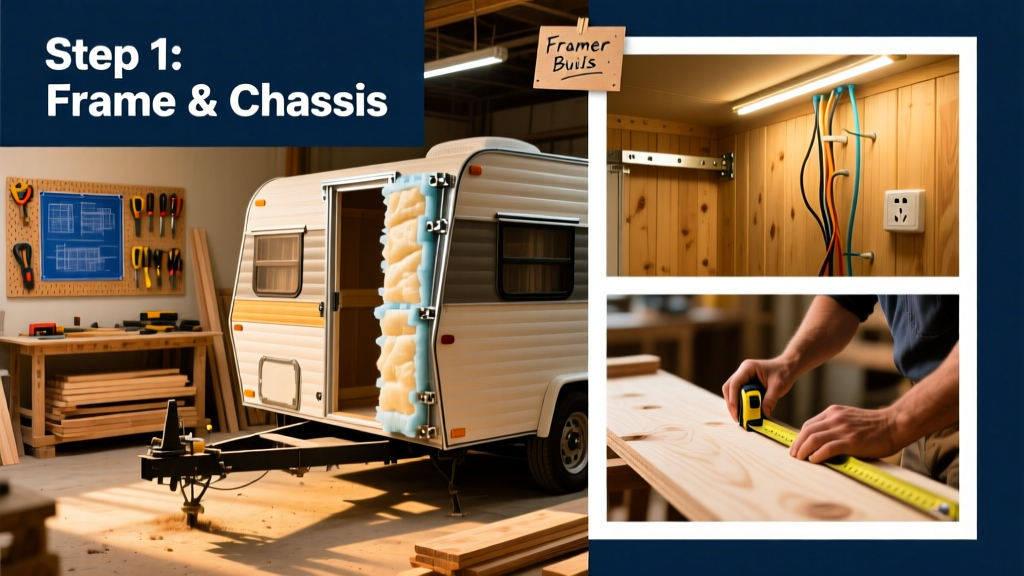
Building your own trailer camper gives you full control over layout, materials, and budget — and it’s more achievable than most assume. This project is rated intermediate: you’ll need comfort with power tools, basic wiring, and moisture management, but no welding or advanced engineering. Plan for 120–160 hours across 3–5 weekends, depending on whether you source a used trailer frame or start from bare steel.
Project Overview
| Category | Details |
|---|---|
| Difficulty | Intermediate (requires framing, insulation, and 12V electrical experience) |
| Time Required | 120–160 hours (3–5 weekends) |
| Estimated Cost | $4,200–$7,800 (excluding tow vehicle) |
| Tools Needed | Cordless drill, circular saw, rivet gun, multimeter, caulk gun, level, tape measure |
Tools & Materials
You’ll source two main categories: the rolling base and the living shell. A used 5×8-ft single-axle utility trailer (e.g., Wells Cargo or Carry-On) runs $1,100–$1,900 on Craigslist or Facebook Marketplace — inspect for rust at the tongue welds and axle bearings. For the build-out, prioritize closed-cell spray foam insulation (R-6 per inch) and marine-grade plywood (BCX or ABX) for walls and roof.
| Item | Qty | Notes | Cost |
|---|---|---|---|
| Marine-grade plywood (1/2") | 12 sheets | For walls, ceiling, floor subfloor | $840 |
| 2×2 and 2×3 pressure-treated lumber | 120 linear ft | Wall studs, roof rafters, floor joists | $210 |
| Closed-cell spray foam (20-bushel kit) | 1 kit | Insulates and air-seals in one step | $1,320 |
| Roofing: TPO membrane (10'×20') | 1 roll | Heat-welded seams, 15-year warranty | $495 |
| 12V system: Renogy 100Ah LiFePO4 + MPPT | 1 kit | Includes charge controller, fuse block, bus bars | $1,020 |
| Compact sink + foot-pump faucet | 1 set | Shurflo 2088-241 + Sinkology stainless | $285 |
Step-by-Step Instructions
1. Prep and Reinforce the Trailer Frame
Lift the trailer onto sturdy jack stands. Remove all factory decking and inspect for rust pitting — especially where the tongue meets the frame rails. Weld or bolt-on 2×3 pressure-treated stringers every 16" along the length, then add cross-bracing diagonally between them. According to the National Association of Trailer Manufacturers’ 2023 Structural Standards, unbraced spans over 48" require diagonal support to prevent torsional flex during travel.
2. Build the Floor Assembly
Attach 3/4" marine plywood to the reinforced frame using stainless steel self-tapping screws (every 6" along edges, 8" in field). Seal all seams with OSI Quad Max sealant — not silicone — because it remains flexible and bonds to wet or dry surfaces. Embed a 1/2" layer of XPS rigid foam under the plywood if you plan winter use; this adds R-5 without raising floor height.
3. Frame Walls and Roof
Use 2×2 studs spaced 24" on-center for walls (lighter weight, less thermal bridging). Cut openings for windows *before* sheathing — mark centerlines and use a jigsaw with a fine-tooth blade. For the roof, build simple 2×3 scissor trusses with a 3:12 pitch. Anchor each truss to the top plate with Simpson H2.5A hurricane ties — critical for wind uplift resistance at highway speeds.
4. Insulate and Sheathe
Fill wall cavities with low-expansion spray foam (not fiberglass — it compresses and loses R-value on rough roads). Let cure 24 hours before trimming flush with a serrated knife. Then apply 1/2" BCX plywood as exterior sheathing, staggering vertical seams and sealing every panel edge with Quad Max. Overlap roof sheathing by 1/4" at ridges and eaves to shed water properly.
5. Install Windows, Door, and Roof Membrane
Use insulated, tempered-glass RV windows (e.g., Hehr 8200 series) mounted with butyl tape and stainless screws. The entry door should be a pre-hung 24"×60" fiberglass unit with magnetic latch and adjustable threshold. For roofing, lay TPO membrane with 3" heat-welded seams and terminate at the front/rear fascia with metal drip edge secured with stainless cleats — no nails through the membrane.
Tips & Common Mistakes
- Never skip the vapor barrier behind interior wall panels — use Intello Plus membrane taped with Tescon Vana to prevent condensation rot inside wall cavities.
- Avoid standard household outlets: install only GFCI-protected 12V USB-A/USB-C ports and a single 120V AC outlet fed via inverter (with auto-shutoff below 11.8V).
- Don’t mount cabinets directly to thin wall studs — use 3/4" plywood backing plates anchored to at least two studs for load distribution.
One of the most frequent failures we see in DIY campers is improperly flashed windows. Water intrusion behind the flange causes hidden rot within 18 months. Always test each window with a garden hose for 10 minutes after installation — check inside with a moisture meter reading below 12%.
"If your camper leaks, it’s almost always at a penetration point — window, vent, or roof seam — not the material itself." — Mike Rafferty, RVIA-certified inspector since 2007
Finishing Touches
Interior walls get two coats of Benjamin Moore Aura Bath & Spa paint — zero-VOC, scrubbable, and mold-resistant. For cabinetry, use pre-finished maple plywood (no sanding required) and attach with pocket-hole joinery and wood glue. Seal all exterior wood edges — including window trim and door frames — with Thompson’s WaterSeal Advanced Natural Wood Protector, reapplied annually. Finally, run a full 12V systems check: verify battery voltage stays above 12.2V under load, test LED lighting dimming curves, and confirm propane detector alarm sounds at 20 ppm LPG.
How heavy can my DIY camper safely be?
Your trailer’s GVWR (Gross Vehicle Weight Rating) is stamped on the VIN plate near the tongue. Subtract the empty trailer weight (get it weighed at a CAT scale) to find max payload. For a 5×8 utility trailer, typical GVWR is 2,990 lbs — leaving ~1,400–1,700 lbs for build-out, gear, and occupants. Exceeding GVWR voids insurance and risks axle or brake failure.
Do I need a title or registration for a homemade camper?
Yes — in 48 states, once you permanently affix a structure to a trailer chassis, it becomes a “motorhome” or “recreational vehicle” requiring titling. In California and New York, you’ll need an MVR-1 form and third-party inspection. Start with your DMV’s Homemade Vehicle packet — processing takes 4–12 weeks.
Can I add solar later, or must it be built-in?
You can retrofit solar, but it’s far more efficient to embed conduit and junction boxes during roof framing. Run 10 AWG PV wire in ENT conduit from roof to battery location, with a 30A breaker at the combiner box. Leave 20% spare capacity in your charge controller — our solar wiring guide walks through derating calculations for high-temp roofs.
What’s the best way to insulate around the wheel wells?
Wheel wells are thermal bridges and vibration points. Cut rigid XPS foam to fit the cavity, then fill remaining gaps with slow-rise spray foam. Cover the entire well interior with 1/8" aluminum sheet screwed into the frame — this blocks radiant heat and damps road noise. Test with an infrared thermometer: surface temps should stay within 5°F of interior ambient.
How do I prevent condensation inside during cold weather?
Run a 12V DC ventilation fan (like the Fan-Tastic 7350) on low 24/7 when occupied — it moves 130 CFM and draws just 0.7 amps. Pair it with a hygrometer that triggers automatic fan ramp-up above 55% RH. Never rely solely on passive vents; they don’t move enough air to manage human-sourced moisture (a sleeping adult emits ~1 pint of water vapor nightly).
Is a composting toilet worth the hassle?
For solo or couple use, yes — the Nature’s Head saves ~20 gallons of gray water per week and eliminates black tank dumping. But it requires strict urine-diversion discipline and monthly emptying of the solids bin. If you’re building for families or extended off-grid use, a macerating toilet with a 15-gallon holding tank (like the Saniflo SaniPro) offers more flexibility — just remember to route the discharge line downward with 1/4" per foot slope.
Once your final inspection passes and the first overnight test drive goes smoothly — no rattles, no leaks, no voltage drops — you’ve earned the freedom of the open road on your own terms. Keep a build journal with photos and torque specs; you’ll reference it during maintenance, upgrades, or when helping others start their own camper truck or tiny cabin on trailer project. And remember: every mile you drive in your DIY camper is a mile you didn’t pay a rental company or campground fee.