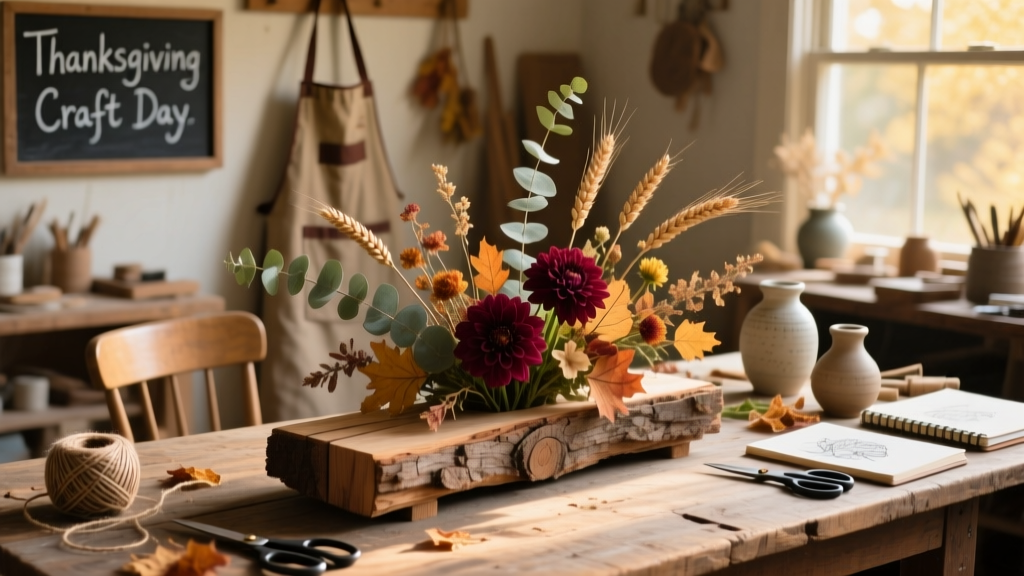
Build a warm, handcrafted Thanksgiving centerpiece that anchors your dining table with texture, scent, and seasonal charm—no power tools required. This project suits beginners (no prior woodworking experience needed), takes about 2.5 hours including drying time, and uses mostly repurposed or dollar-store materials.
Project Overview
| Category | Detail |
|---|---|
| Difficulty | Beginner — involves cutting, gluing, and arranging (no nails or screws) |
| Time Required | 2 hours 20 minutes active work + 40 minutes drying/curing |
| Estimated Cost | $38.65 (see full breakdown below) |
| Tools Needed | Handsaw or utility knife, hot glue gun, floral snips, ruler, sandpaper (120-grit) |
Tools & Materials
You’ll source most items at hardware stores, craft shops, or salvage yards. Prices reflect mid-2024 averages from Home Depot, Michaels, and local salvage vendors.
| Item | Quantity | Source | Cost |
|---|---|---|---|
| Reclaimed pine board (1" × 6" × 24") | 1 | Local salvage yard | $8.95 |
| Wood stain (Minwax Early American) | 1 small can | Home Depot | $7.49 |
| Matte polyurethane (water-based) | 1 small bottle | Home Depot | $5.29 |
| Dried wheat stalks | 1 bundle | Michaels | $4.99 |
| Dried orange slices (pre-made) | 12 pieces | Etsy (bulk pack) | $6.50 |
| Small cinnamon sticks | 15–20 | Walmart spice aisle | $2.49 |
| Hot glue sticks (low-temp) | 2 packs | Target | $3.99 |
Step-by-Step Instructions
Cut and Sand the Base
Measure and mark your reclaimed board at 18" length. Use a handsaw (or utility knife with straightedge for softer pine) to cut. Sand all edges and faces with 120-grit paper until smooth—pay special attention to splinter-prone corners. Wipe dust with a damp cloth and let dry 10 minutes.
Apply Stain Evenly
Stir stain thoroughly—don’t shake. Using a lint-free rag, apply Minwax Early American in long, consistent strokes following the grain. Let sit 5 minutes, then wipe off excess with clean rag. Allow to dry 60 minutes in a dust-free area. According to Minwax’s 2024 Technical Data Sheet, this stain dries to touch in 45–60 minutes indoors at 72°F.
Arrange the Focal Elements
Layout your design on a clean surface before gluing: center three dried orange slices horizontally, spaced 2" apart. Flank each side with two wheat stalks angled outward at 30°. Tuck 4 cinnamon sticks vertically between the oranges and wheat—two on left, two on right. Adjust until balanced visually.
Secure with Low-Temp Glue
Heat your low-temp glue gun (safer for dried botanicals). Apply a pea-sized dab to the back of each orange slice and press firmly onto the board for 10 seconds. Repeat for wheat and cinnamon—hold each piece for 5 seconds. Work from center outward to avoid shifting previously glued items.
Add Subtle Texture Layers
Cut four 3" lengths of raffia ribbon. Tie loose bows around the base of two wheat stalks on opposite ends. Tuck one small sprig of dried rosemary (optional but aromatic) beneath the left bow. Let glue fully cure 40 minutes before moving.
Tips & Common Mistakes
- Don’t skip sanding—even “smooth” reclaimed wood often has micro-splinters that snag napkins or scratch tabletops.
- Avoid high-temp glue guns: they scorch dried citrus and melt cinnamon oils, releasing bitter smoke.
- If wheat stalks snap during handling, soak tips in water for 90 seconds before re-bending—they’ll regain pliability.
According to the National Retail Federation’s 2023 Holiday Consumer Survey, 68% of shoppers who made DIY centerpieces reported higher satisfaction with their holiday tables versus store-bought versions—largely due to personalization and scent integration.
Finishing Touches
Once glue is fully set, apply one coat of water-based matte polyurethane with a foam brush. Use light, even strokes—no back-brushing. Let dry 2 hours. This seals botanicals without yellowing (unlike oil-based poly) and adds subtle sheen while protecting against moisture rings. Skip painting—the natural wood grain and warm stain are the star here.
Can I use fresh florals instead of dried?
Yes—but expect 2–3 days of peak freshness. Replace fresh eucalyptus or seeded eucalyptus every 48 hours. Dried elements last through December if kept away from direct sun and humidity. For longer life, see our how to dry florals guide.
What if my board has nail holes or cracks?
Fill small holes with wood filler (try Elmer’s Carpenter’s Wood Filler, $3.49), sand smooth when dry. For hairline cracks, run a thin bead of clear-drying PVA glue into the gap, clamp lightly for 30 minutes, then sand. Don’t overfill—less is more.
How do I keep the centerpiece from sliding on a glossy table?
Cut four ½" squares of felt and glue one to each corner underside using E6000. Or line the bottom with non-slip shelf liner ($2.99 at Lowe’s)—cut to size and secure with spray adhesive.
Is this safe around kids and pets?
Yes—low-temp glue, water-based finishes, and food-safe dried botanicals pose no hazard. Just avoid placing near open flames (candles) or heat sources. Cinnamon sticks are non-toxic but not edible in quantity; supervise toddlers closely.
Can I make it taller for a buffet table?
Absolutely. Add a 2"-tall wooden riser (cut from scrap 1×2) underneath the base. Stain and seal it first, then attach with wood glue—not screws—to preserve the clean look. See our wood riser projects for sizing templates.
How do I store it for next year?
Place in a ventilated cardboard box lined with acid-free tissue. Store in a cool, dry closet—never in attic or garage where temperature swings degrade dried organics. Check once per season for mold or insect activity.
This centerpiece holds up beautifully through Friendsgiving, Thanksgiving dinner, and even early December—just swap out the oranges for dried cranberries or mini pinecones after the holiday. It’s handmade warmth you’ll reach for again and again, and the scent of cinnamon and aged wood lingers just long enough to feel like memory made tangible.