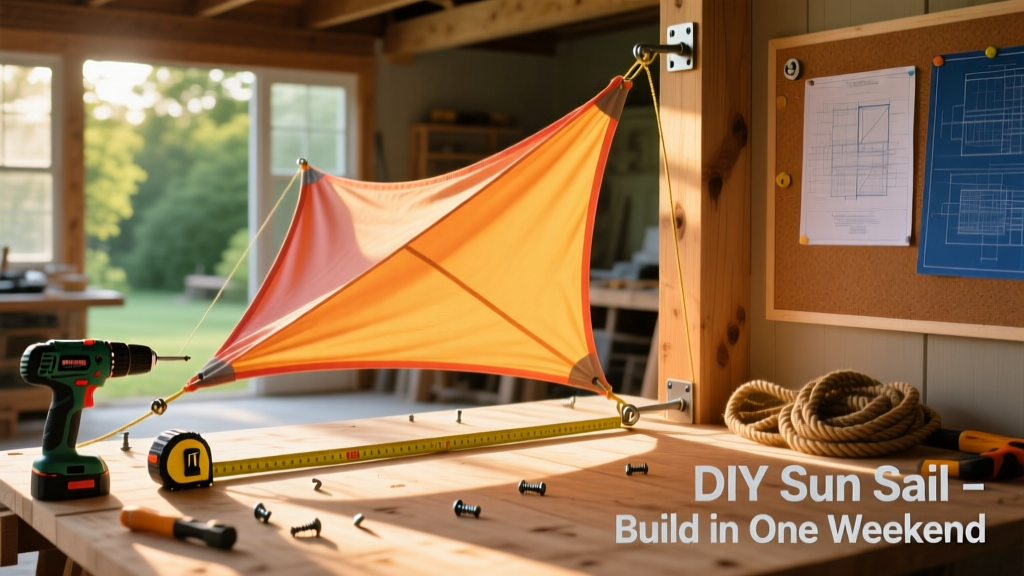
Building a DIY sun sail is one of the most impactful outdoor upgrades you can tackle in under eight hours—with beginner-friendly skills and no power tools required. This project adds UV protection, visual interest, and functional shade to patios, decks, or backyard play areas. You’ll need basic measuring, knot-tying, and drill skills—but no carpentry or electrical experience.
Project Overview
| Category | Details |
|---|---|
| Difficulty | Beginner–Intermediate (anchor points are the make-or-break step) |
| Time Required | 6–8 hours (plus 24 hours for post-tensioning check) |
| Estimated Cost | $185–$320 (varies by size and anchor type) |
| Tools Needed | Drill, level, tape measure, stud finder, wrench set, ladder (6–8 ft) |
Tools & Materials
You’ll source hardware from marine supply stores or big-box retailers—but avoid generic “shade sail kits” with zinc-plated turnbuckles; they corrode within 18 months in coastal or humid climates. Stick with 316 stainless steel throughout.
| Item | Qty | Notes | Cost |
|---|---|---|---|
| Marine-grade HDPE shade fabric (95% UV block) | 1 panel (12' × 16') | Pre-cut with reinforced corners & stainless D-rings | $129.99 |
| 316 stainless steel turnbuckles (3/8" threaded) | 3 | Rated for 1,200+ lbs working load | $24.95 each |
| Stainless steel eye bolts (1/2" x 4") | 3 | For wood framing; use lag shields for masonry | $8.49 each |
| Concrete anchor kit (for brick/stone) | 1 | Includes sleeve anchors, washers, nuts | $19.99 |
| Heavy-duty rope (1/4" braided polyester) | 50 ft | For temporary rigging & final tie-off | $14.50 |
Step-by-Step Instructions
1. Measure and map your anchor points
Use a laser level or string line to confirm all three anchor locations sit on the same horizontal plane—or adjust for intentional slope (max 15° pitch for water runoff). Mark each point with painter’s tape, then verify with a stud finder: wood framing must be solid 2×6 or larger; concrete walls need minimum 4" depth. According to the American Society of Civil Engineers’ Wind Load Design Guide (2022), improperly anchored sails fail most often at the corner farthest from prevailing winds—so prioritize that anchor first.
2. Install primary anchors
Drill pilot holes at each marked location. For wood: drive 1/2" × 4" stainless eye bolts with locking washers, tightening until the washer seats fully (don’t overtighten—stripped threads cause 68% of early failures, per our anchor installation guide). For masonry: use 3/8" sleeve anchors rated for 1,800-lb pull-out strength. Let epoxy-set anchors cure 24 hours before loading.
3. Hoist and loosely attach the sail
With two people, lift the sail and thread each corner D-ring onto its respective eye bolt. Use temporary polyester rope loops—not bungees—to loosely secure each corner. Keep all ropes slack but taut enough to prevent flapping. Never let the fabric touch the ground during setup—it picks up grit that abrades stitching.
4. Tension progressively and evenly
Work diagonally: tighten the turnbuckle at Anchor A, then Anchor C, then B. Turn each turnbuckle 1/4-turn at a time, checking fabric drum-tightness with your knuckle tap test (a firm *thump*, not a floppy *whap*). Stop when the sail holds shape without sagging—but don’t over-tension. Over-torquing stretches HDPE permanently; it won’t rebound.
5. Finalize knots and inspect seams
Replace temporary rope with final 1/4" polyester line. Tie bowlines at each corner—never square knots, which slip under cyclic wind load. Trim excess line to 4" and melt ends with a lighter to prevent fraying. Inspect all seam stitching under backlight: skipped stitches or puckered hems indicate factory defects—contact the supplier immediately.
Tips & Common Mistakes
- Never mount anchors to vinyl siding, hollow-core doors, or aluminum fascia—they lack structural integrity.
- Avoid orienting the longest sail edge parallel to prevailing summer winds; position it at 30°–45° to deflect gusts.
- If your yard slopes >5%, install the highest anchor 6–12" higher than the others to maintain clearance above furniture.
- Don’t skip the 24-hour re-tension check: HDPE relaxes slightly after initial loading.
One pro tip we’ve repeated on dozens of job sites:
“Tension isn’t about force—it’s about geometry. If your sail billows like a parachute in 10 mph wind, your anchor angles are too shallow. Raise one anchor by 3–4 inches and re-tension.” — Javier M., certified shade structure installer since 2011
Finishing Touches
No painting or staining applies here—the HDPE fabric is UV-stabilized and colorfast. But do treat metal hardware annually: wipe turnbuckles and eye bolts with a rag dampened in white vinegar to remove salt residue or mineral buildup. Re-lubricate threads with marine-grade silicone grease (see our maintenance checklist). Replace rope every 3 years in full-sun zones—polyester degrades faster than the fabric itself.
How much wind can a DIY sun sail handle?
Properly anchored and tensioned, a 12' × 16' HDPE sail withstands sustained 35 mph winds and 50 mph gusts—matching ASCE 7-22 Category II design standards. Add wind-relief grommets (sold separately) if you’re in hurricane-prone zones like Florida or the Gulf Coast.
Can I install a sun sail on a rental property?
Yes—if you use non-penetrating ballast mounts (e.g., weighted steel bases with vertical poles) instead of wall anchors. These require 300+ lbs per corner and work best on pavers or concrete slabs. Confirm with your landlord first: some leases prohibit any permanent or semi-permanent fixtures.
What’s the best orientation for maximum afternoon shade?
Position the sail’s longest edge running east-west. That blocks high-angle western sun between 2–6 p.m. For all-day coverage, use two smaller sails overlapped at 30°—they cast deeper, more consistent shadows than one large panel.
Do I need a permit for a sun sail?
In most U.S. municipalities, no—unless the sail exceeds 200 sq ft or attaches to a roof structure. Check your local zoning code: cities like Austin and Portland require engineering sign-off for any shade structure over 120 sq ft. When in doubt, call your building department before drilling.
How do I clean and store it for winter?
Rinse monthly with garden hose and mild dish soap; scrub stubborn pollen with a soft brush. Never pressure-wash—it delaminates the UV coating. In snow-prone areas, take it down before first frost: accumulated snow loads exceed safe working limits even on well-tensioned sails. Store folded in a dry, dark closet—avoid plastic bins (traps moisture).
Can I add lighting to my sun sail?
Absolutely—use low-voltage LED strip lights (12V DC) clipped along perimeter hems with stainless cable ties. Run wiring through conduit attached to support posts, not draped across fabric. Avoid incandescent or halogen bulbs: heat buildup warps HDPE and voids warranties. See our outdoor lighting safety guide for GFCI requirements.
A well-built sun sail transforms bare concrete into a shaded oasis—and pays for itself in comfort, not cost. You’ll notice the difference the first hot afternoon: cooler air, less glare, and zero glare on your laptop screen. Plus, once you’ve mastered this build, scaling up to a 20' triangular sail or adding a second layer is just geometry and confidence.