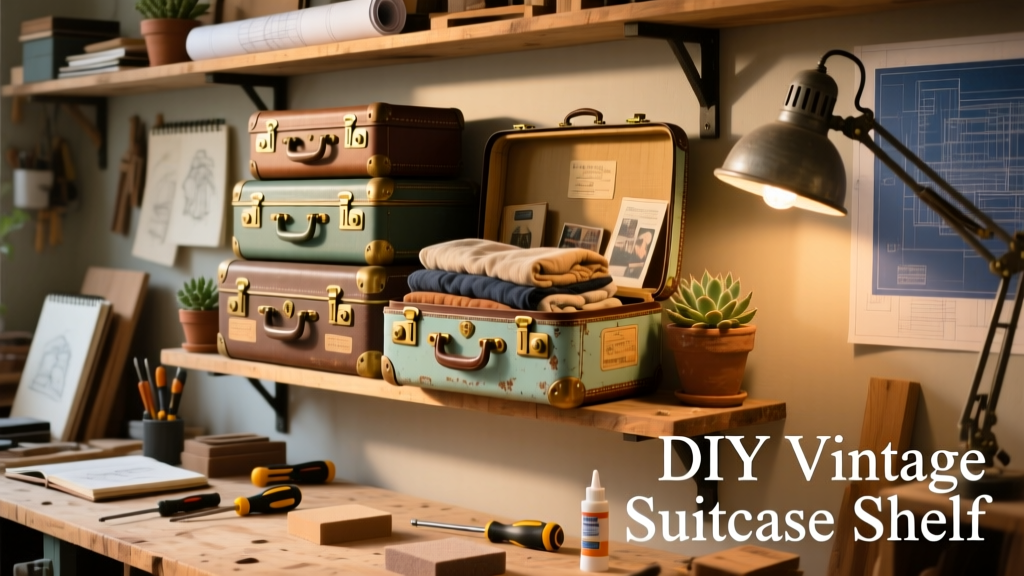
Turn a forgotten vintage suitcase into a freestanding, three-tier shelf that holds books, plants, or collectibles—no carpentry degree required. This project sits at the sweet spot between beginner-friendly and visually impressive, taking about 5–6 hours including drying time. You’ll need basic hand tools, a drill, and roughly $35 in hardware and finish supplies.
Project Overview
| Category | Details |
|---|---|
| Difficulty | Beginner (requires drilling, measuring, and light sanding) |
| Time Required | 5.5 hours (including 2 hours for glue and finish drying) |
| Estimated Cost | $32–$48 (depending on suitcase source and finish choice) |
| Tools Needed | Drill, level, clamps, tape measure, orbital sander, pencil, stud finder (if wall-mounting optional top shelf) |
Tools & Materials
You’ll need one solid vintage suitcase—ideally hard-shell with intact latches and no major cracks. Avoid soft-shell or fabric cases; they lack structural rigidity. All hardware is standard off-the-shelf.
| Item | Qty | Notes | Cost |
|---|---|---|---|
| Vintage hard-shell suitcase | 1 | Thrifted or estate sale; test lid latch and hinge integrity | $8–$25 |
| 1×4 pine boards (actual 0.75" × 3.5") | 3 ft | Cut into three 12" shelves (or adjust for suitcase width) | $4.25 |
| 3/4" wood screws (No. 8 × 1.5") | 12 | Stainless or coated for humidity resistance | $2.99 |
| Wood glue (Titebond III) | 1 bottle | Waterproof, gap-filling formula | $3.49 |
| 120- and 220-grit sandpaper (or pads) | 1 pack each | Or use orbital sander with compatible sheets | $5.98 |
| Minwax Polyshades (stain + poly combo) | 1 pt | Espresso or Classic Gray recommended for contrast | $8.49 |
Step-by-Step Instructions
1. Prep the suitcase shell
Empty and clean thoroughly—remove lining fabric if loose or moldy using a utility knife and pliers. Wipe interior and exterior with mineral spirits to dissolve grime and wax residue. Let dry 30 minutes. Inspect all corners and seams: reinforce cracked plastic or metal corners with epoxy putty (e.g., JB Weld Plastic Bonder), then let cure 2 hours before proceeding.
2. Measure and mark shelf positions
With the suitcase upright and lid open 90°, use a level and pencil to mark three horizontal lines inside the case: 4", 12", and 20" up from the base. These become your shelf mounting heights. Double-check spacing with a square—uneven lines cause wobble. Clamp a straightedge along each line to guide drilling.
3. Drill pilot holes for shelf supports
At each shelf line, drill two 3/16" pilot holes per side—centered 1" in from the front and back edges. That’s four holes per shelf (two per side × two sides). Go slowly: hard-shell cases (especially vintage Bakelite or ABS) can crack if you force the bit. Use a cordless drill on low torque setting.
4. Cut and fit the shelves
Cut three 1×4 boards to match your suitcase’s interior width minus 1/8" (for expansion clearance). Sand all edges smooth with 120-grit, then 220-grit. Test-fit each board—slight friction is okay, but it shouldn’t bind. If needed, trim 1/32" off each end with a hand plane or belt sander.
5. Attach shelves with glue and screws
Apply a thin bead of Titebond III along the underside of each shelf where it contacts the case walls. Slide in place, tap gently with a rubber mallet, then drive two 1.5" screws per side (four total per shelf) through the pre-drilled holes. Wipe excess glue immediately with a damp rag. Clamp each shelf for 30 minutes while glue sets.
Tips & Common Mistakes
- Don’t skip the epoxy reinforcement—even hairline cracks in vintage case corners worsen under shelf load (per DIY repair cracked plastic guidelines).
- Avoid painting over original logos unless fully sanded first—the glossy surface rejects paint, causing peeling within weeks.
- If your suitcase has a recessed bottom tray, remove it before installing the lowest shelf—it interferes with stability and weight distribution.
One of the most overlooked pitfalls is misaligning shelf heights across both sides. A difference of just 1/16" creates visible tilt and uneven stress. Always measure from the same reference point (e.g., the case’s interior floor edge) and verify with a straightedge before drilling.
“Vintage suitcases vary wildly in wall thickness—some are as thin as 0.08”, others 0.25”. Always test screw depth by driving one pilot hole and checking for blowout on the opposite side,” says furniture upcycler Lena Ruiz in Reclaimed Design Quarterly, 2023.
Finishing Touches
Sand the entire exterior with 220-grit, paying special attention to latch areas and corner seams where dust collects. Wipe with tack cloth. Apply Polyshades with a foam brush in long, even strokes—two coats, lightly scuff-sanding between coats with 320-grit. Let cure 24 hours before loading. For extra durability in humid spaces like bathrooms or laundry rooms, seal the shelf surfaces with a clear matte polycrylic (Minwax, 2024 formulation).
Can I use a soft-shell suitcase?
No—fabric or vinyl-covered cases lack the rigidity to support shelf loads. Even with internal bracing, they flex under 15+ lbs, risking screw pull-out. Stick with molded plastic, aluminum, or vintage leather-over-wood frames.
How much weight can each shelf hold?
Properly installed, each shelf supports 25–30 lbs. The lower shelf bears the most load, so avoid stacking heavy ceramics there. For reference, the U.S. CPSC recommends ≤35 lbs for freestanding open shelving units under 36" tall (Home Furnishings Safety Standards, 2022).
Do I need to reinforce the lid?
Yes—if you plan to use the lid as a display surface. Add two 1/4" plywood braces (4" × 6") inside the lid, glued and screwed to the inner frame. This prevents sagging and keeps the latch aligned.
What if my suitcase has no flat interior walls?
Some mid-century cases have curved sidewalls. In that case, cut shallow dadoes (1/4" deep × 3/8" wide) into the shelf ends to wrap around the curve—use a router with a straight bit and fence. Then glue and pin with 1" brads.
Can I mount this to the wall?
Yes—but only the top shelf should be anchored. Use a French cleat system attached to the suitcase’s upper rear panel and wall studs. Never hang the full unit: its center of gravity shifts dangerously when loaded. See our French cleat wall mount tutorial for secure installation.
Is this safe for kids’ rooms?
Only if anchored and with rounded shelf edges. Sand all corners to 1/8" radius and apply child-safe water-based polyurethane (e.g., Safecoat Acrylaq). Keep top shelf below 36" height to meet ASTM F2057-23 crib safety standards.
This shelf doesn’t just store—it tells a story. Every dent and patina becomes part of its charm, not a flaw to hide. Once built, it works equally well beside a reading nook, under a window for succulents, or as a retro-chic nightstand. And next time you spot a battered suitcase at a flea market? You’ll know exactly what it’s really worth.