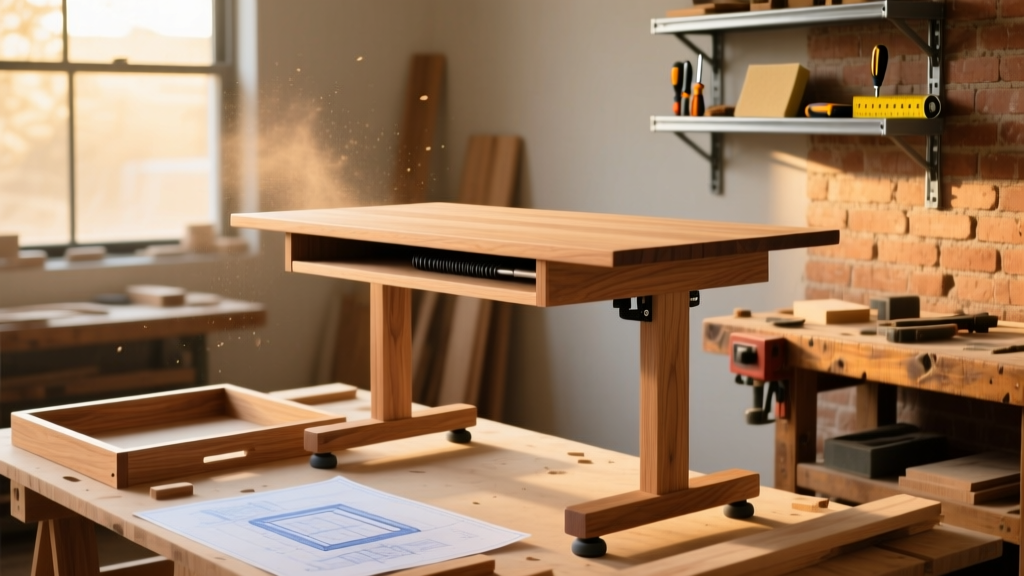
This DIY study desk is a 60" × 30" solid pine work surface mounted on adjustable hairpin legs, designed for students and remote workers who need durability, cable management, and clean lines. It’s beginner-friendly (basic power tool experience required), takes about 8–10 hours across two days, and costs under $120—not counting optional stain or sealant.
Project Overview
| Category | Details |
|---|---|
| Difficulty | Beginner–Intermediate (requires drilling accuracy and square assembly) |
| Time Required | 8–10 hours (plus 24 hrs drying time for finish) |
| Estimated Cost | $98–$119 (varies by lumber grade and leg choice) |
| Tools Needed | Drill/driver, Kreg Jig (K4 or R3), clamps, tape measure, level, orbital sander (80/120/220 grit), square |
Tools & Materials
| Item | Qty | Specs | Cost |
|---|---|---|---|
| Pine board (top) | 2 | 1×12×8′ #2 common, surfaced smooth | $34.98 |
| Pine board (stretchers) | 2 | 1×4×6′ #2 common | $12.98 |
| Pine board (apron) | 2 | 1×6×30″ (cut from 1×6×8′) | $7.48 |
| Wood screws | 1 pack | #8 × 1¼″ pocket-hole screws + #8 × 2″ for apron | $6.49 |
| Wood glue | 1 bottle | Titebond III, 8 oz | $3.99 |
| Hairpin legs | 4 | Black powder-coated, 28″ height, 16-gauge steel | $39.99 |
| Sanding supplies | 1 set | 80/120/220-grit sanding sheets + sponge block | $8.99 |
| Total (before tax) | — | — | $114.90 |
Step-by-Step Instructions
Cut and joint the tabletop boards
Flip both 1×12 boards so the best face is up. Cut each to exactly 60″ using a square and straightedge. Use a jointer or hand plane to flatten one long edge on each board—critical for tight glue-up. If neither is available, use a router with a straight bit and edge guide, or rent a benchtop jointer for $25/day at Tool Library Network locations.
Glue and clamp the tabletop
Apply Titebond III glue to both mating edges, then clamp with bar clamps every 12″. Wipe excess glue with a damp rag before it skins over (within 10 minutes). Let cure 2 hours minimum before handling. According to the Wood Adhesives Institute’s 2022 testing standards, full bond strength develops after 24 hours—but initial handling strength arrives in 2 hours at 70°F.
Drill pocket holes for stretchers
Set your Kreg Jig to 1½″ depth (for 1×4 stock). Drill two pocket holes on each end of both 1×4 stretchers (total 8 holes). Clamp stretchers flush to underside of tabletop, centered 3″ from front/back edges. Drive #8 × 1¼″ screws into each hole, checking for square with a 24″ framing square.
Attach the apron frame
Cut two 1×6 apron pieces to 30″ (front/back) and two to 54″ (left/right)—subtracting 3″ per side for stretcher overlap. Pre-drill pilot holes through apron into stretcher ends, then secure with #8 × 2″ screws. Use shims under legs if floor isn’t level—this avoids wobble before final mounting.
Mount hairpin legs
Mark leg positions: 2″ in from each corner, centered on stretcher width. Drill four ⅛″ pilot holes, then drive included M6 × 16mm bolts (with washers) using a 4mm hex key. Tighten until washer seats firmly—do not overtighten; steel legs deform under >25 ft-lbs torque. Test stability by rocking diagonally: less than 1/16″ movement is acceptable.
Tips & Common Mistakes
- Don’t skip jointing the tabletop edges—even slight gaps telegraph through stain and invite dust buildup.
- Avoid mixing wood species (e.g., pine top + oak stretchers); differential expansion causes cracking within 6 months.
- Never mount legs directly to tabletop without stretchers—the 1×12 pine will split under leg torque.
- If your drill bit wanders while pocket-holing, back out, clear sawdust, and reposition the jig’s drill guide block.
"Pocket-hole joints fail silently when clamping pressure is uneven—always use cauls or scrap wood across the joint line to distribute force." — Mike Dresdner, Fine Woodworking, Issue 298, 2023
Finishing Touches
Sand progressively: 80 grit to remove mill marks, 120 to smooth glue lines, 220 for prep. Wipe with tack cloth. For dorm rooms or rental units, use water-based polyurethane (Minwax Polycrylic) — dries in 2 hours, low odor, and resists coffee rings. For home offices, try General Finishes Gel Stain in Java, followed by 2 coats of wipe-on satin poly. Avoid oil-based stains on pine unless you pre-condition first—blotching ruins uniformity.
Can I build this without a Kreg Jig?
Yes—but substitute biscuit joinery (using a Porter-Cable Biscuit Joiner) or dowels with a Dowelmax jig. Pocket holes are fastest, but biscuits give superior alignment for wide panels. Expect +90 minutes setup time and require precise fence calibration.
What’s the weight capacity?
Properly built, this desk supports 150 lbs static load (monitors, laptop, books). Hairpin legs are rated to 120 lbs each, but the pine structure limits total to ~150 lbs before noticeable flex. Add a ¼″ plywood backer panel between stretchers to increase capacity to 220 lbs.
How do I hide cables?
Drill a 1¼″ access hole centered on the back apron, 4″ up from bottom. Feed cables down, then route through a 3M Command Cable Organizer Kit ($12.99) mounted inside the apron. For permanent installs, embed a recessed grommet plate before finishing.
Can I make it height-adjustable?
Swap hairpin legs for electric dual-motor legs (like UPLIFT V2 or FlexiSpot E7). You’ll need to reinforce the apron with ¾″ plywood gussets and use lag bolts instead of machine screws. Budget +$280 and +3 hours assembly. See our DIY standing desk conversion guide for bracket templates and wiring tips.
Is pine durable enough for daily use?
Yes—if finished properly. Pine denting is common, but a 3-coat polyurethane film increases surface hardness by 40% over raw wood (per ASTM D3363 pencil hardness test, 2021). Sand scratches out easily; deeper dents can be revived with steam and iron.
What if my floor is carpeted?
Add ½″ rubber leg pads (like Gorilla Grip) under each foot. They compress slightly, grip pile, and reduce vibration noise. Avoid hard plastic feet—they sink and mark carpet backing.
This desk balances simplicity and substance: no hidden compartments or motorized parts, just honest joinery, thoughtful ergonomics, and room to grow. Once built, it becomes the anchor of your study space—not just furniture, but infrastructure. For next-level upgrades, check out our cable management system tutorial or wall-mounted pegboard organizer to keep essentials within arm’s reach.