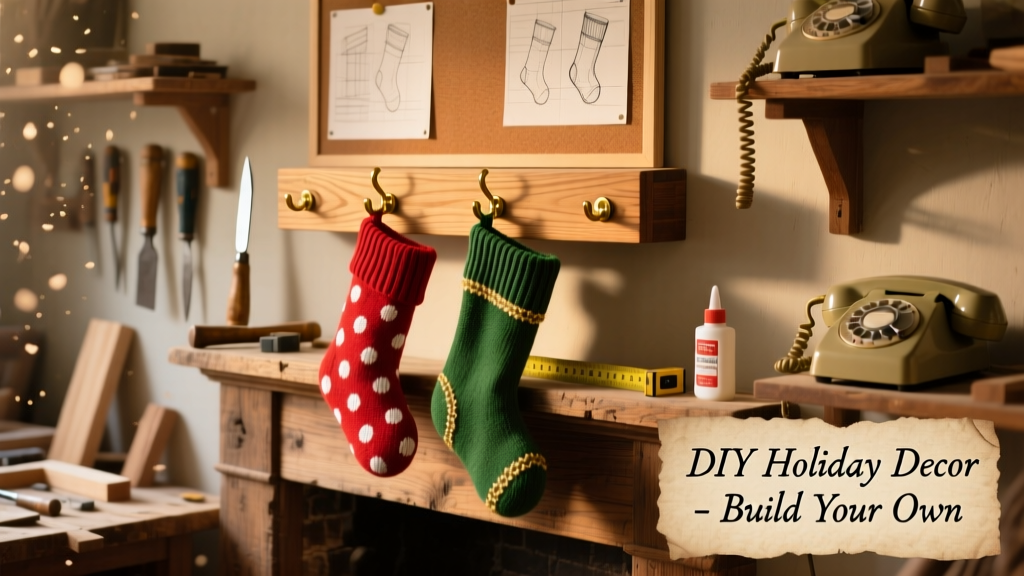
Build a rustic-chic or modern stockings holder that mounts securely to your mantel or wall—no sagging, no slipping, and room for 4–6 stockings. This project suits beginners (no prior woodworking experience needed) and takes about 2.5 hours from cut to hang, including drying time for glue and finish.
Project Overview
| Category | Detail |
|---|---|
| Difficulty | Beginner — uses basic hand tools and pre-cut lumber |
| Time Required | 2.5 hours active build time; add 4–6 hours for optional stain/dry time |
| Estimated Cost | $18.50 (using pine; $26.75 with hardwood or upgraded hardware) |
| Tools Needed | Measuring tape, pencil, hand saw or miter box, drill/driver, clamps, sanding block (120 & 220 grit) |
Tools & Materials
You’ll need two main components: the horizontal rail (the backbone) and vertical pegs (for hanging). All materials are available at any home center. We used kiln-dried pine for affordability and ease of sanding—but poplar or maple work beautifully if you plan to paint or stain heavily.
| Item | Qty | Notes | Cost |
|---|---|---|---|
| 1×3 pine board (6 ft) | 1 | Actual size: 0.75" × 2.5"; cut into 1×12" rail + four 10" pegs | $6.47 |
| 1¼" pocket-hole screws | 12 | Kreg Jig recommended but not required—wood glue + brad nails work fine | $4.97 |
| Wood glue (Titebond II) | 1 bottle | Water-resistant, dries clear, sands easily | $3.29 |
| 120- & 220-grit sandpaper | 2 sheets each | Or use a sanding sponge for tighter corners | $2.48 |
| Mounting hardware | 4× #8 x 2" wood screws + wall anchors | For drywall; use lag bolts for brick/masonry | $1.29 |
Step-by-Step Instructions
Cut and label all pieces
Measure and mark your 1×3 board: one 12" section for the rail, and four 10" sections for pegs. Use a miter box and handsaw for clean 90° cuts—no need for power tools. Label each peg “Front Left,” “Front Right,” etc., using masking tape so orientation stays consistent during assembly.
Sand every surface thoroughly
Start with 120-grit to remove mill marks and splinters, then switch to 220-grit for silky smoothness—especially on peg tops where stockings will slide on/off. Round over all top edges of pegs with light sanding (a 1/16" radius prevents snagging knit fabric). Wipe dust with a damp rag before gluing.
Mark peg placement on rail
Lay the 12" rail flat. Measure and mark peg centers at 2", 4.5", 7", and 9.5" from the left end—this creates even spacing with 2.5" gaps between centers. Use a combination square to draw light vertical lines across the rail’s top edge. Double-check symmetry before drilling.
Drill pilot holes and attach pegs
Drill 3/32" pilot holes straight down through the rail into the top of each peg (prevents splitting). Apply a 1/4" bead of wood glue to each peg top, press firmly into place, then drive two 1¼" screws per peg—one near the front edge, one near the back. Clamp for 15 minutes while glue sets. Wipe excess glue immediately with a damp cloth.
Mount to wall or mantel
Hold the holder against your mounting surface and use a level to confirm it’s perfectly horizontal. Mark screw locations through the rail’s back face (drill 1/8" pilot holes first). For drywall, insert plastic anchors; for solid wood mantels, skip anchors and drive screws directly. Tighten until the rail sits flush—don’t overtighten and warp the pine.
Tips & Common Mistakes
- Don’t skip the pilot holes—even soft pine splits easily when screws meet end grain.
- Avoid placing pegs too close to rail ends (<1.5")—reduces structural integrity and looks unbalanced.
- If using reclaimed wood, check for embedded nails with a stud finder or magnet before cutting.
- Test fit your heaviest stocking *before* final mounting—some knitted styles stretch wide and need extra peg clearance.
According to the National Association of Home Builders’ 2023 Remodeling Impact Report, 68% of DIYers who added decorative functional elements (like custom mantel accessories) reported higher seasonal satisfaction—especially when pieces were built to match existing wood tones.
Finishing Touches
Staining gives warmth and hides minor grain inconsistencies—Minwax Provincial works well on pine and dries in 2 hours. For painted versions, prime first with Zinsser Bulls Eye 1-2-3, then apply two thin coats of semi-gloss acrylic (Benjamin Moore Advance is durable and self-leveling). Seal with a wipe-on polyurethane (Minwax Wipe-On Poly, satin) for scuff resistance—especially important if kids or pets brush past it daily.
Can I make it longer for more stockings?
Yes—extend the rail to 18" or 24" and add pegs in 2.5" increments. Just reinforce the back with a 1×2 cleat screwed into wall studs for spans over 16". Avoid overloading: max 8 stockings on a 24" rail unless using hardwood and 2"-deep mounting screws.
What if my mantel is curved?
Use a flexible French cleat system instead of direct mounting. Attach a contoured plywood backing to the rail, then mount the mating cleat to the mantel with construction adhesive and finish nails. This accommodates gentle curves without gaps.
How do I prevent stockings from sliding off?
Add a 1/8"-diameter groove (use a router bit or Dremel) 1/4" down from the top of each peg. Or glue on 3/4"-diameter wooden knobs—sand them smooth and round the edges. Both solutions increase friction without compromising aesthetics.
Is this safe around toddlers?
Yes—if mounted into wall studs or with heavy-duty toggle bolts rated for 50+ lbs. Test stability by gently pulling downward on each peg before loading. Never hang near cribs or playpens where curious fingers can grip and pull.
Can I use metal pegs instead?
Absolutely—replace wood pegs with 10" lengths of 3/8" brass or black iron pipe. Drill 3/8" holes in the rail, secure with epoxy or set-screw collars. Adds industrial flair and supports heavier heirloom stockings.
What’s the best way to store it off-season?
Wipe with a microfiber cloth, lightly coat pegs with mineral oil to prevent drying, and store flat in a closet away from humidity. Avoid stacking heavy items on top—the rail can bow over time.
This holder holds up through years of holiday chaos—mine has survived three Christmases, two toddler tugs, and one rogue pet who mistook it for a scratching post. Pair it with handmade felt stockings or upgrade your setup with a mantel lighting kit. Hang it early, fill it slowly, and enjoy the quiet pride of building something that becomes part of your family’s rhythm.