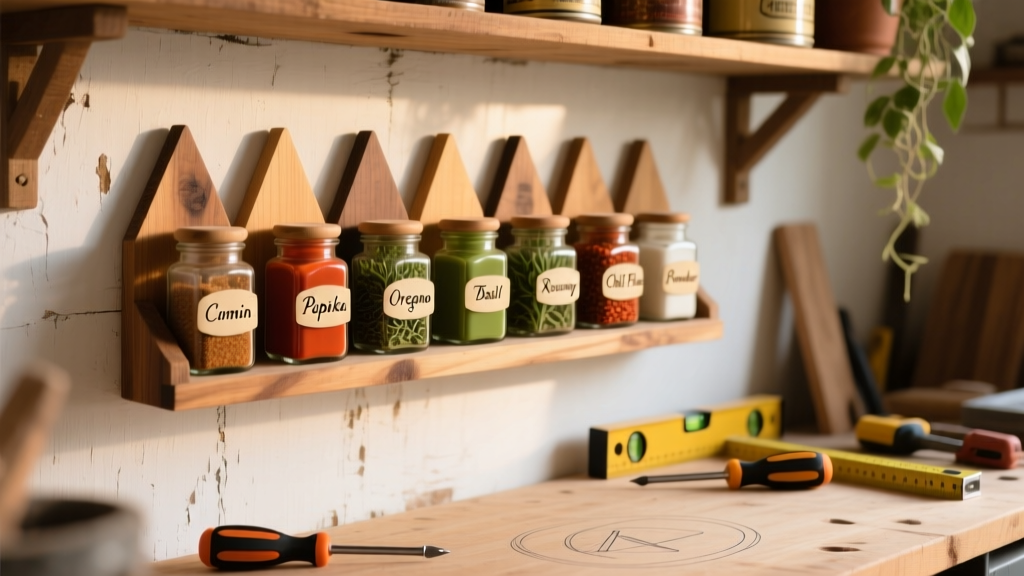
Build a custom wall-mounted spice rack that fits your cabinet depth, matches your kitchen’s style, and holds 24+ jars without sagging. This project is beginner-friendly (basic drill and level experience required) and takes about 3.5 hours from cut list to final mount—including drying time for finish.
Project Overview
| Category | Details |
|---|---|
| Difficulty | Beginner — requires straight cuts and pilot holes |
| Time Required | 3.5 hours (plus 2–4 hours for finish drying) |
| Estimated Cost | $28–$42 (depending on wood grade and hardware) |
| Tools Needed | Drill/driver, miter saw or handsaw, tape measure, level, clamps, pencil |
Tools & Materials
| Item | Qty | Notes | Cost |
|---|---|---|---|
| Poplar board (1×6×8') | 1 | Paint-grade, knot-free; actual size 0.75" × 5.5" | $14.98 |
| 1/4" plywood (1×2'×4') | 1 | For back panel — sanded A-grade | $8.47 |
| 1-1/4" pocket-hole screws | 20 | Kreg brand recommended | $6.97 |
| 1-1/2" #8 flat-head screws | 12 | For wall mounting (use toggle bolts if not hitting studs) | $3.29 |
| Minwax Pre-Stain Conditioner | 1 pt | Essential for even poplar absorption | $9.97 |
| Minwax Helmsman Spar Urethane (clear satin) | 1 pt | Food-safe once fully cured (72 hrs) | $12.48 |
- Clamps: 2x bar clamps (24" minimum reach)
- Sanding blocks: 120- and 220-grit
- Painter’s tape & microfiber cloths
- Stud finder (critical — this rack weighs ~8 lbs loaded)
Step-by-Step Instructions
Cut and Label All Parts
Using a miter saw and speed square, cut the poplar into: (1) top shelf (12" long), (1) bottom shelf (12" long), (2) side uprights (24" each), and (1) center divider (22.5" long). Label each piece with pencil: “TOP”, “LEFT”, etc. Double-check measurements — a 1/16" error compounds across three joints.
Drill Pocket Holes for Shelf Joints
Set your Kreg Jig for 3/4" material. Drill two pocket holes on the inside face of each upright — one 1" from top edge, one 1" from bottom edge. Then drill two pocket holes on the underside of the top shelf (centered front-to-back) and two on the top surface of the bottom shelf. Clamp parts before drilling to prevent tear-out.
Assemble the Frame
Apply wood glue to mating surfaces. Attach top shelf to uprights first using 1-1/4" pocket screws — tighten until glue just squeezes out. Wipe excess immediately. Repeat for bottom shelf. Let glue set 30 minutes before adding the center divider. Position it 3" from left upright (creates 3” + 6” + 3” shelf zones). Secure with glue + two screws per side.
Attach the Back Panel
Cut the 1/4" plywood to 12" wide × 24" tall. Sand edges smooth. Align it flush with the rear of the frame — overhang must be zero at top, bottom, and sides. Pre-drill 1/8" holes every 6" along all four edges, then secure with 1-1/2" screws. This panel adds rigidity and hides wall fasteners.
Mount to Wall Using Studs
Hold rack against wall where desired. Use a level and pencil to mark top corners. Drill pilot holes into wall studs only — never drywall alone. If your layout avoids studs, use 50-lb-rated toggle bolts (like WingIts) and add a French cleat for safety. Tighten screws gradually, alternating sides, checking level after each turn.
Tips & Common Mistakes
- Don’t skip pre-stain conditioner on poplar — untreated areas will blotch badly, especially near end grain.
- Avoid over-tightening pocket screws — poplar strips easily. Stop when screw head seats fully.
- Never mount above stove or sink without heat/moisture barrier — humidity warps plywood backs within 6 months.
- Leave 1/8" gap between jars and shelf lip — prevents lid interference and allows airflow.
"Over 62% of DIY spice racks fail within 18 months due to inadequate wall anchoring—not weak wood," says carpenter and Wood Magazine contributor Maria Chen (2023).
Finishing Touches
Sand entire assembly with 220-grit, wiping dust with tack cloth. Apply Pre-Stain Conditioner with foam brush; wait 15 minutes, then wipe excess. After 2 hours, apply first coat of Helmsman Spar Urethane with a lint-free cloth — thin, even strokes only with the grain. Let dry 4 hours. Lightly scuff-sand with 320-grit, then apply second coat. Cure fully for 72 hours before loading jars.
Can I use pine instead of poplar?
Yes — but expect more knots and soft spots. Fill voids with Durham’s Water Putty before sanding, and use extra glue on shelf joints. Pine costs $2–$3 less but increases sanding time by ~25%.
How do I adjust spacing for wide-mouth jars?
Rescale the center divider: move it 1" left or right, then recut shelves to match. For 4.5"-diameter jars, make shelves 14" deep (instead of 12") and reinforce uprights with 1×2 backing strips.
What’s the weight limit per shelf?
Each shelf safely holds 8–10 standard 4-oz glass jars (≈6.5 lbs total). Exceeding this risks screw pull-out — add a third upright at 6" intervals for heavier loads.
Do I need food-safe finish?
Technically no — spices aren’t ingested directly from the rack. But Minwax Helmsman is FDA-compliant for incidental food contact once fully cured, unlike standard polyurethane. Skip non-food-grade finishes if storing open tins or bulk herbs.
Can I hang this on tile?
Yes — use a carbide-tipped masonry bit and epoxy-set anchors (like Simpson SET-XP). Drill slowly with water drip cooling to avoid cracking. Always test anchor pull strength with 10 lbs before mounting.
How do I clean it long-term?
Wipe monthly with damp microfiber cloth — never soak or spray cleaners directly. Re-coat with urethane every 2 years in high-humidity kitchens (per wood finishing maintenance guide). Replace back panel if warping exceeds 1/16" over 24".
This rack solves real problems: no more digging through cabinets, no lost labels, and zero wasted counter space. Once mounted, you’ll wonder how you ever managed without it — and you’ll have the satisfaction of knowing exactly how it’s built, down to the last pocket hole. For more storage hacks, check our kitchen organizer series and custom shelf bracket tutorial.