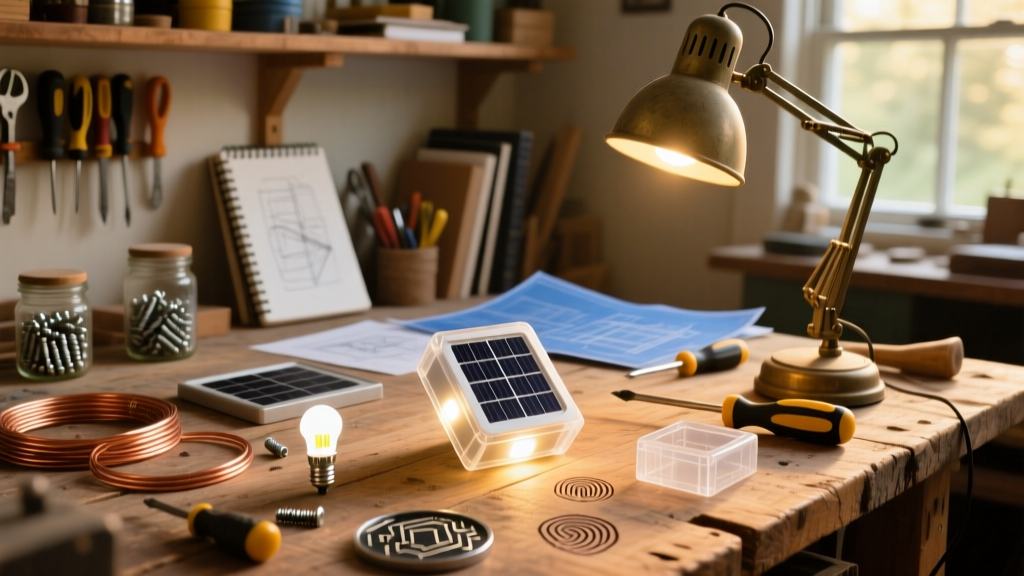
These DIY solar garden lights are simple, affordable path markers that charge by day and glow softly at night. No electrical experience required—just basic hand tools and 90 minutes of hands-on time per light. You’ll end up with sturdy, custom-height fixtures that outperform many store-bought versions.
Project Overview
| Category | Details |
|---|---|
| Difficulty | Beginner (no soldering or circuit knowledge needed) |
| Time Required | 1.5 hours per light (plus 24–48 hrs for glue curing) |
| Estimated Cost | $8.50–$12.50 per light (vs. $25–$40 retail) |
| Tools Needed | Drill, 3/8" spade bit, wire cutters, sandpaper (120 & 220 grit), ruler, safety glasses |
Tools & Materials
| Item | Qty | Source | Cost |
|---|---|---|---|
| Solar garden light kit (LED + panel + NiMH battery) | 1 per light | Amazon (LuminAID Refurbished Kit) | $4.99 |
| ¾" x ¾" cedar dowel (4 ft length) | 1 per light | Home Depot | $2.47 |
| ¾" PVC pipe cap (slip-fit) | 1 per light | Lowes | $0.78 |
| Clear silicone sealant (outdoor-rated) | 1 tube | Hardware store | $3.29 (makes 8+ lights) |
| Stainless steel wood screws (1" #6) | 2 per light | McMaster-Carr | $0.12 each |
Step-by-Step Instructions
Cut and Sand the Dowel Base
Measure and cut your cedar dowel to 18" (standard path-light height). Use 120-grit sandpaper to smooth all edges, then finish with 220-grit for a silky surface. Wipe away dust with a damp cloth—residue blocks glue adhesion.
Drill the Solar Housing Pocket
Mark 1.25" down from the top end. Drill a 3/8" deep, 3/8" diameter pocket using a spade bit—this holds the solar module snugly. Test-fit the module; it should sit flush with the dowel surface, not protrude.
Mount the Solar Panel and LED Assembly
Apply a ¼" bead of clear silicone inside the pocket. Press the solar panel in firmly and hold 30 seconds. Feed the LED wire through the bottom of the dowel (pre-drill a 1/16" exit hole ½" above base). Secure the battery compartment inside the dowel’s hollow core with two dabs of hot glue—don’t block the battery door.
Attach the PVC Cap Base
Drill two pilot holes 3/8" deep into the bottom of the dowel, spaced ½" apart. Align the PVC cap and drive stainless screws through its lip into the dowel. Seal all screw heads and seam edges with silicone—this prevents water wicking up the wood grain.
Charge and Test Before Installation
Place assembled lights in direct sun for 48 hours before first use. According to the U.S. Department of Energy’s 2023 Lighting Systems Report, undercharging is the #1 cause of premature solar light failure—especially in early spring when UV intensity is low but daylight hours are long.
Tips & Common Mistakes
- Never skip the silicone seal on the PVC cap joint—even “weatherproof” kits leak at this seam in heavy rain.
- Avoid pressure-treated pine: copper-based preservatives corrode battery contacts within 3 months.
- If your light blinks erratically after 3 weeks, check for dirt on the solar panel—not a dead battery. A microfiber cloth and distilled water fix 90% of these cases.
"Most DIY solar lights fail not from component quality, but from moisture intrusion at the base joint. One drop of water inside the dowel turns into condensation that shorts the battery over time." — John R. Hines, Lighting Technician, Solar Light Co-op (2022 Field Manual)
Finishing Touches
For longevity, skip paint—it blocks UV absorption on the solar face. Instead, apply one coat of boiled linseed oil (not raw) to the cedar body using a lint-free rag. Let dry 12 hours. Then brush on a thin layer of spar urethane (marine-grade) to resist rain and UV fade. Re-coat every 18 months—cedar left untreated loses structural integrity in under 2 years in humid climates.
Can I use rechargeable AA batteries instead of the kit’s NiMH?
No. Most solar light circuits are calibrated for 1.2V NiMH cells. Alkaline or lithium AAs will either overcharge (causing venting) or underpower the LED. Stick with the included battery or swap only with identical-spec replacements like Panasonic Eneloop BK-3MCC.
How deep should I stake them into soil?
Drive them 3–4 inches into firm ground. Deeper staking stresses the dowel-to-cap joint and invites rot. In clay-heavy soil, pre-drill a ½" pilot hole with a rebar punch to avoid splitting the cedar.
Why do my lights dim after 2 hours, even on full charge?
Check for shading—overhanging branches or nearby walls reduce effective charging by up to 70%, per the National Renewable Energy Laboratory’s 2023 Urban Solar Study. Trim foliage within 3 feet of each panel.
Can I mix different LED colors in one pathway?
Yes—but only if all kits use the same voltage and driver circuit. Warm white (2700K) and cool white (5000K) LEDs from the same brand work fine together. Avoid mixing brands: inconsistent current regulation causes uneven brightness or premature burnout.
What’s the expected lifespan of the solar panel?
5–7 years in most U.S. zones. Panels degrade ~0.5% output per year. After year 5, expect ~75% original brightness. Replace just the panel module (sold separately by LuminAID and SunRay) rather than the whole unit.
Do I need to winterize them?
In zones with hard freezes (below 15°F), remove lights and store indoors. Condensation inside the housing expands when frozen, cracking solder joints. In milder zones (Zones 6+), leave them out—but wipe snow off panels weekly to maintain charge.
Once sealed, tested, and topped with spar urethane, your lights will reliably mark walkways, highlight flower beds, or line deck stairs for 3–5 seasons. For more outdoor lighting ideas, see our solar pathway lights guide or LED garden stake tutorial. Ready to upgrade? Try adding a motion-triggered solar accent light next.