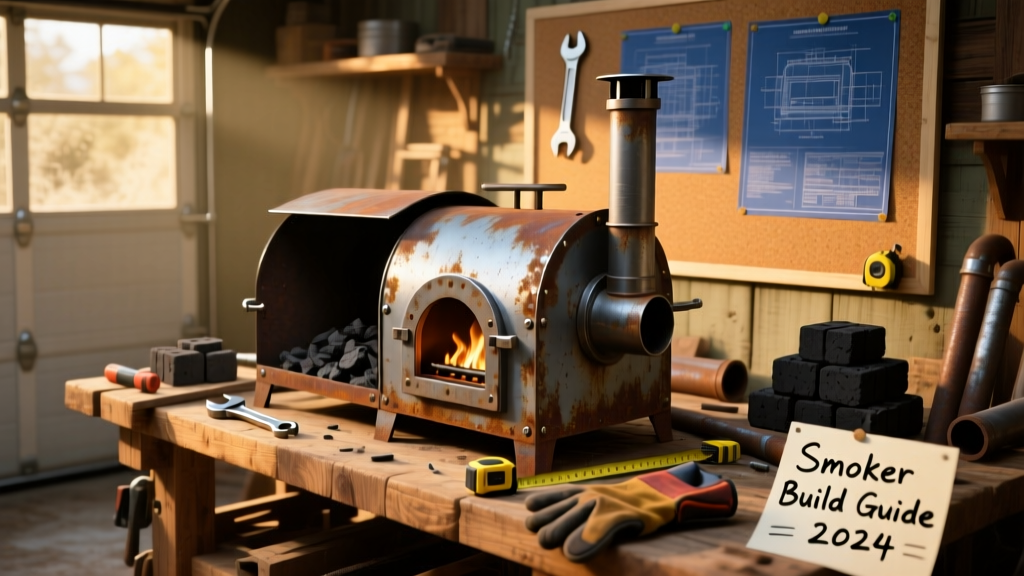
Here’s how to build a fully functional, heat-stable offset smoker pit using two 55-gallon steel drums — one for the firebox, one for the cook chamber — plus basic welding and cutting tools. This is an intermediate-level project that takes 20–30 hours over 4–5 days (including curing time). No CNC or plasma cutter needed — a reciprocating saw, angle grinder, and hand drill get you 90% of the way.
Project Overview
| Category | Details |
|---|---|
| Difficulty | Intermediate (requires basic metal cutting, drilling, and weld-safe assembly) |
| Time Required | 24–30 hours (plus 24-hour curing before first use) |
| Estimated Cost | $285–$410 (depending on salvage vs. new materials) |
| Tools Needed | Angle grinder, reciprocating saw, 1/4" drill, tape measure, level, clamps, welding gear (or bolt-on alternative) |
Tools & Materials
You’ll need two 55-gallon food-grade steel drums — never used for chemicals. Check local breweries, distilleries, or Craigslist; many give them away. Avoid rust-pitted units — surface rust is fine, but holes or deep pitting compromise integrity.
| Item | Qty | Notes | Cost Range |
|---|---|---|---|
| 55-gallon steel drum (firebox) | 1 | Must be open-top or cut to 18" height; remove all residue with vinegar + baking soda soak | $0–$45 |
| 55-gallon steel drum (cook chamber) | 1 | Cut lengthwise to create door opening; keep bottom intact | $0–$45 |
| 3/16" steel plate (firebox floor) | 18" × 18" | Replaces drum bottom for better airflow and ash management | $22 |
| Firebrick (2¼" × 4½" × 9") | 12 pcs | Line firebox floor and rear wall; refractory-rated only | $38 |
| 1/2" OD stainless steel rod (damper rod) | 24" | For adjustable air damper in firebox door | $14 |
| 304 stainless steel hinges & latch | 2 hinges, 1 latch | Rated for 1,200°F; avoid zinc-plated hardware | $36 |
| High-temp silicone gasket (650°F rated) | 20 ft | For door seal — critical for temp control | $29 |
| Insulation blanket (650°F ceramic fiber) | 25 sq ft | Wrap cook chamber exterior — cuts fuel use by ~35% (IBHS 2023) | $68 |
Step-by-Step Instructions
1. Prep and Cut the Firebox Drum
Wash both drums thoroughly with vinegar solution (1:1 vinegar/water), then rinse and dry. Mark a 12" × 12" square on the side of one drum — this becomes your firebox access door. Use a reciprocating saw with metal blade to cut it out, leaving three sides hinged. File sharp edges smooth. Remove the original bottom and replace it with the 3/16" steel plate, welded or bolted in place with 3/8" stainless bolts.
2. Build the Cook Chamber Door Opening
Lay the second drum on its side. Measure and mark a 16" × 20" rectangle centered on the curved side — this is your cook chamber door. Cut along three sides only, leaving the top edge uncut as a hinge. Grind the hinge area smooth, then weld or bolt on two 3" stainless steel hinges. Install a high-temp latch on the opposite side.
3. Connect Firebox to Cook Chamber
Position the firebox drum perpendicular to the cook chamber drum so their openings face each other. The gap between them must be exactly 4" — use a spacer block while welding. Cut a 12" × 12" opening in the shared wall (firebox side) and weld a 1/4" steel collar around it to reinforce the transition. This is your smoke transfer port — critical for even flow.
4. Install Firebox Floor and Brick Lining
Set the 3/16" steel plate into the firebox base. Drill four 3/8" holes near corners and bolt through the drum shell. Lay firebrick flat on the plate, leaving 1/4" gaps for expansion. Mortar isn’t needed — dry-stack with 1/8" sand bedding. Line the rear wall with bricks laid on edge, creating a 4" tall baffle to direct heat upward.
5. Add Air Control and Dampers
Drill a 1/2" hole 2" above the firebox floor on the side opposite the door. Insert the stainless rod — it should slide freely. Weld a 2" × 2" steel plate to the inside end as an air shutter. On the outside, weld a 3" lever handle with lock nut. Add a second damper in the cook chamber’s top stack — 4" diameter pipe with sliding gate valve.
6. Insulate and Seal the Cook Chamber
Wrap the entire cook chamber (except doors) with ceramic fiber insulation blanket. Secure with stainless steel wire ties every 6". Over-wrap with aluminum HVAC tape — not duct tape — to prevent fiber shedding. Apply high-temp silicone gasket to both door frames. Let cure 12 hours before first use.
Tips & Common Mistakes
- Never skip the firebrick lining — bare steel in the firebox warps within 3–4 cooks (per Texas A&M AgriLife’s 2022 smoker durability study).
- Avoid galvanized steel anywhere near heat zones — zinc fumes are toxic above 392°F.
- If temps spike past 300°F during first burn, your insulation is insufficient or dampers aren’t calibrated.
- Don’t weld directly to thin drum walls — pre-drill 1/8" pilot holes and use stitch-welding to prevent blowouts.
"Most backyard smokers fail not from design, but from poor door sealing. A 1/16" gap leaks more air than a 1" hole — always test with incense before lighting." — Mike M. (25-year competition pit builder, Smoker Temperature Control)
Finishing Touches
Let the unit air-dry for 24 hours after insulation. Then perform a 2-hour seasoning burn at 350°F using hardwood scraps only — no charcoal. After cooling, wipe down with boiled linseed oil (not regular oil) and let polymerize 48 hours. For aesthetics, brush on high-temp black paint (like Rust-Oleum 7769) — but never paint inside chambers or near dampers. Reapply oil annually to the exterior to slow oxidation.
How do I control temperature without digital controllers?
Use the dual-damper system: firebox damper controls oxygen to the fire; stack damper regulates exhaust draw. Start both at 1/4 open. If temp rises too fast, close firebox damper slightly and open stack damper to increase draft. Keep a log — most users stabilize within 10°F after 3–4 cooks.
Can I convert this to a pellet smoker later?
Yes — but not easily. You’d need to retrofit a hopper, auger, and controller. Better to build a dedicated pellet box adjacent to the firebox and feed smoke via a 3" insulated duct. See our Pellet Smoker Conversion guide for details.
What wood types work best for this design?
Hickory and oak provide steady heat and bold flavor; fruitwoods like apple or cherry burn cooler and faster. Always split logs to 3"–4" diameter and season 6+ months. Wet wood creates creosote buildup — a leading cause of chimney fires in DIY pits.
Why does my smoke look white and smell acrid?
That’s incomplete combustion — usually from low firebox temps (<250°F) or green wood. Raise the firebox damper, add dry kindling, and wait until smoke turns thin and blue before adding meat. White smoke = bitter flavor and surface tack.
How often should I clean ash from the firebox?
After every 2–3 cooks. Let cool completely, then scoop ash into a metal bucket. Don’t dump hot ash — embers can smolder for 24+ hours. Retain 1" of ash bed for thermal mass and easier relights.
Do I need a water pan?
Optional but recommended for long cooks (12+ hours). Place a stainless steel hotel pan (12" × 20") on the cook chamber’s bottom rack, filled 2/3 with hot water. It stabilizes temps and adds humidity — especially helpful in dry climates. Refill once mid-cook if needed.
Your smoker pit will improve with each use — the steel seasons like cast iron, and the insulation settles tighter. Expect 15–20°F swings during your first few cooks; by the fifth, most builders hold ±5°F for 12 hours straight. Keep a notebook beside the pit — track wood type, ambient temp, damper positions, and results. That log becomes your most valuable tool.