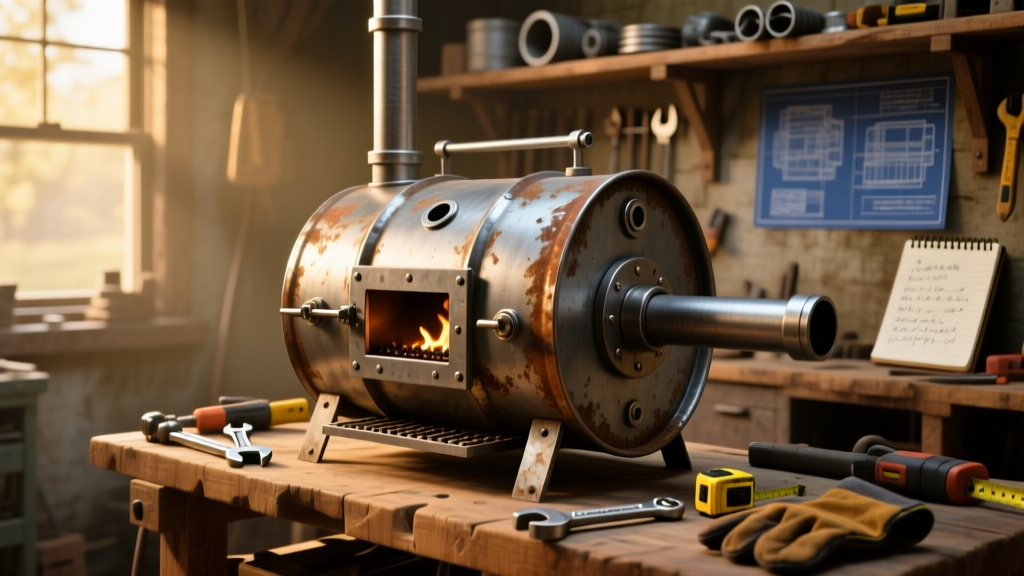
Here’s how to build a reliable, low-cost offset smoker from a repurposed 55-gallon steel drum—ideal for backyard brisket, ribs, and pulled pork. This project suits intermediate DIYers with basic metal-cutting and drilling experience. Plan for two full weekend days (16–20 hours total), including curing and first test burn.
Project Overview
| Category | Details |
|---|---|
| Difficulty | Intermediate (requires safe handling of hot metal and precise hole placement) |
| Time Required | 16–20 hours (plus 24-hour curing time before first use) |
| Estimated Cost | $185–$240 (excluding optional thermometer upgrades) |
| Tools Needed | Angle grinder, drill with metal bits, tape measure, level, clamps, safety glasses, welding gloves |
Tools & Materials
| Item | Qty | Notes & Cost Estimate |
|---|---|---|
| 55-gallon food-grade steel drum (unlined) | 1 | Check local breweries or chemical suppliers; $35–$65. Avoid drums that held solvents or pesticides. |
| 12" x 24" x 1/4" steel plate (firebox base) | 1 | Local metal yard: $22–$34 |
| 1/2" steel rod (air damper rods) | 3 ft | $8–$12 |
| Heavy-duty door hinges (stainless or galvanized) | 4 | $18 for set (e.g., Everbilt 3" strap hinges) |
| 3/4" ID stainless steel chimney pipe (24" long) | 1 | $42–$58 (Home Depot or Grainger) |
| High-temp silicone sealant (RTV rated to 650°F+) | 1 tube | $14 (Permatex Ultra Copper) |
| Food-grade high-temp paint (e.g., Rust-Oleum 2000°) | 2 cans | $26 total |
Step-by-Step Instructions
1. Prep and Cut the Drum
Thoroughly clean the drum with vinegar-water solution and wire brush. Let dry completely. Mark a 14" x 18" rectangle on the side—centered 6" up from the bottom—for the firebox opening. Use an angle grinder with cutoff wheel to remove it cleanly. Deburr all edges with a file.
2. Build the Firebox Frame
Cut the 12" x 24" steel plate into a U-shape: two 12" sides and one 24" back wall, leaving a 3/4" lip along the top edge to slide under the drum rim. Weld or bolt (using 1/4"-20 carriage bolts) the three pieces together. Attach legs cut from 1" square tubing—12" tall—to support the firebox 3" below drum height.
3. Mount the Firebox to the Drum
Position the firebox flush against the cut opening. Drill four 3/8" pilot holes through both drum wall and firebox flange. Secure with stainless steel bolts and lock washers. Seal all seams with high-temp RTV—especially where firebox meets drum interior.
4. Install the Chimney and Air Vents
Cut a 3/4" hole in the drum lid, centered 2" from the edge closest to the firebox. Insert chimney pipe and seal with RTV. Drill three 1" holes in the firebox door: one near the bottom (primary air intake), one mid-height (secondary), and one near the top (chimney draft control). Fit each with a 1/2" steel rod handle welded to a 2" x 2" steel plate damper.
5. Add Cooking Grates and Door Hardware
Weld or bolt two 14-gauge steel grates inside the drum at 12" and 24" heights. Use 1/2" rebar spacers to keep them level. Mount two heavy-duty doors: one on the firebox (with latch), one on the main chamber (with viewing window cut from tempered glass, sealed with ceramic gasket rope).
Tips & Common Mistakes
- Never skip the 24-hour curing burn—run it empty at 350°F to burn off oils and cure the RTV sealant.
- Avoid galvanized metal anywhere near heat zones: zinc fumes are toxic when heated above 392°F (U.S. EPA, 2022).
- If smoke is thin and white but meat stalls early, your exhaust is too restrictive—open the chimney damper 1/4 turn and monitor temp rise.
"Most first-time builds fail not from poor construction—but from ignoring the 48-hour seasoning cycle. That layer of polymerized oil isn’t just protection—it’s your thermal buffer." — Greg Olliver, pitmaster and instructor at Kansas City Barbeque Society Certified Pitmaster Program (2023)
Finishing Touches
After curing, wipe down all exterior surfaces with mineral spirits. Apply two coats of Rust-Oleum 2000° Flat Black—allowing 4 hours between coats. For the cooking chamber interior, skip paint entirely: repeated smoke cycles naturally form a non-stick patina. Seal hinge pins and damper rods with high-temp anti-seize compound (e.g., CRC Dry Film Lubricant).
How do I control temperature without a digital controller?
Use the three-damper system: primary air controls fire size, secondary air fine-tunes combustion efficiency, and chimney damper regulates draft speed. Start with all dampers 50% open, then adjust in 1/8-turn increments every 10 minutes until you hit 225–250°F. Keep a log—your drum’s sweet spot becomes predictable after three cooks.
Can I convert this to electric or pellet assist?
Yes—but only with external modifications. Mount a PID-controlled hot rod (e.g., BBQ Guru DigiQ DX2) inside the firebox, wired through a sealed knockout box. Never embed electronics inside the drum wall—heat degrades wiring insulation fast. See our BBQ thermometer wiring guide for safe feed-through techniques.
What wood types work best for this design?
Stick to split hardwoods under 3" thick: hickory, oak, and maple ignite evenly and sustain steady coals. Avoid softwoods like pine—they burn too fast and deposit creosote. According to the USDA Forest Service’s 2021 Wood Heating Handbook, seasoned (6–12 month) hardwoods yield 20–30% more BTUs per pound than green wood.
Why does my smoke smell acrid after 90 minutes?
That’s likely incomplete combustion from low oxygen or wet fuel. Check your primary air intake—it may be clogged with ash. Also verify wood moisture content: use a moisture meter (aim for ≤20%). If the firebox floor glows dull red instead of cherry, add 1–2 small splits and crack the primary damper another 1/4".
How often should I clean the ash pan?
Empty after every 8–10 hours of active smoking. Let ash cool 12+ hours before handling. Retain 1/2" of fine ash on the firebox floor—it insulates coals and stabilizes temperature swings. Sweep larger clinkers out weekly with a brass-bristle brush (steel bristles can scratch refractory coatings).
Do I need a water pan?
Not required, but highly recommended for long cooks. Place a stainless steel hotel pan (12" x 20") filled with 2 quarts of apple juice or beer on the lower grate. It adds humidity, catches drippings, and buffers radiant heat. For best results, refill every 3 hours—and check our smoker humidity control guide for alternatives like soaked cherry wood chunks.
Once your first brisket hits 203°F internal with a clean pull, you’ll know the build paid off—not just in flavor, but in the quiet confidence that comes from mastering fire, metal, and time. Keep notes on each cook, tweak one variable at a time, and remember: every great pitmaster started with a drum, a grinder, and stubborn curiosity. You’ve got this.