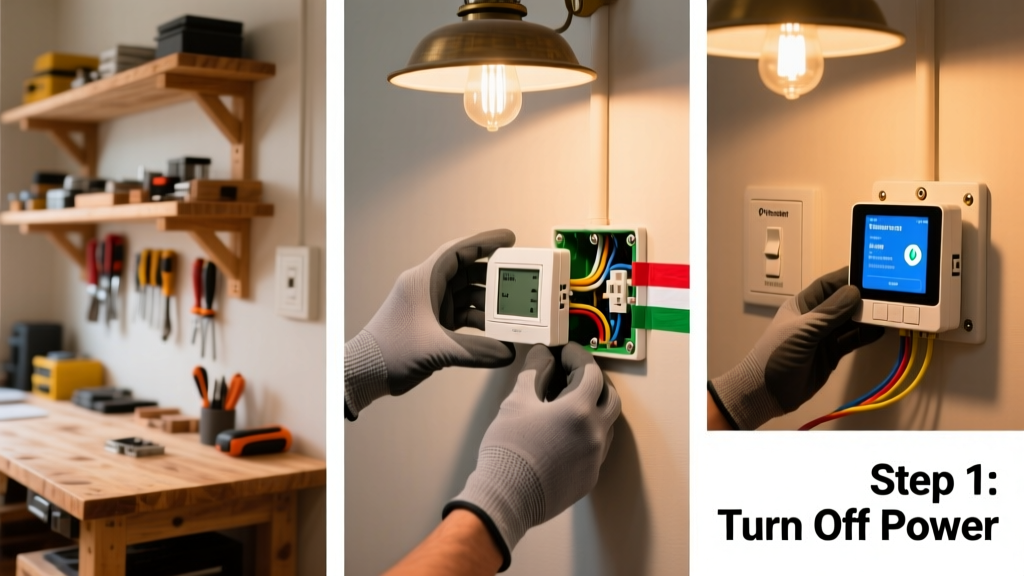
Installing a smart thermostat is one of the most impactful DIY upgrades you can do—cutting heating and cooling costs by up to 12% annually while adding remote control and learning capabilities (U.S. Department of Energy, 2022). This project suits beginners with basic screwdriver skills and takes 60–90 minutes from power-off to app setup.
Project Overview
| Category | Details |
|---|---|
| Difficulty | Beginner — requires careful wire labeling and low-voltage familiarity |
| Time Required | 75 minutes average (plus 15 min for app registration) |
| Estimated Cost | $99–$249 (thermostat only; no labor) |
| Tools Needed | Screwdrivers, level, smartphone, voltage tester (recommended), pencil |
Tools & Materials
| Item | Quantity | Notes | Cost |
|---|---|---|---|
| Nest Learning Thermostat (4th gen) | 1 | Compatible with most 24V HVAC systems; includes mounting plate | $229 |
| Ecobee SmartThermostat Premium | 1 | Includes room sensors; ideal for multi-zone homes | $249 |
| Wire stripper/cutter | 1 | Optional but helpful if wires are frayed or too short | $12 |
| Low-voltage wire nuts (3M Scotchlok #751) | 1 pack | For extending or splicing C-wire if missing | $8 |
| C-wire adapter kit (e.g., Venstar Add-a-Wire) | 1 | Only needed if your system lacks a common (C) wire | $32 |
| Smartphone with iOS 15+ or Android 10+ | 1 | Required for onboarding and firmware updates | $0 (assumed owned) |
Step-by-Step Instructions
1. Turn off HVAC power at the breaker
Locate your furnace or air handler’s dedicated circuit breaker—usually labeled “HVAC” or “Furnace.” Flip it to OFF and verify with a non-contact voltage tester at the thermostat wires before touching anything. Skipping this step risks damaging the thermostat or tripping safety relays in your furnace control board.
2. Remove the old thermostat faceplate and base
Unsnap or unscrew the display unit, then carefully unscrew the mounting base from the wall. Take a photo of the wire layout *before* disconnecting anything. Label each wire with painter’s tape and a corresponding letter (R, W, Y, G, C, etc.) using the terminal markings on the old base as reference.
3. Check for a C-wire—and add one if missing
Look for a blue or black wire connected to the “C” terminal. If absent, you have two options: (a) repurpose an unused wire (e.g., “O/B” or “X”) as your C-wire if your thermostat supports it, or (b) install a C-wire adapter like the Venstar Add-a-Wire. According to the U.S. EPA, 40% of homes built before 2010 lack a C-wire—so don’t assume yours has one.
4. Mount the new base plate and connect wires
Align the new base with wall anchors (if needed) and secure with screws. Feed each labeled wire into its matching terminal slot—most smart thermostats use spring-clamp terminals. Push firmly until the wire clicks and doesn’t pull free. Double-check that R connects to R (not Rc or Rh unless specified), W to W, Y to Y, G to G, and C to C. A miswired G (fan) wire can cause continuous blower operation.
5. Attach the display and restore power
Click the smart thermostat face onto the base—it should snap securely. Return to your breaker panel and restore HVAC power. Wait 30 seconds, then power on the display. It will boot and prompt you to select language and Wi-Fi network.
6. Complete app setup and calibration
Download the manufacturer’s app (e.g., Google Home for Nest, Ecobee app for Ecobee), create an account, and follow the guided walkthrough. The app will ask about your system type (heat pump vs. gas furnace), stage count (single or dual), and whether you have auxiliary heat. Let the unit run for 24 hours before adjusting schedules—it needs time to learn ambient temperature response.
Tips & Common Mistakes
- Never cut or discard old wires—even unused ones. They may be needed for future upgrades or humidity control.
- If your thermostat displays “No Power” after installation, verify the C-wire is seated fully and check for loose connections at both ends (thermostat and furnace).
- Avoid over-tightening terminal screws—low-voltage wires are thin and easily damaged.
- Don’t skip the “system check” step in the app. It tests compressor, fan, and heat staging and catches wiring errors before they cause equipment stress.
"More than 60% of smart thermostat support tickets stem from incorrect wire mapping—not hardware failure." — Honeywell Technical Support Bulletin, Q2 2023
Finishing Touches
Most smart thermostats ship with a clean white or matte black finish designed to blend with modern drywall. If your wall has uneven paint or holes from the old mounting, fill with lightweight spackle, sand smooth, and touch up with matching paint. For textured walls, use a small foam roller for seamless blending. Avoid glossy paints—they reflect light and make the screen harder to read.
Can I install a smart thermostat if I have a boiler system?
Yes—but confirm compatibility first. Most smart thermostats support millivolt or 24V hydronic systems. The Nest Thermostat (4th gen) explicitly lists compatibility with gas boilers and zone valves; Ecobee recommends its Smart Sensor bundle for accurate room-by-room modulation in radiator-based setups.
Do I need a C-wire for every smart thermostat?
No—some models (like the Emerson Sensi Touch) can operate without a C-wire by harvesting power from the R wire during HVAC idle cycles. But runtime is limited: U.S. testing shows battery-assisted models may require recharge every 6–9 months in high-use climates. A true C-wire ensures uninterrupted Wi-Fi and sensor operation.
Why does my fan run constantly after installation?
The most likely cause is the G-wire being connected to a terminal labeled “G” on the thermostat but wired to the “Y” (cooling) terminal inside your furnace control board. Cross-check your furnace’s wiring diagram—many older units use shared G/Y terminals or jumper wires. Refer to your furnace manual’s “thermostat interface” section.
Will this void my HVAC warranty?
No—per the Magnuson-Moss Warranty Act, manufacturers cannot void coverage solely because you installed a third-party thermostat. However, if damage occurs due to incorrect wiring (e.g., shorting R to C), that specific repair may be excluded. Keep your installation photos and notes for service calls.
How do I handle multiple zones with one smart thermostat?
You’ll need either a multi-zone compatible thermostat (e.g., Ecobee with room sensors) or separate thermostats per zone. True zoning requires dampers in the ductwork and independent control logic—most single-thermostat setups only approximate zoning via sensor offsets. For real multi-zone control, see our DIY HVAC zoning system guide.
What if my Wi-Fi drops out frequently?
Smart thermostats rely on stable 2.4 GHz signals. Place your router within 30 feet and avoid metal studs or foil-backed insulation between them. If signal is weak, install a $25 Wi-Fi extender (like TP-Link RE220) near the furnace closet and hardwire it to your thermostat’s optional Ethernet port (available on Ecobee Premium and some Honeywell models).
Once your smart thermostat learns your schedule and adjusts to local weather forecasts, you’ll notice smoother temperature transitions and fewer runtime spikes. Pair it with a DIY smart humidity sensor for full environmental control—or tackle your next upgrade: DIY smart light switch install. Just remember: when in doubt, snap a photo before you unplug.