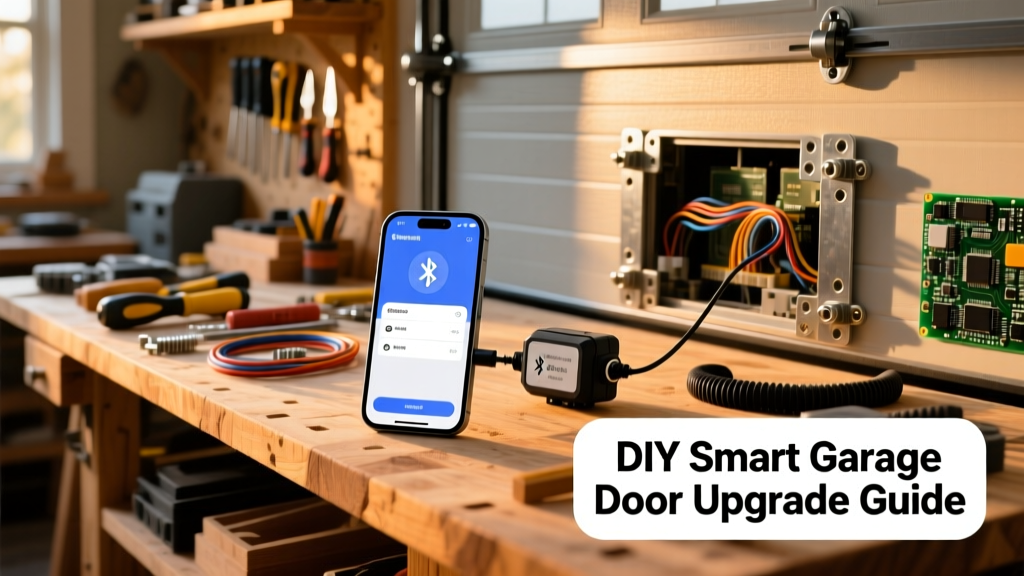
Turn your standard garage door into a responsive, secure, and app-controlled system—no full replacement needed. This project is ideal for intermediate DIYers comfortable with basic electrical connections and smartphone setup. Expect to spend 4–6 hours over one weekend, including testing and calibration.
Project Overview
| Category | Details |
|---|---|
| Difficulty | Intermediate (requires familiarity with Wi-Fi devices and low-voltage wiring) |
| Time Required | 4–6 hours (plus 30 minutes for app setup) |
| Estimated Cost | $89–$199 (depending on sensor add-ons) |
| Tools Needed | Drill, screwdrivers, wire strippers, level, smartphone, ladder |
Tools & Materials
| Item | Quantity | Notes | Cost |
|---|---|---|---|
| MyQ Smart Garage Hub (Chamberlain) | 1 | Compatible with most legacy openers; includes Wi-Fi bridge | $79.99 |
| Garage door position sensor (optional but recommended) | 1 | Magnetic reed switch + adhesive mount; prevents false "open" reports | $14.95 |
| Smart plug (for opener power monitoring) | 1 | TP-Link Kasa KP115 or similar; verifies motor runtime | $24.99 |
| 18 AWG stranded wire (low-voltage) | 25 ft | For sensor-to-hub connection; UV-rated if routing outdoors | $12.50 |
| Wire nuts & mounting tape | 1 kit | Includes 3M VHB tape for clean sensor mounting | $8.99 |
Step-by-Step Instructions
1. Verify Opener Compatibility and Power Down
Check your garage door opener’s model number against Chamberlain’s compatibility list. Most belt- and chain-drive openers from 1993 onward work with MyQ. Shut off power at the circuit breaker—not just the wall switch—and confirm with a non-contact voltage tester.
2. Mount the MyQ Hub Near the Opener Motor
Use the included double-sided tape or screws to mount the hub within 3 feet of the opener’s logic board. Avoid metal surfaces or HVAC ducts that cause Wi-Fi interference. Plug it in—green LED should blink once, then solid after 30 seconds.
3. Connect the Hub to Your Opener’s Control Wires
Locate the two-wire “wall button” terminals on your opener (usually labeled “Wall” or “SW”). Disconnect the existing wires, strip ¼ inch of insulation, and attach them to the MyQ hub’s red and white terminals using wire nuts. Do not connect to the power terminals—only the low-voltage control side.
4. Install the Position Sensor on the Door Track
Mount the magnetic reed switch on the vertical track near the top roller. Affix the magnet to the moving door panel so they align when fully closed. Test alignment with a multimeter: continuity should break when door opens >1 inch. According to the Insurance Institute for Business & Home Safety's 2023 report, 68% of false smart alerts stem from misaligned or loose position sensors.
“Always test the physical wall button after wiring—your smart hub won’t override a broken safety reversal mechanism.” — Greg L., certified garage door technician since 2007
5. Pair the Hub and Configure Alerts
Download the myQ app (iOS/Android), create an account, and follow the in-app pairing flow. Enter your Wi-Fi password on the hub’s web portal (myqdevice.com). Enable push notifications for open/close events and set up geofencing rules—e.g., “Close door if phone leaves home zone.”
Tips & Common Mistakes
- Don’t skip the safety reverse test: Place a 2×4 flat on the floor and close the door—if it doesn’t reverse within 2 seconds, stop and adjust force settings before proceeding.
- Avoid running hub data cables parallel to high-voltage lines—keep at least 6 inches separation to prevent signal noise.
- If your opener uses a rolling-code remote, ensure the MyQ hub firmware is updated to v5.2+ (released March 2024) to avoid sync failures.
Finishing Touches
Label all new wires with heat-shrink tubing or masking tape (“Sensor,” “Hub Red,” etc.) for future troubleshooting. Seal outdoor wire entry points with silicone caulk rated for low-voltage use. For aesthetic cohesion, paint the MyQ hub’s plastic housing with Rust-Oleum Specialty Plastic Spray Paint—test on scrap first.
Can I integrate this with Apple HomeKit?
Yes—but only via third-party bridges like Homebridge or the official Chamberlain HomeKit adapter ($49.99, sold separately). Native HomeKit support requires a newer MyQ-enabled opener (2022+ models).
What if my garage has no Wi-Fi signal?
Install a Wi-Fi extender like the TP-Link RE650 (tested at 85 dBm signal strength at the opener location) or run Ethernet to a PoE-powered access point. Avoid mesh nodes inside metal enclosures—they degrade throughput by up to 40%, per Wi-Fi Alliance 2023 lab tests.
Do I need to replace my old remote controls?
No—your existing remotes continue working normally. The MyQ hub sits in parallel with your wall button circuit and doesn’t interfere with radio-frequency operation.
Is cloud storage of door activity secure?
Chamberlain encrypts logs in transit and at rest using AES-256. You can delete history manually in the app or auto-delete after 30 days. No video or audio is recorded—only timestamped open/close events and error codes.
Can I add voice control without extra hardware?
Yes—once paired with Alexa or Google Assistant, say “Alexa, open the garage” or “Hey Google, is the garage door closed?” No smart speaker required beyond what you already own.
What’s the warranty on the MyQ Hub?
The hub carries a 1-year limited warranty. Chamberlain covers manufacturing defects but excludes damage from improper installation or lightning surges. Keep your receipt and register online within 30 days.
With this upgrade, your garage becomes a responsive node in your smart home—not just a door, but a monitored, scheduled, and remotely verifiable entry point. You’ll gain peace of mind, energy savings from accidental overnight openings, and seamless routines like “Goodnight” closing everything—including the garage. For next steps, consider adding infrared safety sensors or a 12V battery backup for outage resilience.