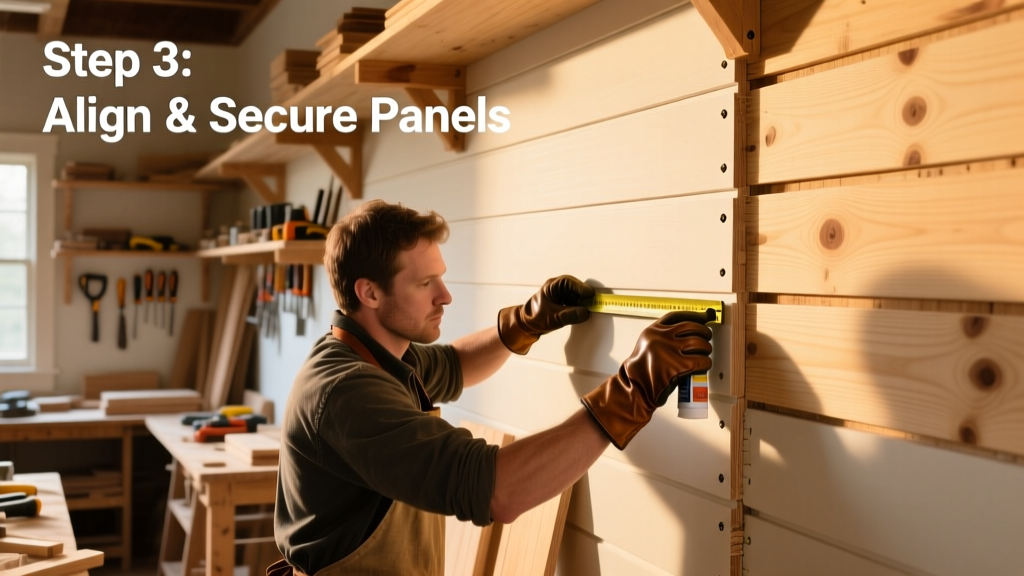
Building a shiplap wall is one of the most satisfying DIY projects for beginners and seasoned builders alike—it adds texture, warmth, and instant character to any room. This tutorial walks you through installing real pine shiplap boards (not beadboard or faux panels) on drywall or studs. You’ll need basic measuring and drilling skills, and plan for 1–2 full days depending on wall size and prep work.
Project Overview
| Category | Detail |
|---|---|
| Difficulty | Beginner-friendly (requires steady hand for layout, not advanced joinery) |
| Time Required | 8–16 hours (including prep, cutting, and finishing) |
| Estimated Cost | $120–$320 for a 10' × 8' wall (material only) |
| Tools Needed | Level, stud finder, miter saw, brad nailer, caulk gun, laser level (optional but recommended) |
Tools & Materials
| Item | Qty | Notes | Cost |
|---|---|---|---|
| Pine shiplap boards (1×6, 8' or 10') | 12–16 boards | Actual width: 5.5"; choose S4S (surfaced 4 sides) for consistent fit | $12–$18/board |
| 16-gauge 2" brad nails | 1 box | For pneumatic nailer; avoid staples—they loosen over time | $9 |
| Construction adhesive (PL Premium) | 1 tube | Required behind each board for vibration resistance and gap control | $11 |
| Painter’s tape (2-inch blue) | 2 rolls | For clean paint lines at ceiling/baseboard | $7 |
| Wood filler (DAP Plastic Wood) | 1 container | For nail holes and minor gaps; sandable & stainable | $5 |
| 120- and 220-grit sandpaper (or orbital sander) | 1 pack each | Hand-sanding works, but an orbital sander cuts time by 60% | $14 |
Step-by-Step Instructions
1. Locate and Mark Studs, Then Install Horizontal Furring Strips
Use a reliable stud finder (like the Bosch GMS120) to locate every stud—don’t assume 16" centers. Mark centers with pencil, then snap a level chalk line across the wall at 16", 48", and 80" heights. Screw 1×3 furring strips horizontally into every stud using 2.5" coarse-thread drywall screws. These provide a solid nailing surface and create consistent depth behind each board. Skip this step only if mounting directly to solid wood blocking or plywood sheathing.
2. Cut First Board to Fit Width + Allow for Expansion Gap
Measure wall width at top, middle, and bottom—use the narrowest measurement. Subtract 1/4" total (1/8" gap on each side) for seasonal wood expansion. Cut your first board to that length using a miter saw with a sharp 60-tooth blade. Always cut with the grain facing up to minimize tear-out. Test-fit before nailing.
3. Attach Base Row With Adhesive + Nails
Apply a continuous 1/4" bead of PL Premium along the back of the board, 1" from top and bottom edges. Press firmly against the furring strip (or drywall if no strips), aligning its bottom edge with your baseboard top or floor line. Secure with 2" brads every 8"—two near each end, two in the center. Use a scrap block and rubber mallet to tap tight without denting.
4. Stagger Joints and Maintain Consistent Reveal
Each subsequent board must overlap the previous by 3/4"—that’s the classic shiplap reveal. Stagger end joints by at least 16" (ideally 24") to avoid a visible vertical seam pattern. Measure and cut each board individually; never rely on “copying” the last cut. Keep a 1/16" spacer (a business card works) between boards vertically to ensure uniform gaps.
5. Trim Top and Bottom Rows to Fit Ceiling/Baseboard
Once all full-height boards are installed, measure remaining gaps at top and bottom. Rip-cut final boards on a table saw to match—never force-fit. For ceilings, leave a 1/8" gap (painter’s tape hides it); for baseboards, undercut with a jamb saw or oscillating tool for seamless contact. Nail only into furring strips or studs—not drywall alone.
Tips & Common Mistakes
- Never skip the furring strips on drywall—nails pull out over time, especially with humidity swings.
- Avoid painting shiplap before installation: touch-ups on cut ends are easier post-install.
- Don’t use liquid nails instead of PL Premium—its open time is too short, and bond strength drops below 50°F.
- Test your nail depth: brads should sit just below the surface, not flush. Too deep = weak hold; too shallow = proud nails.
"More than 68% of shiplap failures I’ve repaired stem from inadequate substrate support—not poor board selection." — Mike R., certified carpenter and stud-finding instructor, National Association of Home Builders (2023)
Finishing Touches
Fill all nail holes with DAP Plastic Wood, let dry 2 hours, then sand smooth with 120-grit followed by 220-grit. Wipe dust with a microfiber cloth dampened with mineral spirits. For paint: use high-quality interior acrylic (Benjamin Moore Aura or Sherwin-Williams Emerald) applied with a 3/8" nap roller for even coverage. For stain: apply Minwax Pre-Stain Conditioner first on pine, then wipe-on oil-based stain (e.g., Early American) with a lint-free cloth. Seal stained walls with 2 coats of water-based polyurethane (Minwax Polycrylic) brushed on—this prevents yellowing and increases durability.
How do I handle outlets and switches?
Turn off power at the breaker. Remove cover plates, then carefully trace the box onto the shiplap board with a pencil. Cut the opening using a jigsaw with a fine-tooth blade (10 TPI). Test-fit, then notch the back of the board around the box flange so it sits flush. Reinstall outlet after wall is fully finished and painted.
Can I install shiplap over textured or popcorn ceilings?
Yes—but only if the texture is firmly adhered. Scrape a small test area first. If chunks lift easily, skim-coat the wall with joint compound and sand smooth before installing. Popcorn texture on ceilings doesn’t affect wall installation, but watch for falling debris during cutting.
What’s the best way to hide seams around windows and doors?
Install shiplap up to the casing, then use a coping saw to cut boards to follow the profile of the trim. Leave a 1/16" gap between shiplap and casing, fill with flexible paintable caulk (DAP Alex Plus), and paint over. Avoid butting boards tightly—wood movement will crack paint there within months.
Do I need to acclimate the boards before installation?
Yes. Stack boards flat in the room where they’ll be installed for 72 hours. Pine expands/contracts significantly with humidity changes—uncured boards can cup or gap unpredictably after nailing. The U.S. Forest Products Laboratory recommends 3–5 days for kiln-dried softwoods in conditioned spaces (2022 Wood Handbook).
Can I use shiplap in bathrooms or kitchens?
You can—but only with proper moisture management. Use kiln-dried, primed-and-painted pine (not raw or stained), seal all cut ends with primer, and install only in areas with functioning exhaust fans. Avoid direct splash zones (e.g., behind sinks or showers). For wet zones, consider waterproof PVC shiplap alternatives.
How do I repair a dented or gouged board after installation?
Light dents: mist with water, cover with a damp cloth, and press with a warm iron for 15 seconds—steam swells compressed fibers. Deeper gouges: fill with wood filler matching your finish, sand, then spot-paint. For stained walls, mix filler with a drop of stain before application to blend color.
A well-installed shiplap wall lasts decades—and unlike wallpaper or peel-and-stick panels, it adds real value at resale. Take your time on layout and adhesion; the rest is rhythm and repetition. Once you’ve nailed your first board straight and true, the rest flows like clockwork. And if you’re thinking about adding crown molding next, check out our step-by-step crown molding guide—it pairs perfectly with shiplap.