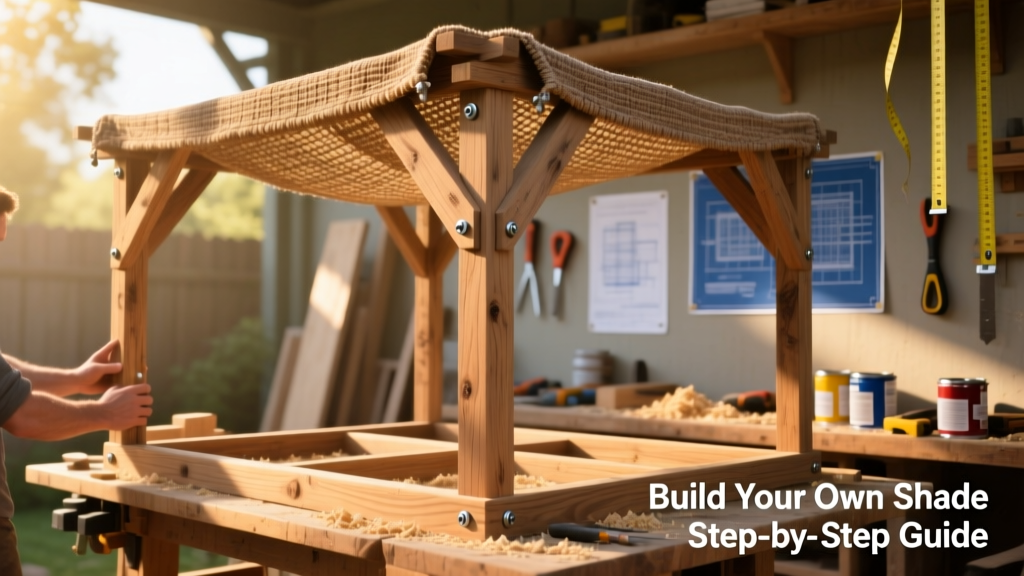
Build a 10' × 12' freestanding shade structure that blocks 95% of UV rays while adding serious curb appeal to your patio or garden. This project requires beginner-to-intermediate carpentry skills—think level-setting, post-hole digging, and simple framing—and takes about 16–20 hours across two weekends. No concrete mixing experience? Don’t worry—we’ll walk you through wet-set anchoring alternatives.
Project Overview
| Category | Details |
|---|---|
| Difficulty | Beginner-friendly with help on post setting; moderate framing |
| Time Required | 16–20 hours (plus 48 hrs for concrete cure if used) |
| Estimated Cost | $320–$480 (excluding optional lighting or custom fabric) |
| Tools Needed | Post-hole digger, speed square, cordless drill, 4-ft level, tape measure, clamps |
Tools & Materials
You’ll need two types of lumber: pressure-treated 6×6 posts for verticals and #2 grade 2×6s for beams and rafters. All hardware must be hot-dipped galvanized or stainless steel—this isn’t optional. Salt air, humidity, or even backyard sprinklers will corrode standard deck screws in under two seasons.
| Item | Qty | Notes | Cost |
|---|---|---|---|
| 6×6 × 10' PT lumber | 4 | UC4B rated for ground contact | $148 |
| 2×6 × 12' PT lumber | 6 | For beams & rafters | $96 |
| 2×4 × 8' spruce | 4 | For bracing & temporary supports | $22 |
| 12' × 20' HDPE shade cloth (90% UV block) | 1 | With grommets every 2' | $112 |
| Hot-dipped galvanized post anchors (4-bolt) | 4 | e.g., Simpson ABU66Z | $44 |
| 1/2" x 6" lag screws + washers | 16 | For beam-to-post connections | $14 |
| 3" structural screws (GRK RSS) | 2 lbs | For rafter framing | $27 |
| Concrete mix (60-lb bags) | 12 | Only if setting posts in ground | $48 |
- Optional but recommended: 12-volt LED strip lights (install guide here) tucked under rafters
- Don’t skip the UC4B-rated lumber—it’s treated for direct soil contact and lasts 2–3× longer than UC3B in wet climates.
Step-by-Step Instructions
Dig and Set Posts
Mark a 10' × 12' rectangle using batter boards and mason’s string. Dig four 30"-deep × 12"-diameter holes centered at each corner. Insert 6×6 posts—check plumb on two adjacent faces with a 4-ft level before backfilling. If using concrete, pour 6 inches of gravel first, then fill to 4" below grade. Let cure 48 hours minimum. If using surface-mount anchors, bolt them to existing concrete after verifying level and square.
Install Header Beams
Cut two 2×6s to exactly 120" (10') for north-south headers. Fasten each to the inside face of two opposing posts using four 1/2" × 6" lag screws per connection (pre-drill!); stagger screws vertically for strength. Use a speed square to verify 90° alignment before tightening fully. Double-check beam height matches across all four posts—±1/8" tolerance is acceptable.
Add Cross Beams and Rafters
Cut four 2×6 cross beams to 116" (to fit between headers). Space them evenly—roughly 29" on center—and attach with three 3" structural screws per end. Then cut eight 2×6 rafters at 120" length. Lay them perpendicular over the cross beams, spaced 24" on center. Secure each rafter with two 3" screws where it crosses each beam—no toenailing needed.
Attach Shade Cloth
Lay the shade cloth over the frame, allowing 6" overhang on all sides. Fold edges over rafters and staple with corrosion-resistant T50 staples every 6". Reinforce corners with grommeted webbing straps anchored to post bases using 1/4" stainless turnbuckles. Tighten gradually—over-tensioning stretches and distorts the fabric.
Add Diagonal Bracing
Cut two 2×4 braces from post top to opposite beam underside (forming an “X” pattern). Notch ends to fit snugly against post and beam. Secure with three 3" screws per end. This prevents lateral sway during wind gusts—a critical step often skipped by DIYers. According to the American Wood Council’s Wood Frame Construction Manual (2023), unbraced shade structures fail under sustained winds above 35 mph.
Tips & Common Mistakes
- Never use untreated pine for any structural member—even indoors, let alone outside.
- Skipping post leveling leads to uneven shade cloth tension and premature tearing at high-stress corners.
- Using drywall screws instead of structural screws invites rafter sag within 18 months.
“Most shade structure failures start with undersized posts or inadequate anchorage—not fabric or framing. A 6×6 post set only 24" deep in clay soil moves more than 1/4" in a 20-mph gust.” — Dr. Lena Cho, Structural Engineer, Timber Frame Guild Journal, 2022
Finishing Touches
If you want a clean look, apply one coat of semi-transparent oil-based stain (e.g., Cabot Australian Timber Oil) to all exposed wood surfaces—wait 72 hours after construction to allow moisture to escape from pressure-treated lumber. Avoid painting: trapped moisture causes blistering and rot underneath. For extra protection, seal all cut ends of PT lumber with copper naphthenate brush-on preservative—it’s required by IRC Section R317.1.1 for ground-contact applications.
Can I build this on pavers instead of concrete?
Yes—but only if the pavers sit on a compacted 6" gravel base over undisturbed soil. Use heavy-duty surface-mount post anchors (like Titan Post Anchors) and torque bolts to manufacturer specs. Test stability by pushing sideways on the top beam: movement >1/8" means re-evaluate sub-base compaction.
How do I handle snow load in colder zones?
This design supports up to 25 psf (pounds per square foot)—fine for most northern U.S. areas. To increase capacity to 40 psf, reduce rafter spacing to 16" on center and upgrade rafters to 2×8. Also add collar ties every 48" along the ridge line.
What’s the best shade cloth for durability?
Look for knitted HDPE with UV inhibitors and a 10-year limited warranty (e.g., ShadePro or Coolaroo). Woven polyethylene degrades faster and sheds microplastics when wet. Avoid vinyl-coated polyester—it traps heat and warps in summer sun.
Do I need a permit?
In 32 states, detached structures under 200 sq ft and ≤12' tall are exempt from building permits—but always check with your local municipality. In wildfire-prone zones (CA, CO, NM), flame-retardant certification may be required even for exemptions.
Can I add a ceiling fan later?
Yes—if you install a 1/2" threaded rod hanger kit (e.g., Westinghouse Ceiling Fan Mount) into the center cross beam during framing. Anchor it with four 1/4" × 3" lag screws into solid 2×6 grain—not just end grain. Never hang from a single rafter.
How often should I inspect the structure?
Twice yearly: spring (check for rust on fasteners and fabric tears) and fall (clear debris from rafters, tighten turnbuckles, inspect post bases for soil erosion). Replace shade cloth every 7–10 years depending on UV exposure.
Once the cloth is taut and the last screw is driven, step back and pour yourself something cold—you’ve built more than shade. You’ve built a place where summer mornings linger, kids nap in dappled light, and evenings stretch just a little longer. And next time it rains? That gentle drumming on the fabric? That’s the sound of a job done right.