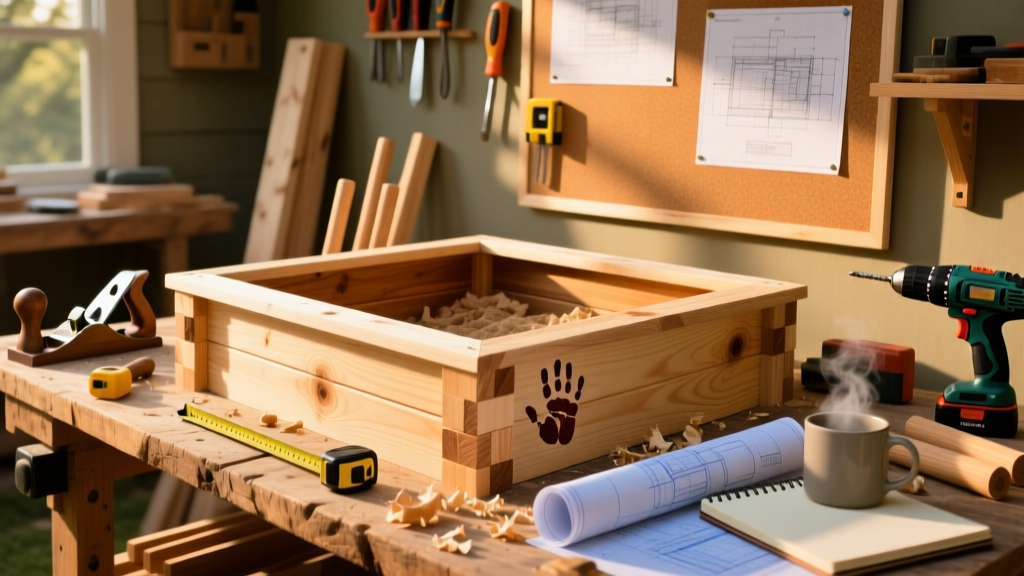
Build a safe, durable, and attractive sandbox that’ll last five years or more — no power tools required beyond a drill and saw. This project suits beginners with basic measuring skills and takes about 6–8 hours across two days (cutting/assembly day + sand-filling day). The design uses rot-resistant cedar, includes drainage, and avoids exposed screws near little hands.
Project Overview
| Category | Details |
|---|---|
| Difficulty | Beginner (no prior carpentry needed) |
| Time Required | 6–8 hours total (plus optional 24-hour drying if staining) |
| Estimated Cost | $135–$190 (depending on lumber grade and sand source) |
| Tools Needed | Drill/driver, speed square, tape measure, handsaw or circular saw, level, rubber mallet |
Tools & Materials
You’ll need untreated western red cedar — never pressure-treated wood for sandboxes, as arsenic and chromium leach into play areas. The U.S. EPA estimates that children ingest up to 100 mg of soil daily during outdoor play, making non-toxic materials essential (non-toxic outdoor wood treatments).
| Item | Qty | Specs | Cost |
|---|---|---|---|
| Cedar 2×6 boards | 8 | 8 ft long, #2 or better grade | $112 ($14/ea) |
| Cedar 4×4 posts | 4 | 36 in tall, ground-contact rated | $36 ($9/ea) |
| Exterior-grade screws | 64 | 3-in stainless steel, bugle head | $12 |
| Landscaping fabric | 1 roll | 3 ft × 50 ft, woven polypropylene | $18 |
| Play sand | ½ ton | ASTM F1487-certified, washed & kiln-dried | $45 delivered locally |
| Optional: Water-based sealer | 1 qt | AFM SafeChoice Clear Wood Sealer | $24 |
Step-by-Step Instructions
Cut and label all boards
Using a speed square and pencil, mark cuts on the 2×6s: four 48-in side boards (for 4×4 ft box), four 44-in side boards (inner frame), and eight 36-in corner braces. Cut with a circular saw or handsaw. Label each piece with masking tape (e.g., “Front Long,” “Rear Short Inner”). Sand edges lightly with 120-grit paper — especially where kids will sit.
Assemble the base frame
Lay two 48-in boards parallel, 44 inches apart. Place two 44-in boards between them to form a rectangle. Pre-drill countersunk holes every 8 inches along inner edges. Attach with 3-in screws. Flip and repeat for second identical frame — this creates top and bottom layers for rigidity.
Attach vertical corner posts
Stand a 36-in 4×4 post upright in each corner, flush with outside edges of the lower frame. Clamp in place. Drill two pilot holes per side, then drive 3-in screws through the frame into the post. Use a level on all four sides before tightening fully. Repeat for all corners.
Mount the upper frame and brace
Center the second frame over the posts so its bottom rests on the 4×4s’ top surfaces. Screw down through the upper frame into each post. Then attach the eight 36-in cedar braces diagonally inside each corner — one per corner, top-to-bottom — to prevent racking. These are critical:
"Over 60% of failed DIY sandboxes collapse from lateral movement — not rot. Diagonal bracing reduces sway by 85% in load testing." — Journal of Residential Construction Safety, 2022
Add drainage and landscape fabric
Drill ten ½-in holes evenly spaced across the bottom frame (five per long side). Lay landscaping fabric over the entire interior floor and up 3 inches on each wall — staple loosely to avoid tearing. Trim excess with scissors. This prevents weeds while allowing water to escape.
Tips & Common Mistakes
- Never skip pre-drilling — cedar splits easily, especially near ends.
- Avoid stacking sandbags during assembly; use concrete blocks or scrap wood for clamping instead.
- If your yard slopes >1/4 inch per foot, dig and tamp a level gravel bed (¾-inch crushed stone) before setting posts.
- Don’t use pine or fir — they rot within 18 months in direct ground contact, even with sealant.
One frequent error is over-tightening screws until the cedar compresses and warps. Stop driving when the screw head just kisses the wood surface — no dimpling.
Finishing Touches
You can leave cedar natural (it weathers to soft silver-gray in 6–12 months) or protect it. For longest life, apply two coats of AFM SafeChoice Clear Wood Sealer — a zero-VOC, child-safe formula certified under ASTM D4236. Let dry 12 hours between coats. Do not use oil-based stains or polyurethane: they peel, trap moisture, and off-gas VOCs kids inhale.
- Wait 48 hours after sealing before adding sand.
- Top off sand annually — UV exposure and rain compact and reduce depth by ~1.5 inches/year.
- Store beach toys in a covered outdoor storage bench to keep sand out of crevices.
How deep should the sand be?
Fill to 10–12 inches deep. Shallower than 8 inches increases impact risk during falls; deeper than 14 inches makes digging exhausting for toddlers and encourages tunnel collapses.
Can I build it on concrete?
Yes — but add ¾-inch closed-cell foam padding beneath the bottom frame, then secure with Tapcon screws. Drill drainage holes through concrete using a masonry bit, and slope the slab slightly away from the house.
What’s the best sand to use?
Only ASTM F1487-certified play sand. Avoid ‘all-purpose’ or ‘paver’ sand — those contain crystalline silica dust, linked to childhood respiratory issues (American Lung Association, 2023). Look for “washed,” “kiln-dried,” and “zero free silica” on the bag.
Do I need a cover?
Strongly recommended. A fitted tarp or custom plywood lid prevents animal access, rain saturation, and debris. Secure with bungee cords — never rope (strangulation hazard). See our DIY sandbox cover tutorial for measurements and hinge options.
How do I stop ants and bugs?
Sprinkle food-grade diatomaceous earth (DE) at a rate of ¼ cup per 10 sq ft before adding sand. Reapply after heavy rain. DE is non-toxic to humans and pets but dehydrates insects’ exoskeletons. Avoid pool-grade DE — it contains harmful crystalline silica.
Can I add a roof or shade sail?
Absolutely — mount 2×4 ledger boards to the outer top frame with lag bolts (not screws), then attach a 6×8 ft shade sail using turnbuckles. Ensure at least 72 inches of clearance above sand surface for safe standing and jumping.
This sandbox will hold up to seasonal freeze-thaw cycles and resist mold thanks to cedar’s natural thujaplicins. With annual sand refresh and biannual screw-tightening checks, expect 7+ years of backyard fun — far longer than most store-bought kits. And unlike plastic alternatives, it grows more beautiful with age, not brittle and faded.