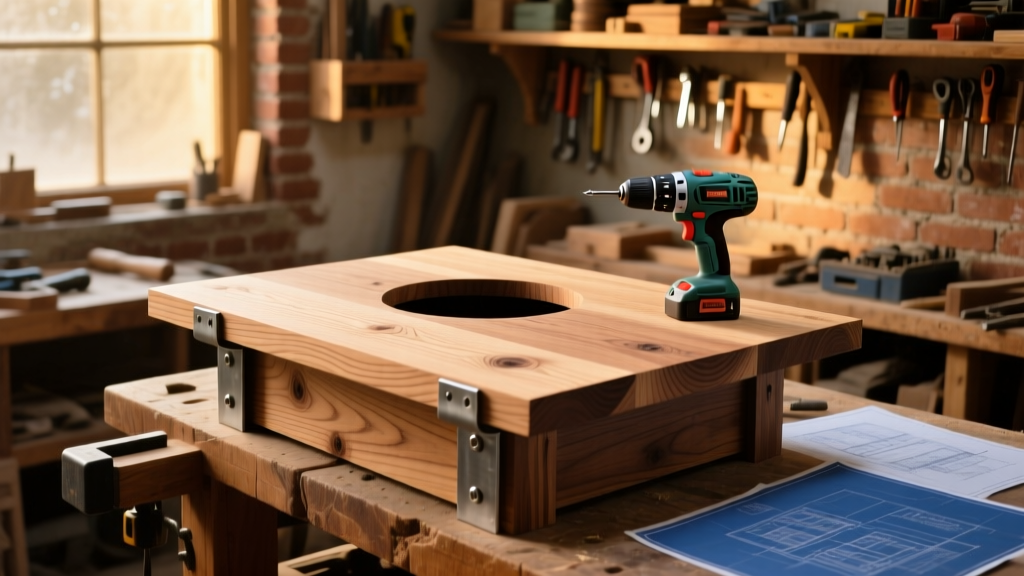
A sacrificial top is a thin, removable layer of wood bolted or screwed onto your workbench surface—designed to take the abuse of chisels, marking knives, and router bits so your main bench stays pristine. This project is beginner-friendly (no glue-up or complex joinery), takes about 3.5–4 hours including drying time, and costs under $35 using common softwood. You’ll need basic power tools and a drill—but no planer or jointer.
Project Overview
| Category | Detail |
|---|---|
| Difficulty | Beginner — requires straight cuts and consistent screw spacing |
| Time Required | 3.5–4 hours (plus optional 2-hour sealant dry time) |
| Estimated Cost | $28–$36 (depending on local lumber pricing) |
| Tools Needed | Circular saw or table saw, drill/driver, clamps, square, tape measure, pencil |
Tools & Materials
You’ll cut the top from one sheet of 3/4" pine or poplar—no hardwood needed. Sacrificial tops wear out; they’re meant to be replaced, not cherished. Use clear, knot-free stock for clean marking surfaces and consistent screw-holding.
| Item | Qty | Notes | Cost |
|---|---|---|---|
| 1/2" or 3/4" pine plywood or solid pine | 1 sheet (4' × 8') | Choose sanded A-grade; avoid OSB or MDF—they fuzz and chip easily | $22–$29 |
| #8 × 1-1/4" pan-head wood screws | 24–32 pcs | Stainless or coated for corrosion resistance | $4 |
| Wood glue (optional) | 1 small bottle | Only for edge-gluing if using narrower boards | $3 |
| Mineral spirits & 220-grit sandpaper | 1 each | For cleaning and light smoothing before sealing | $5 |
| Total | — | — | $28–$36 |
Step-by-Step Instructions
1. Measure and Mark Your Bench Frame
With your bench fully assembled, measure the outer dimensions of the frame’s top rails—not the existing top. Subtract 1/8" total (1/16" per side) to ensure the sacrificial layer floats freely and won’t bind when humidity swells the wood. Record length and width precisely: e.g., 71-7/8" × 23-7/8".
2. Cut the Top Panel
Set up your circular saw with a sharp carbide blade and use a straightedge guide. Cut the panel to your recorded dimensions—double-check with a framing square before finalizing. If using solid pine boards instead of plywood, rip them to width first, then crosscut to length. Joint edges only if gaps exceed 1/32"—otherwise, skip it. As the U.S. Forest Products Laboratory notes in their Wood Handbook (2023), “Sacrificial layers perform best when installed with minimal lateral constraint—tight fits induce seasonal cupping.”
3. Drill Pilot Holes Through the Top
Flip the panel face-down. Lay it over the bench frame and align all four corners. Clamp lightly. Using a center punch or awl, mark pilot hole locations every 6" along all four edges—and add two more near midpoints of longer sides. Drill 1/8" pilot holes through the top only (not into the bench frame yet). Count and label holes with masking tape: “Front Left,” “Rear Right,” etc., to avoid confusion during assembly.
4. Attach with Countersunk Screws
Apply a dab of wood glue only at screw locations if you want slight damping (not necessary for most users). Drive #8 × 1-1/4" screws—countersunk flush—through the top into the bench frame’s top rail. Use a stop collar on your drill bit or a depth gauge to prevent overdriving. Keep torque low: snug but not crushing. Check for twist by placing a 48" level diagonally across the surface—adjust if bubble drifts more than 1/8".
5. Sand and Clean Lightly
Lightly hand-sand the entire surface with 220-grit paper—just enough to remove mill marks and splinters. Wipe thoroughly with a tack cloth, then mineral spirits on a lint-free rag. Avoid steel wool: it leaves embedded particles that rust and stain.
Tips & Common Mistakes
- Don’t use MDF—it swells irreversibly when nicked with water-based glue or finish.
- Avoid screws longer than 1-1/4": they risk splitting the frame or hitting hidden hardware.
- Never glue the entire underside—this defeats the purpose of easy replacement.
- If your bench has dog holes, mark them *before* cutting, then drill matching 3/4" holes using a Forstner bit.
One pro tip from furniture maker and instructor Sarah Chen:
“I pre-drill every screw location twice—first with a 1/8" bit for the shank, then a 3/32" bit for the threads. It eliminates blowout on the underside and lets me swap tops in under 12 minutes.”
Finishing Touches
A sacrificial top doesn’t need heavy finish—but skipping protection invites deep gouges and moisture tracking into the bench frame. Apply one coat of wipe-on polyurethane (Minwax Satin) or boiled linseed oil thinned 50/50 with mineral spirits. Let cure 2 hours before light use; wait 24 hours before routing or chisel work. Avoid film-building finishes like standard poly—they peel and flake when scored. For high-precision marking, consider a light coat of chalk-line-ready paste wax after curing.
How thick should my sacrificial top be?
3/4" is ideal for stability and screw-holding. 1/2" works for lighter-duty benches but risks flexing under clamping pressure. Never go thinner than 3/8"—it’ll telegraph frame imperfections and split easily.
Can I use hardwood like maple?
Yes—but it’s overkill and costly. Pine and poplar hold pencil lines well, resist chipping better than hardwoods under repeated scoring, and are easier to replace. Hardwoods also require sharper tools to maintain clean edges.
Do I need to acclimate the wood first?
Yes—if your shop humidity differs significantly from where the bench lives. Stack the panel flat with spacers for 48 hours. The USDA Forest Service recommends 72 hours for solid pine in climates with >20% RH swings.
What if my bench has an overhang?
Design the sacrificial top to match the overhang exactly. Extend the panel past the frame rails, then attach only to the rails—not the legs or aprons. This keeps the overhang functional for clamping while protecting the structural top.
How often should I replace it?
Every 6–18 months depending on usage. Look for cumulative depth of cuts >1/8", or when dog holes become loose or misshapen. Track replacements with a Sharpie date on the underside—most woodworkers get 3–4 tops per bench lifetime.
Can I add T-track or accessory slots?
Absolutely—route shallow (3/16") grooves before attaching. Use a straightedge and plunge router with a 1/4" slotting bit. Stop 1" short of all edges to prevent breakout. For alignment, reference our T-track installation guide and dog hole jig tutorial.
Your sacrificial top isn’t just protection—it’s insurance for your bench’s longevity and your own workflow confidence. Once installed, you’ll notice immediate gains: cleaner layout lines, safer chisel work, and zero hesitation before driving a marking knife. And when it’s time to replace? Just unscrew, discard, and repeat—no regrets, no refinishing, no stress.