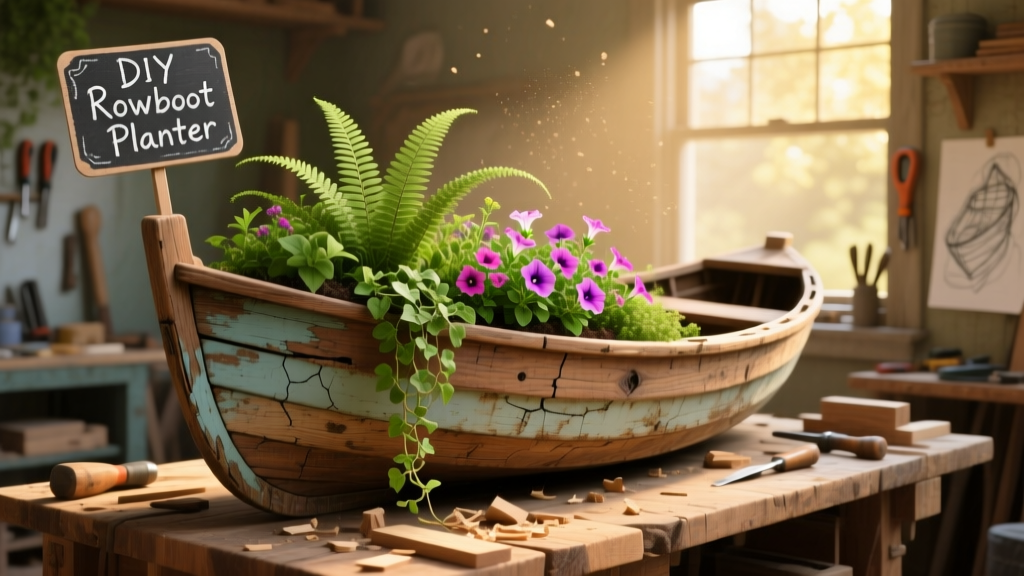
Turn a retired wooden rowboat—scraped, sun-bleached, or even slightly warped—into a striking, weather-resistant planter that anchors your garden with nautical charm. This project sits at the sweet spot between beginner-friendly and satisfyingly hands-on: you’ll use basic carpentry and waterproofing skills, but no joinery or power-tool mastery is required. Budget 6–8 hours over two days (plus 48 hours for sealant curing), and expect to spend $45–$95 depending on whether you source the boat free or buy a salvageable one.
Project Overview
| Category | Details |
|---|---|
| Difficulty | Beginner–Intermediate (requires drilling, sanding, and sealing) |
| Time Required | 6–8 hours active work + 2 days cure time |
| Estimated Cost | $45–$95 (excluding boat; free or $20–$60 used) |
| Tools Needed | Drill, spade bit, orbital sander, utility knife, paintbrushes, caulking gun |
Tools & Materials
You’ll need both structural prep supplies and finishing materials. Prices reflect mid-2024 retail (Home Depot, Lowe’s, and Rockler). All sealants and soils are chosen for outdoor durability—not just aesthetics.
| Item | Qty | Notes | Cost |
|---|---|---|---|
| Wooden rowboat (10–12 ft) | 1 | Must be solid—no rot in keel or ribs; check for dry rot with screwdriver probe | $0–$60 |
| 3/4" PVC drain pipe (10 ft) | 1 | Cut into three 12" sections for drainage tubes | $6.25 |
| Drainage gravel (¼" crushed stone) | 2 cu ft | Non-decomposing; prevents soil compaction | $12.99 |
| Exterior-grade polyurethane (oil-based) | 1 qt | Minwax Helmsman Spar Urethane recommended | $24.97 |
| Marine-grade silicone caulk | 1 tube | GE Silicone II Marine, black or clear | $5.49 |
| 120- and 220-grit sandpaper (orbital pads) | 2 packs each | For smoothing old varnish and prepping wood grain | $11.50 |
Step-by-Step Instructions
1. Inspect and Clean the Hull
Remove all hardware (oarlocks, seats, brass fittings) using a socket set. Scrub the interior with a stiff brush, warm water, and 1 cup white vinegar per gallon to neutralize tannins and mildew. Let air-dry fully for 24 hours—moisture trapped under sealant causes blistering. Tap every rib and plank with a hammer handle: hollow sounds mean hidden rot.
2. Drill Drainage Holes and Install Tubes
Mark three locations along the bottom centerline: one centered amidships, one 12" forward, one 12" aft. Use a 1-1/4" spade bit to drill straight through the hull. Insert 12" lengths of PVC pipe, pushing until flush with the interior surface. Seal the exterior joints with marine silicone—press firmly and wipe excess with a damp rag before it skins over.
3. Sand and Repair Surface Defects
Start with 120-grit on an orbital sander to remove flaking finish and splinters. Switch to 220-grit for final smoothing—especially around seams and stress points like the stem and transom. Fill any hairline cracks (≤1/16") with epoxy wood filler (e.g., Abatron WoodEpox), not standard putty—it bonds permanently and won’t shrink.
4. Apply First Coat of Spar Urethane
Stir—not shake—the urethane to avoid bubbles. Use a natural-bristle brush and apply thin, even strokes *with* the grain only. Work in shade (not direct sun) and keep ambient temps between 65–85°F. Let dry 12 hours minimum. Lightly scuff with 320-grit between coats—this ensures mechanical adhesion.
5. Line the Interior with Landscape Fabric
Cut a single piece of heavy-duty woven landscape fabric (not spunbonded) large enough to drape 4" up each side. Staple loosely at bow and stern with rustproof staples—do not stretch tight. Trim excess after filling with soil. This layer keeps soil from washing out while allowing full drainage.
Tips & Common Mistakes
- Never skip the vinegar wash—even “clean-looking” interiors harbor tannic acid that leaches and stains soil or plants.
- Avoid latex paint or interior polyurethane: UV exposure will chalk and peel within one season, per the Outdoor Wood Sealant Guide.
- Don’t overfill with soil: leave 3–4" below the gunwale to prevent overflow during heavy rain.
One mistake we see constantly? Skipping the PVC tubes and relying on tiny holes alone. According to the University of Florida IFAS Extension’s 2022 Container Gardening Handbook, unobstructed 1-1/4" drainage ports move water 7x faster than 1/4" holes—and prevent root suffocation in clay-heavy soils.
“A rowboat planter isn’t just decorative—it’s a micro-habitat. Proper drainage isn’t optional; it’s what keeps mint from drowning and lavender from rotting.” — Sarah Lin, UF IFAS Master Gardener Coordinator, 2023
Finishing Touches
After the third coat of spar urethane cures fully (72 hours), consider aesthetic upgrades. For coastal authenticity, hand-rub tung oil over the exterior—this deepens grain without gloss. If painting, use Benjamin Moore Aura Exterior in ‘Nantucket Gray’ (OC-46): its zero-VOC acrylic resin resists salt spray and chalking. For a rustic look, dry-brush iron oxide pigment over lightly sanded areas to mimic age. Always seal painted surfaces with one final clear coat of spar urethane.
Can I use a fiberglass rowboat?
No—fiberglass lacks the thermal expansion compatibility needed for long-term soil contact and freeze-thaw cycles. The gelcoat delaminates when moisture migrates behind it. Stick to solid wood (white oak, cedar, or mahogany preferred).
What plants thrive in a rowboat planter?
Shallow-rooted, drought-tolerant species: lavender, sedum ‘Autumn Joy’, catmint, and ornamental grasses like blue fescue. Avoid tomatoes or squash—the hull’s depth (typically 14–18") limits root spread. For inspiration, see our drought-tolerant container plants roundup.
How do I winterize it?
In USDA Zones 6 and colder, tip the boat slightly to drain residual water, then cover with a breathable canvas tarp (not plastic). Remove soil entirely if freezing is prolonged—frozen wet soil heaves and cracks wood fibers over time.
Do I need to add fertilizer regularly?
Yes—but use slow-release granules (e.g., Osmocote Plus Outdoor & Indoor) mixed into the top 4" of soil at planting. Liquid feeds wash out too quickly through the large drainage ports. Reapply every 3 months during growing season.
Is it safe to place on a wooden deck?
Only with a 1/2" rubber mat (like those used under gym equipment) beneath the boat. Direct contact wicks moisture into deck boards, accelerating rot. Check deck joists annually for soft spots near the planter footprint.
Can I mount it on a stand or wheels?
Absolutely—build a simple A-frame cedar cradle (cut at 15° angle) or attach locking casters rated for 150+ lbs. Just ensure weight distribution stays centered: a loaded 12' boat weighs ~180–220 lbs wet.
There’s something quietly powerful about repurposing a vessel built for water into one that holds life instead—roots instead of oars, blossoms instead of bilge. Your rowboat planter won’t just hold soil and stems; it’ll hold stories, sunlight, and the slow, steady rhythm of growth. Grab that sander, pick your first plant, and launch into it.