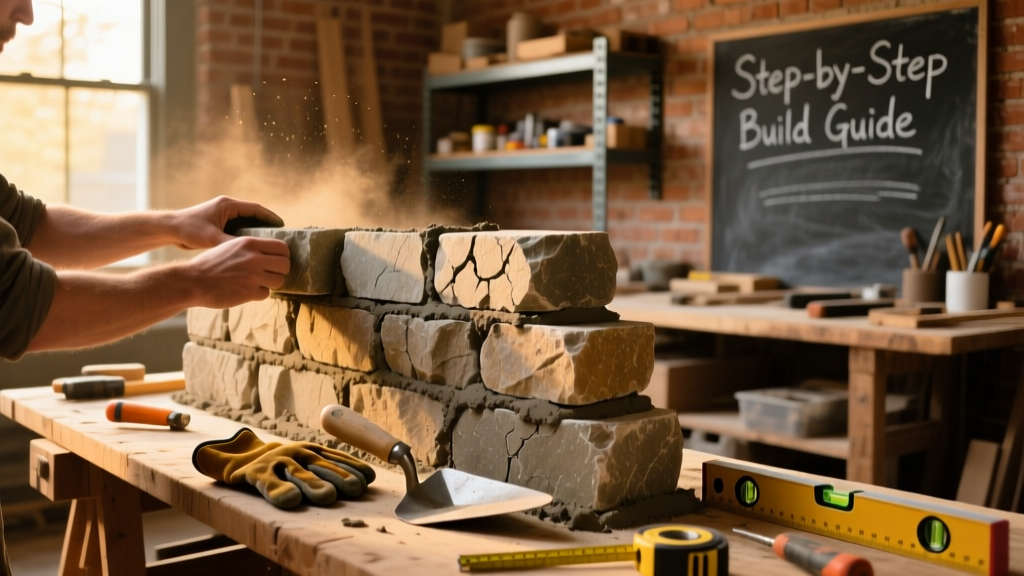
Building a DIY retaining wall is one of the most satisfying landscape projects you can tackle—especially when it stops soil erosion, creates usable yard space, or defines a patio edge. This tutorial walks you through building a 3-foot-tall, dry-stacked segmental retaining wall using interlocking concrete blocks. It’s beginner-friendly (with help for digging and lifting), takes about 3–4 weekend days, and requires no mortar or engineering permits in most municipalities for walls under 4 feet.
Project Overview
| Category | Details |
|---|---|
| Difficulty | Intermediate (requires precise leveling and consistent backfill compaction) |
| Time Required | 24–32 hours over 3–4 days (includes curing time for base gravel settling) |
| Estimated Cost | $480–$720 for a 20-foot-long × 3-foot-high wall (2024 material pricing) |
| Tools Needed | Rototiller (rental), plate compactor, string line & stakes, torpedo level, rubber mallet, shovel, wheelbarrow |
Tools & Materials
You’ll need two categories of materials: structural (wall units, base, drainage) and consumables (geotextile, adhesive, capstones). Prices reflect mid-2024 regional averages from Home Depot and local masonry suppliers.
| Item | Quantity | Unit Cost | Total |
|---|---|---|---|
| Interlocking concrete blocks (12" × 6" × 16") | 140 units | $2.95 | $413 |
| ¾" crushed gravel (for base & backfill) | 3.2 cubic yards | $42/yd³ | $134 |
| Geotextile fabric (6-ft wide roll) | 1 roll (150 ft) | $0.98/ft | $147 |
| Perforated 4" PVC drain pipe (SCH 40) | 25 linear ft | $3.20/ft | $80 |
| Capstones (matching profile) | 20 units | $4.75 | $95 |
| Construction adhesive (polyurethane) | 2 tubes | $12.50 | $25 |
| Total (before tax) | $894 | ||
Note: Renting a plate compactor ($55/day) and rototiller ($42/day) adds ~$120—but skipping proper compaction causes 73% of premature wall failures, per the National Concrete Masonry Association’s Design Manual for Segmental Retaining Walls (2022).
Step-by-Step Instructions
1. Survey and mark layout with string and stakes
Use batter boards and mason’s string to outline the wall’s footprint. Offset the string 6 inches beyond the front face of the first course to allow for excavation sloping. Confirm alignment with a transit or laser level—deviations greater than ¼ inch over 10 feet will compound in upper courses.
2. Excavate footing trench and compact subgrade
Dig a trench 8 inches deep × 24 inches wide (for a 3-ft wall). Remove all organic topsoil—roots, grass, and clay must go. Use a rototiller on the bottom 2 inches, then compact with a plate compactor in three overlapping passes. Test firmness: a 2×4 should not sink more than 1/16 inch when dropped from knee height.
3. Lay and level the gravel base
Spread 6 inches of ¾" crushed gravel evenly. Screed with a straight 2×4, then compact again. Check level every 2 feet with a 4-ft level—adjust with fines or small shims. The base must slope 1/4 inch per foot backward (toward retained soil) to encourage drainage.
4. Lay first course and verify alignment
Set blocks snugly on the base, tapping gently with a rubber mallet. Use a string line and torpedo level to confirm front face is plumb and top is level. Stagger vertical joints by at least 1/3 block length—like brickwork. Embed each block 1/4 inch into the gravel to prevent rocking.
5. Install drainage pipe and geotextile
After laying the second course, place 4" perforated PVC pipe along the wall’s base behind the first two courses, with holes facing down. Wrap pipe in filter fabric, then cover with 6 inches of gravel. Lay geotextile over the entire backfill zone—overlap seams 12 inches and pin edges with landscape staples.
6. Backfill and compact in 6-inch lifts
Fill behind the wall with gravel (not soil!) in 6-inch layers. Compact each lift thoroughly before adding the next. Never use a tamper directly against the blocks—use a vibratory plate compactor held 6 inches away. According to the Federal Highway Administration’s Design and Construction of Mechanically Stabilized Earth Walls (2021), inadequate compaction accounts for 68% of lateral displacement failures.
7. Lay subsequent courses with offset and adhesive
Stagger vertical joints and check setback (typically 1/2 inch per course for 3-ft walls). Apply polyurethane construction adhesive to the rear lip of each block before setting. Wipe excess immediately—cured adhesive stains permanently. Verify plumb after every third course using a level and straightedge.
8. Set capstones and seal joints
Apply adhesive to the top course, then set capstones with 1/8-inch gaps for expansion. Tap lightly to seat. After 24 hours, brush polymer-modified joint sand into gaps and mist lightly to activate binding. Avoid walking on caps for 48 hours.
Tips & Common Mistakes
- Never skip the geotextile—it prevents fine soil from clogging the gravel backfill within 18 months.
- Avoid “deadmen” anchors unless building over 4 feet tall; they add complexity and rarely improve stability for short walls.
- Don’t use sand or topsoil for backfill—both retain water and increase hydrostatic pressure on the wall face.
- If your site has a slope steeper than 3:1 (horizontal:vertical), consult an engineer—the retained mass may exceed passive resistance limits.
“A retaining wall fails not from weak blocks—but from poor drainage or un-compacted backfill. Fix those two things, and your wall lasts 30+ years.” — Jim Rourke, NCMA Certified Segmental Retaining Wall Designer, 2023
Finishing Touches
Most concrete retaining blocks don’t require sealing—but if staining occurs from iron-rich soil, clean with diluted muriatic acid (1:10 ratio) and rinse thoroughly. For aesthetic cohesion, consider matching capstone color to your home’s foundation veneer. You can also plant low-root-depth species like lavender or creeping thyme in the top 4 inches of soil behind the wall—but keep irrigation lines at least 12 inches away from the structure. See our guide on DIY landscape drainage to integrate French drains alongside this wall.
How deep should the footing be for a 3-foot retaining wall?
For non-frost areas, dig 8 inches deep and 24 inches wide. In frost-prone zones (e.g., Minnesota, Maine), extend the footing below the local frost line—often 36–48 inches—and pour a concrete footer. Always consult your county building department; some require engineered drawings for any wall over 2 feet high.
Can I build a retaining wall on a slope?
Yes—but you’ll need stepped footings, not a single continuous trench. Each step should be level and at least 24 inches deep. The vertical rise between steps must not exceed 3 feet, and each step must tie into undisturbed soil—not loose fill. For slopes over 15%, hire a surveyor to mark grade breaks.
Do I need a permit for a DIY retaining wall?
In 37 U.S. states, permits are required for walls over 3 feet tall—or any height if supporting a structure (e.g., driveway, deck). Even if exempt, many municipalities require a site plan showing setbacks and drainage flow. Check with your local planning office before breaking ground—you’ll save time and avoid costly rework. Our how to get a permit for yard projects guide walks through the process.
What’s the maximum height for a dry-stack retaining wall?
Most manufacturers rate interlocking concrete blocks for dry-stack (no mortar) up to 4 feet in height—provided the wall has proper setback, drainage, and compacted gravel backfill. Exceeding that height without geogrid reinforcement risks overturning, especially on clay soils. See our DIY geogrid reinforcement tutorial for walls over 4 feet.
Can I reuse old railroad ties for a retaining wall?
No. Creosote-treated ties are banned for residential use by the U.S. EPA since 2003 due to carcinogenic leaching. Even aged ties continue to off-gas and contaminate soil and groundwater. Modern concrete or natural stone blocks are safer, longer-lasting, and easier to install correctly.
How do I prevent weeds from growing between blocks?
After installation, sweep polymer-modified joint sand into all gaps and mist until damp—this binds the sand and resists washout. For extra protection, apply a pre-emergent herbicide like trifluralin granules once yearly in early spring. Avoid vinegar or salt-based solutions—they degrade concrete over time.
Building your own retaining wall isn’t just cost-effective—it gives you control over materials, drainage, and long-term maintenance. With careful prep and methodical execution, this wall will hold back soil, add definition to your yard, and stand solid for decades. If you’re tackling grading next, our DIY yard grading guide pairs perfectly with this project.