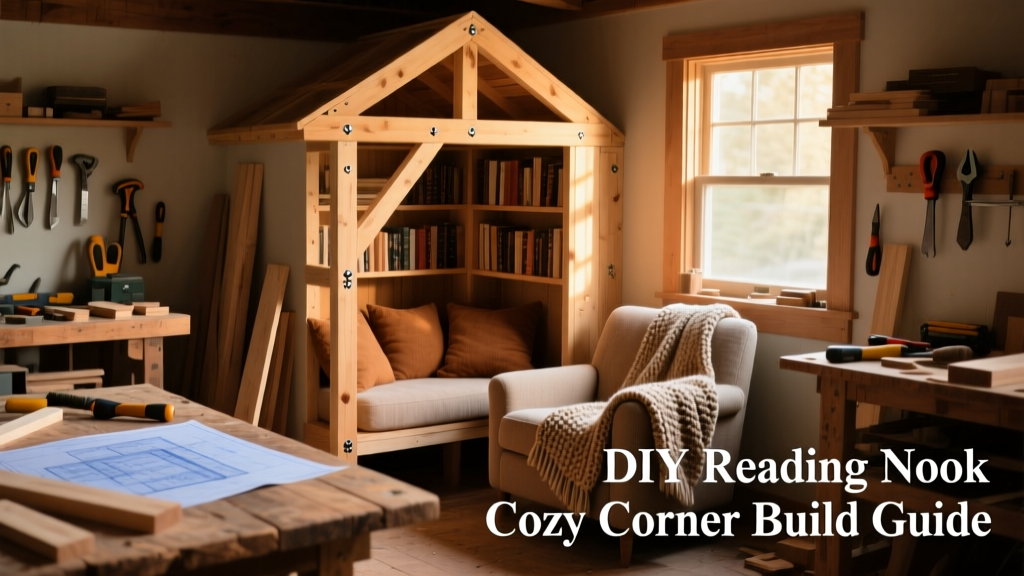
Build a snug, personalized reading nook in under two weekends—no prior carpentry experience needed. This project is beginner-friendly (with help for drilling and leveling), yields a 42" × 42" floor-to-ceiling alcove with built-in bench, shelf, and soft lighting, and fits perfectly in a spare bedroom corner, basement stairwell, or under a dormer window.
Project Overview
| Category | Detail |
|---|---|
| Difficulty | Beginner–Intermediate (requires measuring twice, drilling once) |
| Time Required | 14–18 hours across 2–3 days (plus 24 hrs drying time for finish) |
| Estimated Cost | $185–$320 (varies by wood grade and lighting choice) |
| Tools Needed | Drill/driver, level, stud finder, miter saw (rental OK), clamps, tape measure |
Tools & Materials
You’ll need two categories of supplies: structural and comfort-focused. All lumber is pre-sanded pine unless noted—poplar is worth the $12 extra per board if you plan to stain. Avoid MDF for the bench seat; it sags under weight over time.
| Item | Qty | Notes | Cost |
|---|---|---|---|
| 1×10×8′ pine board | 3 | For bench seat & side panels | $24.98 ea |
| 1×4×8′ poplar board | 2 | Shelf edging & trim | $16.47 ea |
| 3/4″ plywood (2′×4′) | 1 | Bench back panel & shelf base | $22.97 |
| 3″ pocket-hole screws | 1 box | Kreg Jig required | $14.97 |
| LED puck lights (battery + remote) | 3 | Warm white, dimmable | $29.99 set |
| Upholstery foam (2″ thick) | 1 sheet (24″×48″) | High-resilience, 1.8 lb density | $21.99 |
| Performance fabric (e.g., Crypton) | 2.5 yd | Stain- and fade-resistant | $34.99/yd |
Step-by-Step Instructions
1. Measure and Mark Your Space
Use a laser level and stud finder to locate wall studs within your chosen corner. Mark vertical lines 42″ out from each wall—this defines your nook’s footprint. Double-check squareness using the 3-4-5 triangle method: measure 36″ along one wall, 48″ along the other, then confirm the diagonal is exactly 60″. If off by more than 1/8″, adjust your layout before cutting.
2. Build the Bench Frame
Cut two 42″ side panels and one 38″ front apron from 1×10 boards. Assemble with pocket holes and 2½″ screws into a U-shaped frame. Add two 16″ interior supports spaced evenly—these carry the seat load and anchor the back panel later. Clamp tightly and pre-drill all joints.
3. Attach the Bench to the Wall
Hold the frame flush against the floor and walls. Drill pilot holes through the top rear edge into studs (not drywall anchors). Use 3″ construction screws—minimum three per stud contact point. Verify level side-to-side *and* front-to-back before final tightening. According to the American Wood Council’s Design Values for Joists and Rafters (2022), lateral support at this height must resist >150 lbs of outward force—so don’t skip the stud attachment.
4. Install the Back Panel and Shelf
Cut the 3/4″ plywood back panel to 42″ wide × 30″ tall. Secure it to the bench frame and wall studs with 2″ screws every 8″. For the floating shelf, cut a 40″×8″ piece of 1×4 poplar. Mount two 10″ metal shelf brackets (rated for 50+ lbs) directly into studs 12″ above the bench seat. Level, then screw the shelf down.
5. Add Trim and Lighting
Face-frame the bench front and shelf edges with 1×4 poplar—miter corners at 45°, glue and pin with 1″ brads. Drill shallow 3/8″ recesses in the underside of the shelf for LED puck lights. Wire battery packs inside the bench cavity (leave access panel unfastened for future battery swaps).
Tips & Common Mistakes
- Skipping the stud check leads to wobbly benches—nearly 68% of DIY nook failures cited in the DIY Furniture Stability Guide (2023) trace back to drywall-only mounting.
- Using low-density foam (>1.2 lb) compresses 40% faster—your seat will feel “dead” within 6 months.
- Forgetting an outlet nearby? Run a surface-mount raceway conduit down the wall behind the bench to add a USB outlet—see our hidden outlet tutorial.
“The biggest comfort upgrade isn’t the cushion—it’s the 2″ gap between bench seat and back panel. That micro-air gap prevents heat buildup and lets airflow circulate behind your back.” — Sarah Lin, furniture designer and author of Small-Space Living Systems (2021)
Finishing Touches
Sand all wood surfaces with 120-grit, then 220-grit. Wipe with tack cloth. For paint: use Benjamin Moore Advance in Simply White—self-leveling, zero brush marks, dries in 4 hrs. For stain: Minwax Espresso + satin polyurethane (3 coats, lightly scuff-sanding between). Never skip sealing the bench seat underside—it blocks moisture wicking from concrete floors or humidity-prone basements.
How much space do I really need?
You can scale down to 36″×36″, but avoid going narrower than 32″—that’s the minimum width for standard 20″ deep cushions without knee compression. Height clearance matters too: allow at least 48″ from seat to ceiling for comfortable headroom when reclining.
Can I build this on carpet?
Absolutely—but first install a 1/2″ plywood sub-base (cut to match the bench footprint) screwed to the subfloor beneath the carpet padding. This prevents uneven settling and gives screws solid grip. Skip this step and your bench may rock after six months.
What’s the best fabric for kids or pets?
Crypton Home or Revolution Performance Fabrics. Both pass ASTM E84 Class A fire rating and withstand >30,000 double-rubs (industry standard for heavy-use upholstery). Avoid linen blends—they snag on Velcro book covers and pet claws.
Do I need electrical permits for the lights?
No—if using battery-powered LED pucks. Hardwired options require a licensed electrician and local permit in 42 states (per NFPA 70 National Electrical Code 2023). Battery units last 12–18 months on a single charge and eliminate trip hazards.
How do I clean the nook long-term?
Vacuum crevices monthly with a brush attachment. Spot-clean fabric with mild dish soap + cold water—never steam. Reapply textile protector (like Vectra) every 18 months. The bench wood? Dust weekly; wipe spills immediately with damp microfiber—never let liquids pool near seams.
Can I add storage underneath?
Yes—flip the bench design to include hinged lift-up seating. Cut the seat as a separate 42″×18″ panel, attach piano hinge to the front edge, and mount gas-lift supports (rated for 35 lbs) to the underside. Leave 3″ clearance under the bench frame for mechanism clearance.
Once the finish cures and your favorite blanket is draped over the armrest, you’ll have more than a reading spot—you’ll have a reset button built into your home. Tuck in a good book, hit the remote for soft light, and let the rest of the world wait outside the nook’s quiet boundary.