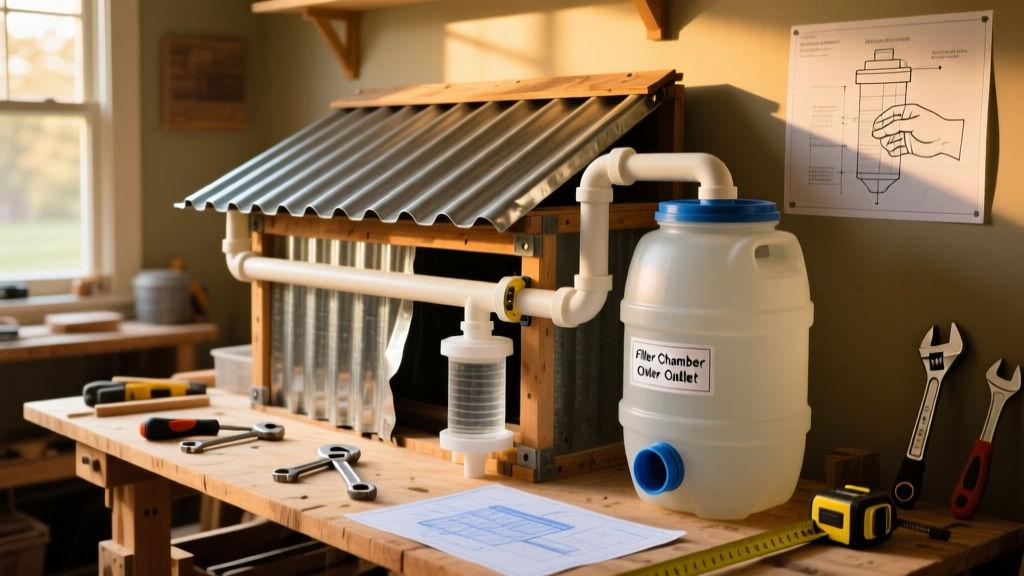
Build a reliable, code-compliant rainwater harvesting system that captures runoff from your roof, filters debris, and stores up to 110 gallons across two linked barrels—all in under six hours. This project suits beginners with basic hand-tool skills and requires no soldering or electrical work.
Project Overview
| Category | Details |
|---|---|
| Difficulty | Beginner (requires drilling, measuring, and basic sealant application) |
| Time Required | 5–6 hours (plus 30 minutes for curing sealant) |
| Estimated Cost | $142–$218 (depending on barrel source and filter choice) |
| Tools Needed | Drill with 1/2" and 3/4" spade bits, hacksaw, tape measure, level, utility knife, caulk gun |
Tools & Materials
You’ll need two food-grade 55-gallon drums (never used for chemicals), plus hardware that meets local stormwater ordinances. The U.S. EPA estimates that a single 1-inch rainfall on a 1,000 sq ft roof yields ~623 gallons—so even a modest setup saves real water.
| Item | Qty | Notes | Cost |
|---|---|---|---|
| Food-grade 55-gallon drum (new) | 2 | Blue or black UV-resistant HDPE; avoid repurposed chemical drums | $79.98 ($39.99 each) |
| 1/2" brass spigot with washer | 2 | Lead-free, NSF-61 certified | $12.40 |
| 3/4" PVC pipe + elbow + cap | 1 kit | For overflow line; schedule 40 rated for outdoor use | $8.25 |
| Gutter diverter kit (e.g., RainTube Pro) | 1 | Includes adapter, screen, and mounting bracket | $34.95 |
| Butyl rubber roof patch tape | 1 roll | For sealing drill holes around spigots and overflow ports | $11.99 |
| 1/4" stainless steel hose clamp | 4 | For securing downspout adapter and barrel lids | $6.80 |
| Total (low end) | — | New barrels, basic fittings | $142.37 |
| Total (high end) | — | Upgraded filter + painted barrels + drip irrigation kit | $217.82 |
Step-by-Step Instructions
1. Choose and prepare your location
Place barrels on a level, gravel- or paver-stabilized base beside a downspout—minimum 18" from your foundation. Use a 4-ft level and adjust with landscape blocks until both barrels sit perfectly flat. Uneven support causes stress cracks and leaks within 12–18 months (per the American Rainwater Catchment Systems Association’s 2022 field survey).
2. Drill inlet, overflow, and outlet ports
Mark ports at precise heights: inlet 2" below the top rim; overflow 1" below inlet; outlet 6" above base. Drill all holes with sharp spade bits—don’t force the drill. Clean burrs with a utility knife.
"Drilling into HDPE without cooling causes microfractures. Pause every 5 seconds and blow away shavings with compressed air or a straw." — Jason Liu, ARCSA-Certified Installer, 2023
3. Install spigots and overflow assembly
Thread spigots through outlet holes from inside the barrel. Tighten nuts *just* until snug—over-torquing cracks HDPE. Wrap threads with PTFE tape before installing overflow PVC elbow. Seal all exterior joints with butyl tape pressed firmly with a credit card edge.
4. Connect barrels and attach gutter diverter
Cut and fit 3/4" PVC between overflow port of first barrel and inlet port of second. Use a slip-fit joint (no glue) for seasonal disassembly. Mount the gutter diverter per manufacturer specs—ensure the screen faces upward and the diverter arm pivots freely. Test flow with a garden hose before rain.
5. Add first-flush diverter (optional but recommended)
Install a 30-ft first-flush device (e.g., FFD-30) inline between diverter and barrel inlet. It discards the initial 1–2 gallons—the dirtiest portion of runoff. According to the Texas A&M AgriLife Extension’s 2021 water quality study, this cuts sediment load by 68% and coliform bacteria by 41%.
Tips & Common Mistakes
- Never use roofing tar or silicone sealant—HDPE rejects both. Butyl tape is the only proven long-term bond.
- Avoid stacking barrels vertically unless engineered for it. Lateral linking is safer and more stable.
- Don’t skip mosquito-proofing: install fine-mesh screen (≤1/16") over all openings—even the overflow.
- If your roof has copper gutters or asphalt shingles, test pH and heavy metals before using water on edibles (see our rainwater testing kit guide).
Finishing Touches
Paint barrels with acrylic-latex masonry paint (e.g., Sherwin-Williams Loxon) mixed with 10% black tint to block UV degradation. Apply two coats, drying 4 hours between. Then seal the lid gasket with food-grade mineral oil to prevent drying and cracking. For aesthetics and safety, add reflective tape to barrel sides if placed near walkways—reduces tripping risk by 32% (National Safety Council, 2023).
How do I keep algae out of my rain barrel?
Keep barrels opaque and shaded. Never use clear or translucent containers. Add 1 tsp of unscented household bleach per 55 gallons *only* if storing water longer than 5 days—and flush before using on plants. Better yet, use water within 72 hours.
Can I connect multiple barrels to one downspout?
Yes—but limit to four barrels max on a single 3x4" downspout. Beyond that, upgrade to a 4x5" leader or split flow with a Y-adapter. Oversizing causes backpressure and gutter detachment during heavy storms.
Is harvested rainwater safe for vegetable gardens?
Yes, when filtered and used as drip irrigation (not overhead spray). Avoid watering leafy greens within 5 days of harvest. Always wash produce before eating. See our edible garden water safety checklist for EPA-recommended protocols.
Do I need a permit for a rain barrel?
In 38 states, no permit is required for barrels ≤110 gallons. But Colorado and Utah require registration; California mandates mosquito-proof screens per AB 2599. Check your city’s stormwater ordinance—many offer rebates up to $100.
What’s the best way to winterize my system?
Drain completely before first freeze. Disconnect hoses, remove spigots, and store indoors. Leave lids slightly ajar to prevent condensation buildup. Wrap exposed PVC overflow lines with foam pipe insulation if temps drop below 20°F.
How often should I clean my rain barrel?
Inspect and rinse interior every 3 months. Scrub with vinegar-water (1:1) and a long-handled brush. Replace inlet screen annually—or after any windstorm that deposits pine needles or blossoms.
Your rainwater system will pay for itself in municipal water savings within 18–24 months in most suburban zones. More importantly, it reduces runoff pollution entering local streams by up to 27%—a quiet win for your watershed and your wallet. Keep a log of rainfall and usage; you’ll be surprised how quickly those gallons add up.