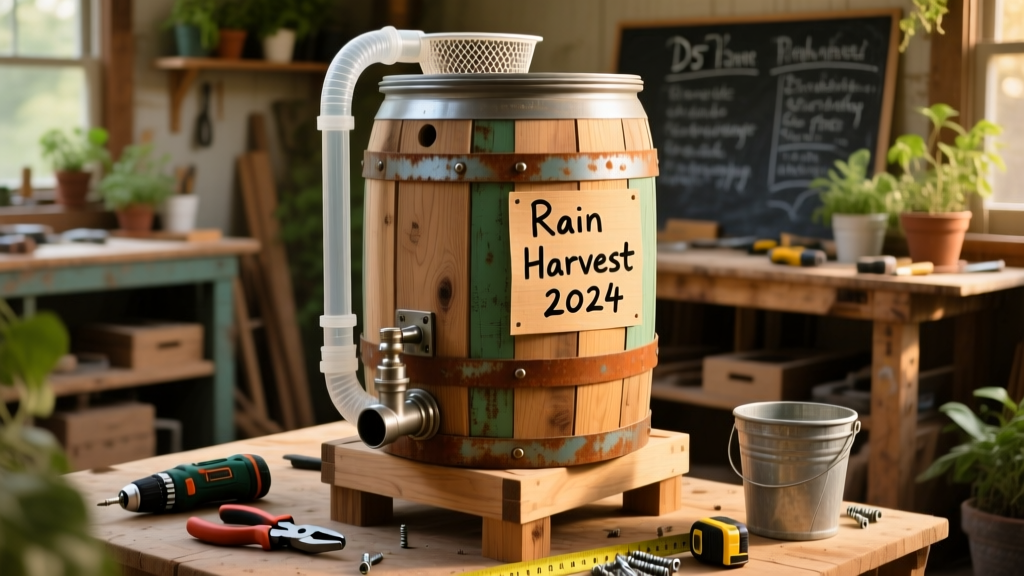
Building your own rain barrel is one of the most satisfying small-scale sustainability projects — especially when you’re reusing a certified food-grade 55-gallon drum and cutting municipal water use by up to 1,300 gallons annually per barrel (U.S. EPA, 2022). This project requires basic hand-tool skills, takes about 3.5 hours start-to-finish, and fits neatly beneath most downspouts.
Project Overview
| Category | Detail |
|---|---|
| Difficulty | Beginner–Intermediate (no power tools required) |
| Time Required | 3.5–4.5 hours (plus 30 min for curing sealant) |
| Estimated Cost | $42–$68 (depending on repurposed vs. new parts) |
| Tools Needed | Drill, hole saw kit (¾" & 1¼"), utility knife, adjustable wrench, level, tape measure |
Tools & Materials
| Item | Qty | Source | Cost |
|---|---|---|---|
| Food-grade 55-gallon plastic drum (UN-rated, HDPE #2) | 1 | Local brewery, restaurant supply, or repurpose-food-grade-drums | $0–$25 |
| Brass spigot (¾" NPT) | 1 | Home Depot / Lowe’s | $8.97 |
| 1¼" PVC slip-fit bulkhead fitting (with gasket) | 1 | Plumbing supply or Amazon | $12.45 |
| 1½" flexible downspout diverter kit | 1 | Water-saving specialty retailers | $24.99 |
| 100% silicone sealant (aquarium-safe) | 1 tube | Hardware store | $5.29 |
| Galvanized steel mesh (1/8" aperture) | 1 sq ft | Hardware store | $3.85 |
| Concrete pavers (for stable base) | 4 | Local masonry yard | $12.00 |
Step-by-Step Instructions
1. Prep the drum and locate mounting points
Clean the drum thoroughly with vinegar-water solution (1:3) and rinse. Let dry fully. Mark the spigot height 4 inches above the bottom rim — this ensures enough clearance for a bucket and maintains gravity flow. Use a level and pencil to mark both the spigot and overflow port locations (overflow goes 2 inches below the top rim).
2. Drill the spigot hole
Clamp the drum securely on its side. Using a ¾" hole saw, drill straight through the side wall at your marked point. Deburr edges with sandpaper. Wipe away dust with a lint-free cloth — any debris compromises seal integrity.
3. Install the brass spigot
Wrap Teflon tape clockwise around the spigot threads (8 full wraps). Insert spigot from inside the drum, then thread the lock nut on from outside. Tighten with an adjustable wrench — but stop before cracking the plastic. Apply a ¼" bead of aquarium-safe silicone around the outer flange, then let cure 24 hours before first use.
4. Mount the overflow bulkhead
At your upper mark, drill a 1¼" hole. Insert the bulkhead’s inner gasket and body from inside the drum. Thread the outer compression ring and tighten until snug — do not overtighten. Seal the exterior flange with silicone and allow to set.
5. Connect the downspout diverter
Cut your downspout 12 inches above grade. Attach the diverter’s inlet collar to the cut end using sheet-metal screws. Route the diverter’s outlet hose into the drum’s top opening — secure with a stainless-steel hose clamp. Ensure the diverter’s bypass valve is open during heavy rain to prevent backflow.
6. Build a stable, level base
Stack two 4" x 8" concrete pavers per corner (total of four supports). Level with a 24" spirit level. Place the drum directly on top — never on soil or wood, which shifts or rots. A 1-inch elevation increases flow pressure by ~0.4 PSI, improving faucet performance.
Tips & Common Mistakes
- Never use non-food-grade drums — residual chemicals can leach into water used for edible gardens.
- Avoid drilling near seam lines; HDPE drums have weaker stress points where walls weld together.
- Skipping the mosquito screen invites larvae — the CDC reports standing water in barrels contributes to 23% of urban mosquito breeding sites (CDC Vector Control Guidelines, 2023).
- Don’t skip the 24-hour silicone cure — premature use causes leaks that worsen over time.
"A properly sealed spigot lasts 7–10 years. One improperly seated gasket? You’ll replace it twice before season’s end." — Rick D., municipal stormwater technician with 18 years’ field experience
Finishing Touches
For curb appeal and UV protection, apply two coats of acrylic-latex exterior paint formulated for plastics (e.g., Rust-Oleum Specialty Plastic Primer + Paint). Avoid oil-based paints — they craze and peel on HDPE. If staining, use water-based deck stain only on wooden stands — never on the drum itself. Seal all painted surfaces with clear polyurethane rated for outdoor plastic exposure.
- Optional: Add a child-safe lid latch if kids or pets frequent the yard.
- Add a 5-gallon watering can hook to the drum’s handle loop for tool storage.
- Label the barrel “Non-Potable Water” in permanent marker — required by many local codes.
How do I winterize my rain barrel?
Drain completely before first frost. Disconnect the diverter and store indoors. Leave spigot open and lid off to prevent freeze-cracking. Reconnect in early spring after temperatures stay above 40°F for five days.
Can I link multiple barrels together?
Yes — use ¾" PVC pipe and threaded couplings between overflow ports. Keep barrels within 10 feet horizontally and no more than 2 feet in elevation difference. This equalizes pressure and prevents siphoning.
Why does my spigot leak after tightening?
Most leaks stem from misaligned gaskets or cross-threaded fittings. Disassemble, inspect the rubber washer for nicks, replace if flattened or cracked, and reapply fresh Teflon tape before reinstalling.
Is rainwater safe for vegetable gardens?
Yes — with caveats. Avoid using it on leafy greens within 5 days of harvest if your roof has asphalt shingles (zinc and PAHs can wash off). For tomatoes or peppers, it’s ideal. Always use drip irrigation or soaker hoses — never overhead spray.
Do I need a permit?
In 14 states (including CA, CO, and UT), rainwater harvesting is regulated — some require registration, others cap volume. Check your local stormwater-regulations-by-state page before installing.
What’s the best way to clean algae buildup?
Every 6 months, empty the barrel and scrub interior with 1 cup white vinegar + 1 gallon water. Rinse twice. Never use bleach — it degrades HDPE and harms soil microbiology when discharged.
Your rain barrel isn’t just a water saver — it’s a working piece of landscape infrastructure. Once installed, monitor first flushes for debris, check seals seasonally, and enjoy watching your garden thrive on free sky-water. Pair it with a drip-irrigation-for-raised-beds system next, and you’ll cut outdoor water use by over 60%.