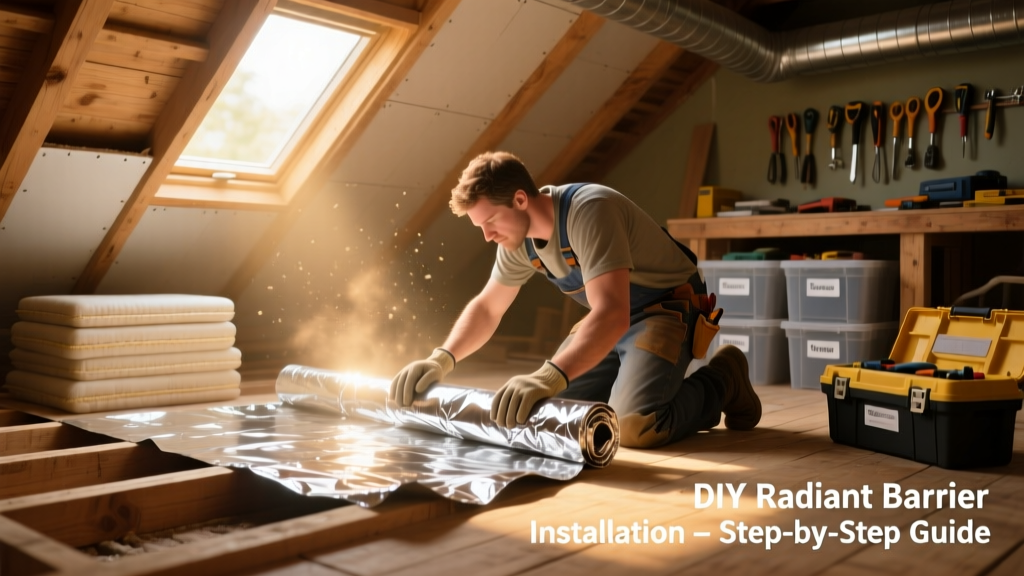
Installing a radiant barrier in your attic is a high-impact, mid-skill DIY project that reduces summer heat gain by reflecting up to 97% of radiant heat. It’s ideal for hot-climate homeowners with unfinished attics, takes one full weekend, and requires basic carpentry tools and comfort working on roof framing.
Project Overview
| Category | Details |
|---|---|
| Difficulty | Intermediate — requires safe attic navigation, staple gun control, and attention to vapor barriers |
| Time Required | 8–12 hours (including prep, measuring, and cleanup) |
| Estimated Cost | $0.15–$0.35 per sq ft for foil-faced polyisocyanurate or reinforced aluminum foil |
| Tools Needed | Staple gun, utility knife, tape measure, gloves, safety glasses, dust mask, chalk line |
Tools & Materials
You’ll need both structural prep items and reflective materials. Avoid cheap single-layer foil—it tears easily and loses reflectivity when dusty. According to the Oak Ridge National Laboratory’s 2022 field study, only foil with an emissivity ≤0.03 and an air gap on at least one side delivers measurable energy savings.
| Item | Quantity | Notes | Cost (USD) |
|---|---|---|---|
| Reinforced aluminum radiant barrier (foil-laminated kraft paper or bubble wrap) | Rolls covering attic floor area + 10% waste | Look for ASTM C1313-compliant material; avoid perforated types for attic-floor applications | $0.22–$0.33/sq ft |
| Heavy-duty staple gun + 3/8" staples | 1 gun + 2 boxes staples | Use corrosion-resistant staples if attic has high humidity | $42–$68 |
| Attic ventilation baffles (if blocking soffit vents) | 1 per rafter bay near eaves | Mandatory if installing under rafters—prevents insulation from blocking airflow | $2.40–$3.80 each |
| N95 respirator & knee pads | 1 set | Attic insulation fibers and dust demand proper PPE | $24 total |
Step-by-Step Instructions
1. Assess Your Attic & Confirm Air Gaps
Before unrolling anything, verify you have at least a 3/4" air gap between the radiant barrier surface and any adjacent material—this is non-negotiable for reflectivity. Measure clearance above insulation and below roof deck. If your attic has closed-cell spray foam directly against the roof sheathing, a radiant barrier won’t work and may trap moisture.
2. Seal All Air Leaks First
Use expanding foam or caulk to seal gaps around plumbing stacks, recessed lights, attic hatches, and wiring penetrations. The U.S. EPA estimates that sealing leaks before adding insulation or radiant barriers improves overall thermal performance by 15–20% more than either measure alone.
3. Lay Baffles at Soffit Edges
Install rigid vent baffles along every rafter bay where insulation meets the eaves. Staple them securely to the underside of the top plate and roof sheathing. This preserves the critical airflow path from soffits to ridge vents—without it, moisture builds and shingles overheat.
4. Unroll and Staple Under Rafters (Preferred Method)
Start at the gable end and work toward the ridge. Staple the foil side facing down (toward living space) every 6–8 inches along rafter sides—not the bottom edge. Keep material taut but not stretched. Overlap seams by 2 inches and staple both layers. Never cover HVAC ducts or electrical junction boxes.
5. Cut Around Obstructions Carefully
Use a utility knife to notch around light fixtures, pipes, and bracing. Fold excess foil behind obstructions rather than bunching it—wrinkles reduce reflectivity. For truss webs, staple vertically along web faces, then horizontally across chords where accessible.
6. Inspect for Gaps and Dust Accumulation
Walk the perimeter with a flashlight. Look for missed staples, sagging sections, or foil draped over insulation. Dust buildup degrades performance: ORNL testing shows >0.002" of dust cuts reflectivity by nearly half. If your attic is especially dusty, wipe surfaces with a dry microfiber cloth first.
Tips & Common Mistakes
- Never install radiant barrier directly over attic floor insulation—it needs an air gap to function. Doing so turns it into just another layer of low-R-value material.
- Avoid using staples longer than 3/8"—they can puncture roof sheathing or wiring hidden in rafters.
- If your roof has metal components (e.g., ridge caps), ensure foil doesn’t contact them. Direct contact creates thermal bridging and defeats the purpose.
- Don’t skip the vapor barrier check: In cold climates, foil installed on the underside of rafters can act as a vapor retarder. Consult your local building code—some require a Class II vapor retarder elsewhere in the assembly.
"Radiant barriers only work when they face an air space—and that air space must remain dust-free. Once covered or compressed, their R-value drops to near zero." — Dr. Jan Kosny, Building Technologies Research Institute, ORNL, 2023
Finishing Touches
No painting or staining is needed—the aluminum surface is factory-coated for UV and oxidation resistance. However, after installation, inspect all fasteners for tightness and re-staple any loose edges. Seal staple holes in foil with aluminum foil tape if you notice pinprick tears—standard duct tape fails within months in attic heat.
Can I install radiant barrier over existing fiberglass batts?
No. Covering insulation with foil eliminates the required air gap and traps moisture. Instead, staple the barrier to the underside of rafters or attach it to the attic floor joists *above* the insulation—but only if you have ≥1" clearance between the top of insulation and barrier.
Will this help in winter?
Marginally. Radiant barriers primarily block downward heat transfer (summer sun). In winter, they slightly reduce heat loss upward—but air sealing and added insulation deliver far greater ROI. Focus on attic floor R-value first (R-38 minimum in most zones).
Do I need a permit?
In most jurisdictions, no—radiant barrier installation is considered a weatherization upgrade, not structural work. But if you’re modifying ventilation paths or adding electrical elements, check with your local building department. Some utilities (like APS in Arizona) require third-party verification for rebate eligibility.
What’s the payback period?
Based on 2024 energy rates and ORNL modeling, homeowners in Climate Zones 2–4 see simple payback in 2–4 years. In Zone 1 (deep South), it’s often under 2 years—especially when paired with attic fan upgrades like attic fan installation.
Can I use duct tape to join seams?
No. Standard duct tape dries out, cracks, and loses adhesion above 120°F—the typical attic summer temperature. Use UL-listed aluminum foil tape (e.g., Nashua 324A or 327A) rated for continuous exposure above 180°F. It’s pricier but lasts 15+ years in attic conditions.
Should I add radiant barrier to my garage ceiling?
Yes—if the garage is attached and has conditioned space above or adjacent. A garage with a room above benefits significantly, especially if the garage door lacks insulation. Pair it with garage door insulation for best results.
Done right, your radiant barrier will quietly lower attic temperatures by 20–30°F on peak summer days—reducing AC runtime and extending equipment life. Recheck staples every 3 years, and vacuum dust off foil surfaces during routine attic inspections. You’ve just made one of the highest-ROI thermal upgrades possible without touching your HVAC system.