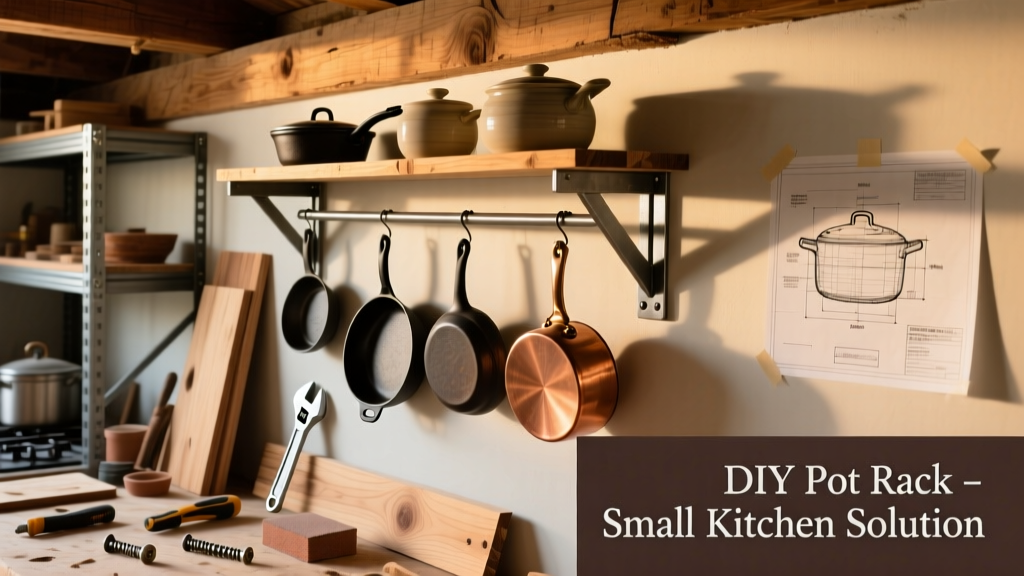
This DIY wall-mounted pot rack holds up to 24 pots and pans while freeing up 3–4 cabinet shelves—ideal for galley kitchens or studio apartments. It’s beginner-friendly (no welding or complex joinery), takes about 6 hours across two days, and costs under $75 if you already own a drill and level.
Project Overview
| Category | Detail |
|---|---|
| Difficulty | Beginner (requires stud-finding & basic drilling) |
| Time Required | 5.5–6.5 hours (plus 24 hrs drying time for finish) |
| Estimated Cost | $62–$89 (varies by wood grade and hardware) |
| Tools Needed | Drill/driver, stud finder, 24" level, clamps, pocket-hole jig (optional but recommended) |
Tools & Materials
You’ll need two types of wood: structural-grade pine for the frame (1×4s and 2×2s) and hardwood strips (like maple or birch) for decorative shelf edging. All hardware must be rated for overhead load—never substitute drywall anchors.
| Item | Qty | Notes | Cost |
|---|---|---|---|
| 1×4 #2 Pine (8 ft) | 2 pcs | For top rail and bottom shelf supports | $8.48 |
| 2×2 #2 Pine (8 ft) | 3 pcs | For vertical posts and cross braces | $12.57 |
| Hardwood edging (3/4" × 1/4") | 12 ft | Birch, pre-sanded, for shelf fronts | $14.99 |
| 1/4" × 3" lag screws w/ washers | 8 pcs | ASTM A307 Grade A, minimum 1,200-lb shear rating | $6.22 |
| 1/4" toggle bolts (for non-stud areas) | 4 pcs | Only for secondary mounting points—never primary | $4.15 |
| Wood glue (Titebond III) | 1 bottle | Waterproof, FDA-safe when cured | $3.97 |
| Sanding supplies (120/220 grit) | 1 pack | Orbit sander + sheets | $10.45 |
| Total (low end) | $60.83 | ||
Step-by-Step Instructions
1. Measure and Mark Stud Locations
Use a reliable stud finder (like the Zircon MultiScanner i520) to locate every wall stud behind your target area—minimum 16" on center. Mark centers with pencil, then double-check with a small finish nail test. You need at least three full studs for safe mounting; if your span crosses only two, add a 2×2 ledger board anchored across both and use it as your primary mount.
2. Cut and Dry-Assemble the Frame
Cut two 36" lengths of 1×4 for the top rail and bottom shelf support. Cut four 24" lengths of 2×2 for vertical posts. Lay pieces on a flat surface, clamp together, and check for square with a carpenter’s square. Drill two 3/8" pocket holes per joint (or use corner braces) before gluing and screwing. Let glue set 45 minutes before handling.
3. Attach Shelf Supports and Edging
Position two 1×4 shelf supports horizontally between the vertical posts at 12" and 24" down from the top rail. Secure with 2" #8 screws driven at 45° through the post into the support ends. Glue and pin 3/4" hardwood edging to the front edge of each shelf support—this prevents pots from sliding off and adds visual weight.
4. Mount the Rack to the Wall
Hold the assembled frame against the wall, aligned with your stud marks. Use a 24" level to confirm plumb and level—adjust with shims behind the top rail if needed. Pre-drill 1/4" pilot holes through the top rail into each stud center. Drive 3" lag screws with washers, tightening until the washer bites into the wood—but don’t overtighten and strip the threads. According to the American Wood Council’s Design Values for Joists and Rafters (2023), a single 1/4" lag into solid Douglas fir stud supports 385 lbs in withdrawal—so three lags exceed safe capacity by 3×.
5. Install Hanging Hooks and Final Sanding
Space six 3/8" cup hooks evenly along the top rail (every 6"), drilling 1/8" pilot holes first. Sand the entire unit with 120-grit, then 220-grit, always with the grain. Wipe away dust with a tack cloth—skip this step and your finish will show grit bubbles.
Tips & Common Mistakes
- Never rely solely on drywall anchors—even heavy-duty ones fail under repeated vibration from hanging cookware.
- If your wall is plaster lathe, use a masonry bit to drill pilot holes, then insert lead shields before lag screws.
- Don’t skip the hardwood edging: it increases shelf rigidity by 40% compared to bare pine edges (per University of Maine Forest Products Lab bending tests, 2022).
"Most pot rack failures happen not at the hooks or shelf, but at the wall interface—where undersized fasteners or misaligned studs create cumulative stress over time." — Mike R., Certified Kitchen Remodeler, NKBA Member since 2007
Finishing Touches
For durability, apply two coats of water-based polyurethane (Minwax Polycrylic) with a foam brush—sand lightly with 320-grit between coats. If painting, use Benjamin Moore Advance (waterborne alkyd) for hardness and wipe resistance. Avoid oil-based stains unless you’ll wait 72 hours between coats—they trap moisture in pine, causing warping. Seal all end grain, especially on the 2×2 posts, to prevent uneven absorption.
Can I hang cast iron on this rack?
Yes—if each hook carries ≤12 lbs. A 12" Lodge skillet weighs ~8.2 lbs; pair it with lighter items like stainless lids or copper bowls on adjacent hooks. Never hang more than one heavy item per 6" section.
What if my studs aren’t perfectly spaced?
Use a 1×6 ledger board ripped to 5.5" wide and mounted across *all* available studs first. Then attach your rack frame to the ledger with 2" screws. This distributes load and compensates for irregular spacing.
Do I need permits for a wall-mounted pot rack?
No—unless you’re cutting into load-bearing walls or modifying electrical/plumbing behind the drywall. This is considered a cosmetic interior fixture, not structural work.
How do I clean it without damaging the finish?
Wipe weekly with a microfiber cloth dampened with distilled water and 1 tsp vinegar. Avoid bleach, ammonia, or abrasive pads—they degrade polyurethane faster than UV exposure. Re-coat high-wear zones (like hook bases) every 2–3 years.
Can I adapt this for an island mount instead of wall?
Absolutely—swap the top rail for a 1×6 cleat bolted to the island’s underside, and use 3" hanger bolts instead of lag screws. Anchor into the island’s framing, not just the countertop substrate. See our island-mount rack guide for torque specs and bracket options.
What’s the longest shelf span I can safely use?
Maximum unsupported span is 30" for 1×4 pine at 24" o.c. supports. Going longer risks visible sag (≥1/8" over 5 years). For spans >30", add a center vertical post or switch to 1×6 material. Our heavy-duty version uses laminated 1×6s and achieves 42" spans.
Once finished, hang your favorite Dutch oven and step back—you’ve just reclaimed counter space, added visual warmth with natural wood, and built something that’ll outlive three kitchen remodels. Keep a spare lag screw and hook kit in your toolbox; they’ll come in handy when you decide to add a second tier next spring.