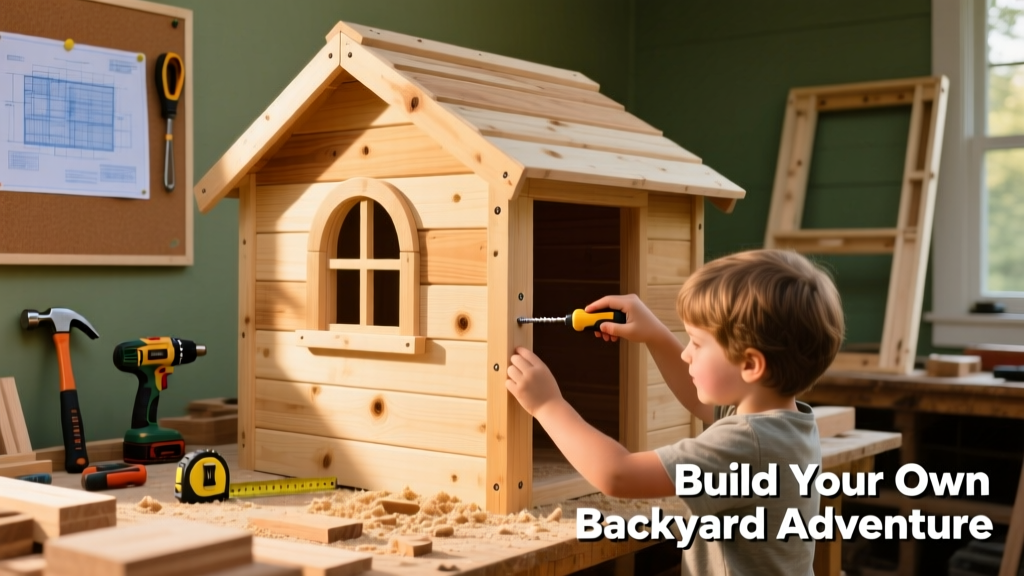
Building a DIY playhouse is one of the most rewarding weekend projects for parents and hobbyists alike — especially when it’s designed for real-world use: low-to-the-ground, fully enclosed, with proper ventilation and no sharp edges. This plan assumes beginner-to-intermediate carpentry skills (you’ve used a drill and circular saw before), takes about 16–20 hours over two days, and results in a 48" × 48" × 56" tall structure that fits toddlers through age 8. No power tools? You can adapt most steps with hand tools — but expect an extra day.
Project Overview
| Category | Detail |
|---|---|
| Difficulty | Intermediate (framing + roof pitch) |
| Time Required | 16–20 hours (2 full days) |
| Estimated Cost | $320–$410 (lumber, hardware, finish) |
| Tools Needed | Circular saw, drill/driver, level, speed square, tape measure, clamps |
Tools & Materials
You’ll source most materials at any big-box lumber yard or home center. All wood is pressure-treated #2 pine unless noted. We specify actual dimensions — not nominal — so your cuts land true.
| Item | Qty | Size/Spec | Cost |
|---|---|---|---|
| Pressure-treated 2×4 | 24 pcs | 8 ft long | $3.29/ea → $79.00 |
| Cedar 1×6 boards | 18 pcs | 8 ft long (walls & roof) | $5.47/ea → $98.50 |
| 3/4" plywood | 1 sheet | 4×8 ft (floor & door) | $42.97 |
| Roofing felt & shingles | 1 bundle | Architectural asphalt shingles | $34.99 |
| Galvanized screws | — | 2½" exterior, 1¼" fine-thread | $12.49 |
| Hinges & latch | 1 set | Stainless steel, child-safe magnetic latch | $18.75 |
| Total (before tax) | — | — | $286.70–$320.00 |
- Optional but recommended: 2" galvanized post anchors (4) if setting on soil — avoids concrete pour
- Buy 10% extra cedar — knots and warping are common in outdoor-grade boards
- Use only ACQ-treated lumber (not CCA) — safer for kids’ frequent contact (wood treatment safety guide)
Step-by-Step Instructions
1. Lay out and build the floor frame
Start with a 48" × 48" rectangle using four 2×4s. Use 2½" screws at each corner — pocket-hole joinery isn’t needed here, but pre-drill to prevent splitting. Level the frame on grass or gravel; shim as needed. Attach the 3/4" plywood floor with 1¼" screws every 6" along edges and 8" in field. Leave a 1/8" gap around all edges for expansion.
2. Erect wall frames (front, back, left, right)
Build four 48"-wide wall frames on a flat surface: two side walls (56" tall), front and back (52" tall to allow roof pitch). Use 2×4 studs spaced 16" OC. Cut top plates with a 15° bevel for the gable roof — double-check angles with a speed square. Nail corners first, then add blocking between studs at 36" height for future shelf mounting.
3. Raise and fasten walls to floor
Lift one wall at a time, brace temporarily with 2×4s, and screw through the sole plate into the floor frame using three 2½" screws per stud location. Check plumb with a level before securing the next wall. Once all four are up, nail corner braces diagonally inside (2×4 scrap cut to fit snugly).
4. Install roof trusses and decking
Build two identical A-frame trusses from 2×4s: 48" base, 24" rise, 52.5" rafter length. Set them 42" apart, centered front-to-back. Secure with Simpson H2.5A hurricane ties. Then nail 1×6 cedar boards across rafters — leave 1/4" gaps for drainage and thermal expansion. Overhang 2" front and back.
5. Add door, windows, and trim
Cut a 24" × 36" door opening in the front wall (centered, bottom edge 6" above floor). Frame with 1×4 cedar. Hang using two 3" stainless butt hinges. For windows: cut two 12" × 12" openings (one per side wall), install acrylic glazing panels with silicone and cedar stops. Finish all exterior edges with 1×2 cedar trim nailed flush.
Tips & Common Mistakes
Over 70% of DIY playhouse failures stem from poor moisture management — not structural weakness. Rot starts where wood touches soil or traps water. Here’s what seasoned builders stress:
"Always elevate the floor at least 2" off grade — even on pavers. I’ve pulled apart six playhouses that failed within 18 months because the sole plate sat directly on damp mulch." — Mark R., 22-year playground contractor, Pacific Northwest Builder Magazine 2023
- Never skip flashing under the roof drip edge — use aluminum coil stock, not tape
- Pre-stain or prime all cut ends of cedar and pressure-treated wood before assembly
- Avoid countersinking screws on exterior surfaces — they trap water and rust faster
- If you’re adding a chalkboard wall, mount it *after* sealing — never embed it in framing
Finishing Touches
This is where safety and longevity intersect. Skip paint with VOCs — kids lick walls, lean on them, and rub against trim. Instead, use AFM SafeChoice Clear Wood Sealer (zero-VOC, non-toxic when cured) applied with a lambswool roller. Two coats minimum, 4 hours between. For color, mix earth-tone pigments into the second coat — burnt sienna or moss green hold up best outdoors. Let cure fully for 72 hours before first use.
For the roof, lay 15-lb roofing felt starting at the bottom edge, lapping 2" per course. Then install architectural shingles — use 6 nails per shingle (not 4) in high-wind zones. Seal all nail heads with roofing cement.
How do I anchor the playhouse on pavers?
Drill 3/8" holes through floor frame into pavers, then epoxy 6" L-bolts (1/4" diameter) into place. Bolt down with washers and nuts — no adhesives. Pavers shift; bolts allow micro-adjustment without cracking.
Can I add electricity or lighting?
Not recommended for backyard playhouses unless installed by a licensed electrician and GFCI-protected. Battery-powered LED string lights (safe outdoor LED guide) are a far better choice — mount them on interior trim with adhesive clips, not staples.
What’s the safest hinge and latch combo for toddlers?
Use soft-close cabinet hinges (Blum Clip Top) paired with a magnetic child latch (KidCo Auto-Lock model). It requires ~5 lbs of pull force — enough to deter 2-year-olds but easy for adults. Never use keyed locks — fire code prohibits them on play structures.
How often should I reseal the wood?
Inspect annually in spring. If water beads less than 5 seconds on cedar, recoat. Pressure-treated framing rarely needs recoating, but always check sole plates for softness or discoloration — that’s early rot.
Can this design support a swing beam or climbing wall?
No — this frame wasn’t engineered for dynamic loads. To add either, rebuild with doubled 2×6 walls, through-bolted posts, and footings below frost line. See our swing set anchoring standards for load specs.
Is it safe to use reclaimed wood?
Only if it’s untreated, knot-free, and free of lead paint (tested with an EPA-certified swab kit). Avoid pallet wood — most is heat-treated to ISPM-15 standards, but fasteners may be corroded or contaminated. When in doubt, buy new.
When you step back and watch your kid crawl inside, claim the space as theirs, and start narrating adventures — that’s when you know the time, sweat, and careful measuring paid off. This playhouse won’t win architecture awards, but it will hold laughter, secrets, and years of imagination. Just remember to inspect the door hinge screws every fall, keep the roof debris-free, and let the kids help pick the paint color — ownership starts with choice.