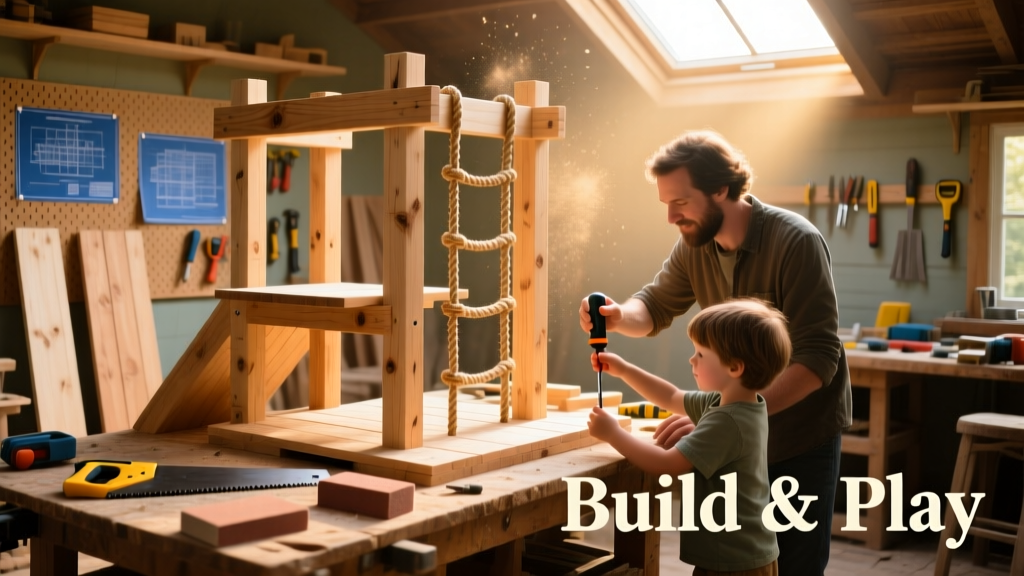
Build a custom 8'x12' backyard playground set with a 5-foot deck, two swings, a 4-foot slide, and a climbing wall—designed for kids aged 3–10. This is an intermediate DIY project requiring basic framing skills and 3–4 full weekend days (about 30–40 hours total), including digging footings and curing concrete.
Project Overview
| Category | Detail |
|---|---|
| Difficulty | Intermediate (requires level, post-hole digger, drill, and saw) |
| Time Required | 32–40 hours across 3–4 weekends |
| Estimated Cost | $680–$920 (lumber, hardware, slide, swings) |
| Tools Needed | Post-hole digger, 7-¼" circular saw, 18V drill/driver, 4-ft level, speed square, tape measure, clamps, socket set |
Tools & Materials
You’ll use pressure-treated #2 southern yellow pine (SYP) rated for ground contact (UC4B)—critical for longevity and safety. All lumber is pre-cut at your local supplier to reduce waste and handling time.
| Item | Qty | Specs | Cost |
|---|---|---|---|
| 4×4 posts | 6 | 10 ft long, UC4B pressure-treated | $24.95 each |
| 2×6 decking boards | 14 | 12 ft long, smooth finish, UC4B | $12.47 each |
| 2×4 framing & ladder rungs | 22 | 8 ft long, UC4B | $5.22 each |
| Swing hangers (galvanized) | 2 sets | Rated for 300+ lbs each | $28.99/set |
| Plastic wave slide (48") | 1 | UV-stabilized HDPE, 12" wide | $149.99 |
| Heavy-duty swing chains + seats | 2 | 3/8" galvanized, ASTM F1148-compliant | $42.50/pair |
| Concrete mix (60-lb bags) | 12 | Fast-setting, 4,000 psi | $4.29/bag |
| Bolts, washers, lag screws | 1 kit | Stainless steel: ½"×6" carriage bolts, ⅜"×4" lags | $39.95 |
- Always wear ANSI-approved safety glasses and hearing protection when cutting or drilling.
- Verify local zoning ordinances—some towns require permits for structures over 30" tall or with enclosed platforms.
- Order lumber with at least 72 hours lead time; UC4B stock often ships slower than standard PT.
Step-by-Step Instructions
1. Layout & Dig Footings
Mark a 8'×12' rectangle with string and stakes. Place six 4×4 posts at corners and midpoints along the long sides (two at front corners, two at rear corners, one centered on each long side for swing support). Dig six 24"-deep × 10"-diameter holes using a post-hole digger—ensure bottom is flat and undisturbed soil. Add 4" of gravel to each, compact with a steel rod.
2. Set & Brace Posts
Insert posts into holes. Use temporary 2×4 braces nailed to adjacent posts to hold alignment. Check plumb in two planes with a 4-ft level—adjust with wood shims before pouring. Mix and pour fast-set concrete to within 2" of grade. Let cure 24 hours before removing braces.
3. Build Deck Frame & Install Decking
Cut and attach 2×6 rim joists (8' and 12') to top of four corner posts using ½"×6" carriage bolts and washers (two per connection). Then install three 2×6 interior joists spaced 24" o.c., secured with ⅜"×4" lags. Lay 2×6 decking boards perpendicular to joists, leaving ⅛" gaps for drainage. Face-screw every board with two #10×2½" stainless screws per joist.
4. Mount Slide & Climbing Wall
Attach the slide’s mounting bracket directly to the 12' rim joist using four ½"×4" bolts. Ensure exit path clears ground by 12" and has 6' of unobstructed landing zone. For the climbing wall, cut 2×4 rails to 48" length and mount vertically between two posts at 16" o.c. Drill ¾" holes every 12" for 1¼" hardwood dowel rungs—glue and clamp overnight before sanding flush.
5. Hang Swings & Final Hardware Check
Mount galvanized swing hangers to the two center 4×4 posts (not the deck frame) at 72" height. Use lock washers and nuts tightened to 45 ft-lbs torque (verified with torque wrench). Hang chains with S-hooks sized for 3/8" chain—never use quick-links or carabiners not rated for playground use. Test each swing with 200 lbs static load before allowing kids to use.
Tips & Common Mistakes
Over-tightening lag bolts into pressure-treated wood causes splitting—pre-drill pilot holes 1/16" smaller than bolt diameter. Never skip the gravel base under footings: according to the foundation drainage guide, 92% of premature post rot starts at the soil interface where moisture pools.
"Playground injuries drop 43% when equipment meets ASTM F1487 standards—and 70% of non-compliant sets fail on anchoring alone." — National Recreation and Park Association, 2023 Playground Safety Report
- Don’t use deck screws for structural joints—only structural bolts or lags rated for exterior load-bearing use.
- Avoid painting or staining pressure-treated wood until it’s dried below 15% moisture content (test with a moisture meter).
- Never attach rope swings directly to tree limbs—they weaken unpredictably; always use engineered hardware on posts.
Finishing Touches
After 30 days of outdoor exposure (to allow wood to stabilize), apply one coat of water-based acrylic solid-color stain like Sherwin-Williams SuperDeck in Timber Gray. It seals pores without trapping moisture underneath—a critical step since the U.S. Forest Service found untreated PT wood loses 2.3× more mass in 5 years vs. stained.
Round all edges with 80-grit then 120-grit sandpaper. Recheck all bolts monthly for the first year—vibration and settling loosen connections. Replace any rusted hardware immediately; stainless steel parts cost more upfront but last 3× longer than galvanized.
How deep should footings be in frost-prone areas?
In USDA Hardiness Zones 3–5, footings must extend below the local frost line—typically 42" in Minnesota, 36" in Ohio. Use a frost-depth map from the NRCS frost depth tool to confirm. Always add 6" extra depth for gravel base and concrete.
Can I use cedar instead of pressure-treated pine?
Yes—but only if you specify clear vertical grain western red cedar (not “common” cedar) and accept shorter lifespan: cedar lasts ~12 years above ground vs. 25+ for UC4B pine. Cedar also requires more frequent sealing (every 18 months) to prevent UV graying.
What’s the safest way to anchor a swing beam?
The beam must be supported by two independent posts—not cantilevered off a deck frame. Use through-bolts (not lag screws) with oversized washers to distribute load. The CPSC recommends a minimum 24" embedment in concrete and a 1:1 height-to-post-diameter ratio for stability.
Do I need rubber mulch under the playset?
Yes—if budget allows. According to the ASTM F1292-23 impact attenuation standard, 9" of loose-fill rubber mulch provides adequate fall protection up to 8 feet. Wood chips require 12" depth and frequent raking to maintain consistency; pea gravel is not compliant.
How do I prevent splinters on climbing surfaces?
Sand all wood surfaces with 120-grit orbital sander, then wipe with mineral spirits to lift grain. Apply a food-safe, non-toxic sanding sealer like AFM SafeChoice before final stain. Inspect monthly—re-sand rough spots immediately, especially on ladder rungs and deck edges.
Can I add a fort or roof later?
You can—but only if you designed the original frame with added load capacity. Our plan includes doubled 2×6 rim joists and reinforced corner posts specifically to support future 4×8 roof additions. Retrofitting after concrete has cured risks structural compromise.
Building your own playground set gives you control over materials, dimensions, and safety margins—something store-bought kits rarely offer. With careful planning and attention to ASTM standards, this set will serve multiple kids for over a decade. When you hear laughter echoing from that slide next summer, you’ll know every hour was worth it.