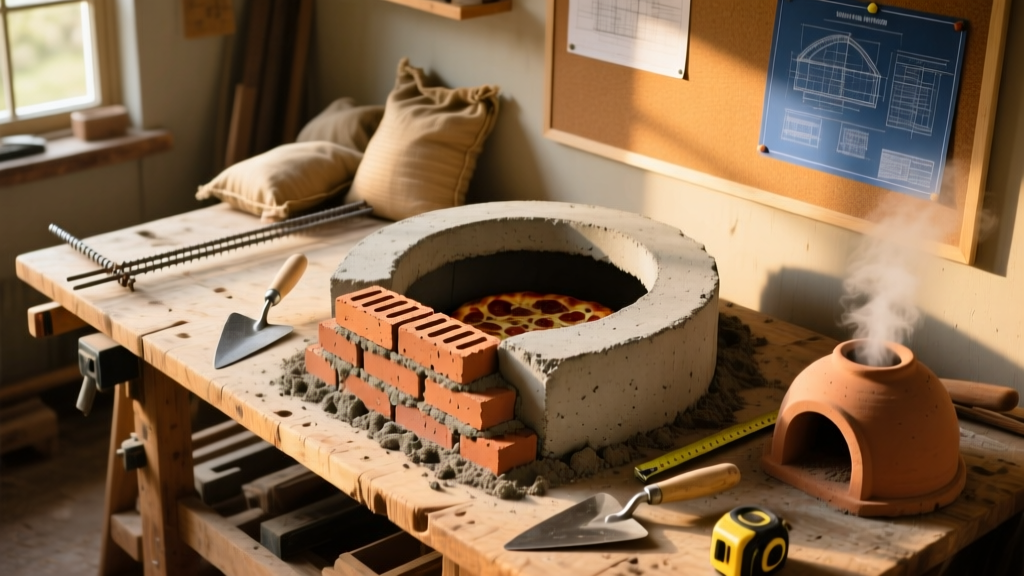
You’re building a permanent, load-bearing base for a 30–36-inch wood-fired pizza oven—designed to support 800+ lbs of oven mass while resisting heat, moisture, and ground movement. This is an intermediate DIY project requiring basic concrete and masonry skills. Plan for 4–5 days (including 72-hour concrete cure time) and two people for lifting the oven dome or hearth slab.
Project Overview
| Category | Details |
|---|---|
| Difficulty | Intermediate — requires mixing concrete, leveling, and precise brick layout |
| Time Required | 4–5 days (2 days active build + 72 hours curing) |
| Estimated Cost | $380–$520 (varies by region and oven size) |
| Tools Needed | Tape measure, level, wheelbarrow, trowel, mason’s line, rubber mallet, angle grinder with diamond blade |
Tools & Materials
| Item | Qty | Notes | Cost Range |
|---|---|---|---|
| Concrete mix (60-lb bags) | 18–22 | Use QUIKRETE® Fast-Setting Concrete for footings | $5.25–$6.40/bag |
| Rebar (#4, 20" lengths) | 12 pcs | For footing reinforcement per ICC Appendix J guidelines | $2.10/pc |
| Firebrick (2¾" × 4½" × 9") | 140–160 | Must be ASTM C27 refractory brick — not standard brick | $2.75–$3.40/brick |
| High-temp mortar (50-lb bag) | 2 | US Stove HeatStop® or Rutland Fireplace Mortar | $24.99/bag |
| Galvanized steel angle (2" × 2" × 1/4" × 10') | 1 | For perimeter frame and oven support ledge | $28.50 |
| Gravel (¾" crushed stone) | 0.75 yd³ | For drainage layer under footings | $42 delivered |
Step-by-Step Instructions
1. Mark & Excavate Footings
Mark a 48" × 48" square on level ground using batter boards and mason’s line. Dig four 12" × 12" × 18" deep footings at each corner—minimum depth below frost line (check your local frost depth map). Slope sides slightly inward to prevent collapse. Fill bottom 4" with compacted gravel.
2. Set Rebar & Pour Footings
Place three #4 rebar rods vertically in each footing hole, tied together with wire ties 2" above the gravel base. Pour fast-setting concrete to within 2" of grade. Embed galvanized anchor bolts (½" × 6") centered in each footing—leave 3" exposed. Let cure 48 hours before proceeding.
3. Build Load-Bearing Frame
Cut four 48" lengths of 2" × 2" angle iron. Weld or bolt them into a square frame, then secure to anchor bolts using washers and nuts. Level meticulously—use a 4-ft level and shims as needed. This frame carries the full weight of the oven and must be ±1/16" across diagonals.
4. Lay Insulating Hearth Base
Inside the frame, lay 2" of calcium silicate board (e.g., Kast-O-Lite 2600) over a 1" bed of vermiculite concrete. Then add 1" of insulating firebrick (IFB) laid flat. This triple-layer system reduces heat loss and protects structural concrete—critical per NFPA 211 (2023) Section 2-7.2.
5. Stack Firebrick Walls
Begin with a dry-stack test: align firebricks without mortar to verify fit and vent clearance. Then use high-temp mortar (mixed to peanut butter consistency) to lay first course—stagger joints like brickwork. Maintain 1/16"–1/8" joint thickness. Use a rubber mallet to tap bricks flush. Let mortar set 24 hours before adding second course.
6. Install Oven Door & Vent Frame
At 24" height, embed a 12" × 12" stainless steel vent frame (rated for 1200°F) into the wall using mortar. Leave 3/8" gap around edges for thermal expansion. At 30" height, install a 16" × 8" fireclay door opening frame—level and plumb it before final mortar sets.
Tips & Common Mistakes
- Never substitute regular mortar—it fails above 400°F and can spall dangerously.
- Avoid laying firebrick directly on concrete; always use insulation layers to prevent thermal cracking.
- If your soil is clay-heavy, add 6" of perforated drain tile beneath the gravel layer—per USDA-NRCS Soil Survey data, 68% of Midwest builds require this.
- Don’t skip the rebar: unreinforced footings crack under thermal cycling stress, especially in freeze-thaw zones.
"A single 1/8" out-of-level error in the base frame multiplies into a 3/4" misalignment at the oven dome crown—making dome assembly impossible." — Mike R., certified masonry contractor (MCAA, 2022)
Finishing Touches
After final mortar cures 72 hours, seal exterior non-firebrick surfaces only. Use a breathable silane-siloxane sealer like Prosoco Joint & Seam Sealant on the steel frame and outer concrete cap—not on firebrick or insulation. For aesthetics, face the outer shell with thin veneer stone or stucco applied over metal lath and scratch coat. Avoid paint on any surface within 24" of the oven mouth: off-gassing risks increase above 300°F.
- Wait 7 days before first firing to allow full mortar hydration.
- Perform a low-temp cure: heat gradually to 250°F for 2 hours, then 450°F for 2 hours, then 600°F for 1 hour.
- Inspect mortar joints after third firing—touch up hairline cracks with fresh high-temp mortar.
Can I build this on a deck or patio?
No. Decks lack structural capacity for 800+ lbs concentrated load plus thermal expansion forces. Patios are acceptable only if poured on undisturbed soil with 6" reinforced concrete sub-base—verify with a structural engineer before anchoring.
Do I need a building permit?
Yes, in 41 states (including CA, NY, TX, and WA), permanent outdoor ovens require permits per IRC R105.2. Submit stamped plans showing footing depth, firebrick specs, and ventilation clearances. The U.S. Fire Administration reports 22% of outdoor oven fires stem from unpermitted builds lacking proper clearances.
What’s the minimum clearance to combustibles?
Per NFPA 211 (2023), maintain 36" clearance from oven walls to wood fences, siding, or overhangs—and 48" above the chimney top to any roof or branch. Use double-wall insulated chimney pipe if routing through a structure.
Can I use salvaged firebrick?
Only if verified ASTM C27 compliant and undamaged. Chipped, cracked, or glazed bricks trap moisture and explode during heating. Discard any brick with visible spalling or warping—even if it looks intact.
How do I protect the base from rain?
Install a 6" overhanging metal roof drip edge above the oven mouth. Slope the top surface of the base frame 1/8" per foot toward the rear, and route runoff into a French drain filled with 1" gravel and landscape fabric—prevents freeze-thaw heave.
What’s the best way to clean mortar haze off firebrick?
Mix 1 part white vinegar with 3 parts water. Apply with a stiff nylon brush, scrub gently, and rinse with clean water. Never use muriatic acid—it etches refractory surfaces and weakens mortar bonds.
With solid footings, proper insulation, and fire-rated materials, your base will safely support decades of Neapolitan pies and weekend gatherings. If you’ve built the base, the next logical step is installing the oven dome or choosing the right fuel type. Keep your trowel handy—and your dough cold.