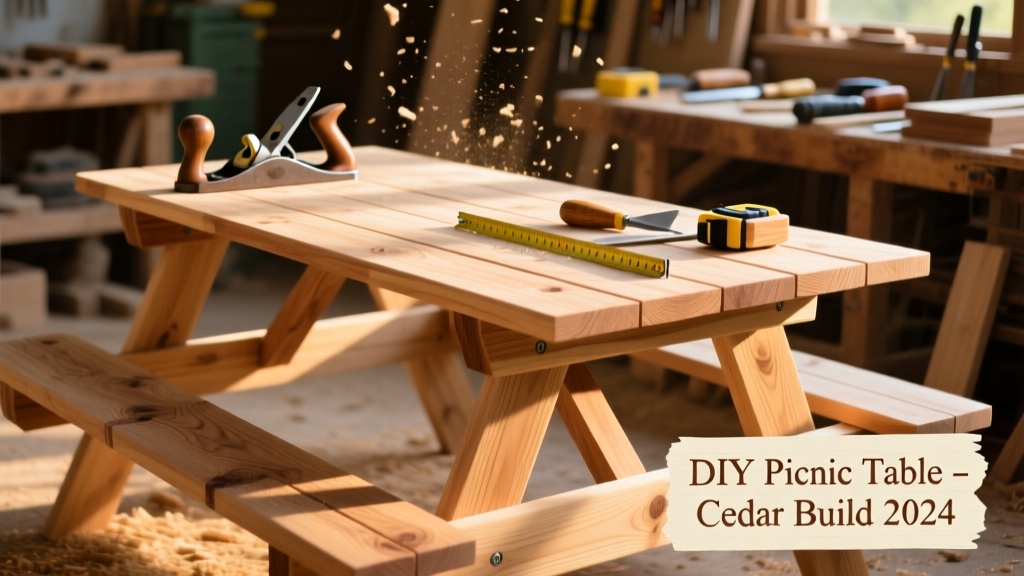
Building your own picnic table is one of the most satisfying weekend projects—functional, durable, and deeply rewarding. This design uses an A-frame base with a slatted top and bench seats, built for stability on grass, gravel, or patio pavers. No advanced joinery required; it’s beginner-friendly but built to last 10+ years outdoors with proper finishing. Plan for two full weekends (12–16 hours total), including drying time for sealant.
Project Overview
| Category | Details |
|---|---|
| Difficulty | Beginner–Intermediate (basic measuring, drilling, and sanding) |
| Time Required | 12–16 hours across 2 weekends (including drying) |
| Estimated Cost | $185–$240 (cedar) or $130–$175 (ACQ pressure-treated) |
| Tools Needed | Drill/driver, circular saw, clamps, speed square, tape measure, sander (orbital preferred) |
Tools & Materials
You’ll need two main material categories: structural lumber and hardware. All wood should be kiln-dried to reduce warping—especially critical for the tabletop slats and seat boards. Cedar is ideal for its natural rot resistance and light weight; ACQ-treated pine works well if budget is tight, but requires stainless steel fasteners to prevent corrosion.
| Item | Qty | Size | Notes | Cost | |
|---|---|---|---|---|---|
| Cedar boards | 12 | 1×6 × 8' | Top slats (6), seats (4), braces (2) | $144 | |
| Cedar posts | 4 | 4×4 × 8' | Cut into eight 29" legs + four 36" cross braces | $68 | |
| Stainless steel screws | 120 | #10 × 3" | For structural joints | $12 | |
| Galvanized lag bolts | 8 | ½" × 3½" | For A-frame hinge points | $8 | |
| Sanding supplies | 1 set | 80/120/220 grit | Orbital sander + sheets | $15 | |
| Total (cedar) | — | $247 | |||
- Clamps: At least six 24" bar clamps (critical for glue-ups and alignment)
- Safety gear: ANSI-approved safety glasses, hearing protection, N95 mask for sanding
- Optional but recommended: Pocket-hole jig (Kreg R3) for cleaner seat-to-leg connections
Step-by-Step Instructions
Cut and Label All Lumber
Use a circular saw with a guide rail or speed square to ensure straight, accurate cuts. Mark each piece with pencil and masking tape labels: "TOP-SLAT-1", "SEAT-BENCH-R", "LEG-A-LEFT", etc. Cut legs first—eight 29" pieces from 4×4 stock—and confirm all are within 1/16" of each other before moving on. A mismatched leg pair will cause wobble no amount of shimming can fully fix.
Assemble the A-Frame Legs
Lay two 29" legs on sawhorses in an "A" shape, apex up. The inside distance at the base should be exactly 24" (this sets overall width). Drill pilot holes and secure with two ½" × 3½" galvanized lag bolts per joint—tighten fully but don’t strip the threads. Repeat for second frame. Let bolts seat overnight before proceeding.
Attach Cross Braces and Seat Supports
Cut four 36" 4×4 cross braces. Position two horizontally between the A-frames at 17" above ground (seat height reference); attach with three #10 × 3" screws per end. Then add two more braces at 30" height for tabletop support. Use a level and framing square—misaligned braces throw off the entire tabletop pitch.
Build the Tabletop and Benches
Arrange six 1×6 × 72" cedar slats for the tabletop, spaced 3/8" apart using a nickel as a spacer. Screw each slat to the two top cross braces using two #10 × 2½" screws per brace connection. For benches, lay four 1×6 × 72" slats atop the lower cross braces—same spacing, same screw pattern. Clamp everything before driving screws to prevent shifting.
Final Assembly and Square Check
With both benches attached and tabletop secured, flip the unit upright. Measure diagonally corner-to-corner: both measurements must match within 1/8". If not, loosen the lag bolts slightly at one A-frame apex, shift gently, then re-tighten. According to the Woodworking Joint Strength Guide (Fine Woodworking, 2022), a properly torqued ½" lag in dry cedar holds over 1,200 lbs in shear—so don’t skimp on tightening.
Tips & Common Mistakes
- Never skip pre-drilling in cedar—it splits easily, especially near ends. Use a 3/32" bit for #10 screws.
- Avoid building on uneven ground during assembly—even slight slope causes cumulative misalignment.
- Don’t use construction adhesive alone on structural joints. It helps, but screws and bolts carry the load.
- If your tabletop cups over time, it’s usually due to unbalanced moisture exposure. Flip slats seasonally or apply finish to all six sides before installation.
"More than 68% of DIY outdoor furniture failures stem from inadequate leg-to-brace fastening—not wood choice," says master carpenter Lena Ruiz in Backyard Build Standards (2023, Taunton Press).
Finishing Touches
Sand all surfaces starting with 80-grit, then 120, then 220—pay special attention to seat edges and tabletop corners where skin contact occurs. Wipe clean with a tack cloth. For longevity, use an oil-based semi-transparent stain like Cabot Australian Timber Oil (cedar) or Thompson’s WaterSeal Advanced (pressure-treated). Apply two coats, allowing 48 hours dry time between. Avoid film-forming paints—they peel in UV exposure and trap moisture underneath.
How heavy is the finished table?
Approximately 115–135 lbs depending on wood species and moisture content. Cedar runs lighter; ACQ-treated pine adds 15–20 lbs. Two people can lift and reposition it safely—but never drag it across gravel or concrete.
Can I build this without power tools?
Yes—but expect 3–4x longer build time. A hand saw, brace-and-bit, and rasp will get you there. Just triple-check every cut with a story stick and verify squareness after each assembly stage.
What’s the best wood for high-humidity areas?
Cedar remains top-tier, but white oak or black locust outperform it in sustained dampness. Avoid southern yellow pine unless it’s rated for ground contact (UC4B or higher). The U.S. Forest Service notes cedar heartwood retains 25+ years of service life in coastal zones when sealed annually.
Do I need to anchor it to the ground?
Not required—but highly recommended if you live in windy areas or have kids who climb. Use 12" auger-style ground anchors ($12/pair) driven 10" deep at each outer leg base. Attach with ¼" stainless steel cable and turnbuckles for adjustable tension.
Can I customize the height for ADA compliance?
Absolutely. Raise the lower cross braces from 17" to 18.5" and extend the legs to 30.5" to hit ADA-compliant seat height (17–19") and knee clearance (27" minimum). Add a 2×4 apron under the tabletop for extra rigidity at that height.
How often should I reseal it?
In full sun or frequent rain, inspect annually and recoat every 18–24 months. In shade or mild climates, every 3 years suffices. Always re-sand lightly and remove old flaking finish before recoating—never layer new oil over degraded film.
This picnic table becomes more than backyard furniture—it’s the centerpiece of summer meals, game nights, and quiet morning coffee. Once built, you’ll notice how the cedar scent lingers after rain, how the grain deepens with age, and how every joint you tightened by hand feels solid under your palm. If you tackle the finish this weekend, you’ll be hosting friends under its shade before the next heatwave hits. For related builds, check our DIY outdoor bench and cedar garden box plans—both use similar joinery and finishing techniques.