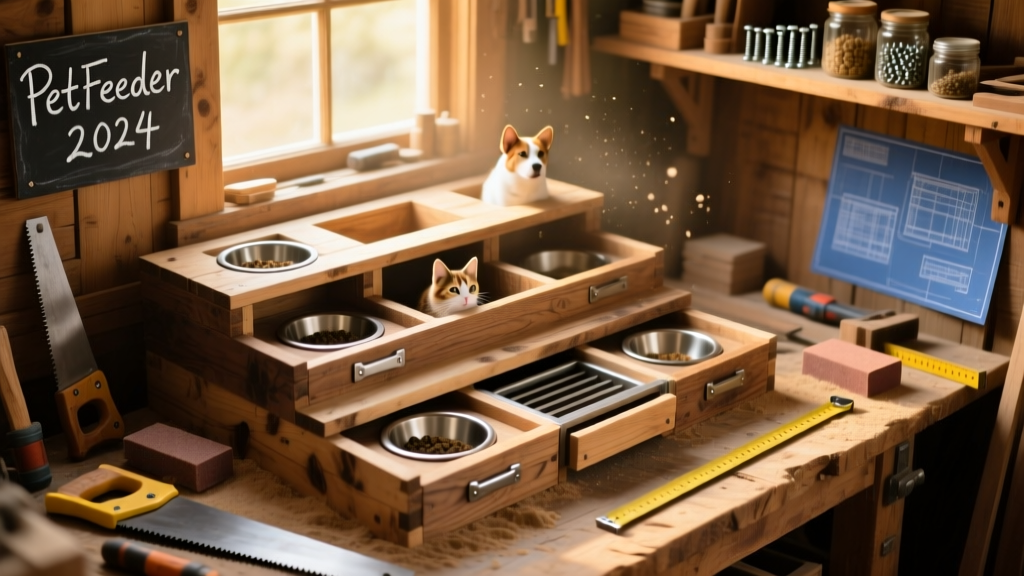
This DIY pet feeding station is a freestanding, height-adjustable platform for food and water bowls—designed to reduce neck strain for dogs and cats while keeping floors dry and tidy. It’s beginner-friendly (no power tools required for basic version), takes 6–8 hours over one weekend, and fits standard 5- to 7-inch ceramic or stainless steel bowls.
Project Overview
| Category | Detail |
|---|---|
| Difficulty | Beginner (basic carpentry skills; pre-cut lumber accepted) |
| Time Required | 6–8 hours (plus 4–6 hours drying time for finish) |
| Estimated Cost | $42–$89 (varies by wood grade and finish choice) |
| Tools Needed | Drill/driver, tape measure, square, clamps, sanding block (or orbital sander) |
Tools & Materials
You’ll need two main components: the base frame and the elevated bowl platform. All wood is kiln-dried pine unless noted—sustainably harvested poplar or maple upgrades cost $12–$22 more but resist dents better. Hardware is all #8 x 1¼" zinc-plated pocket-hole screws and ¾" wood screws for joinery.
| Item | Qty | Notes | Cost |
|---|---|---|---|
| 1×6 pine board (8 ft) | 2 | For base frame and side rails | $14.98 × 2 = $29.96 |
| 1×8 pine board (6 ft) | 1 | For top platform (cut to 16" × 12") | $12.48 |
| 1×2 pine board (6 ft) | 1 | For front/back supports and leveling feet | $5.28 |
| Pocket-hole jig (Kreg Jig R3) | 1 | Rentable at most hardware stores ($12/day) | $0–$12 |
| Minwax Helmsman Spar Urethane (quart) | 1 | Water-resistant finish—critical for spill zones | $24.97 |
| Non-slip rubber mat (12" × 16") | 1 | Self-adhesive, cut to fit platform surface | $8.99 |
Step-by-Step Instructions
Cut and label all parts using a miter box or speed square
Measure and mark: (2) 16" base side rails, (2) 12" base front/back rails, (1) 16" × 12" top platform, (2) 12" × 1½" support cleats, (4) 2" × 1½" leveling feet. Label each piece with pencil—“L”, “R”, “F”, “B”—to avoid assembly confusion later. A single misaligned rail throws off bowl alignment and stability.
Assemble the rectangular base frame
Clamp one 16" side rail flush with a 12" front rail. Drill two pocket holes on the *inside* face of the side rail, then screw into the front rail using 1¼" pocket screws. Repeat for all four corners. Check diagonals—they must match within 1/16". If not, loosen one corner and tap gently with a rubber mallet until square.
Attach support cleats beneath the top platform
Flip the 16" × 12" top board face-down. Position the two 12" × 1½" cleats 1" in from each 12" edge, flush with the bottom face. Pre-drill pilot holes, then secure with three ¾" wood screws per cleat. These hold the platform securely while allowing airflow—and hiding screw heads from pet contact.
Mount the platform to the base using adjustable spacers
Place ½"-thick plywood shims (cut from scrap 1×2) between the base frame and underside of the platform at all four corners. This creates a ½" gap for air circulation and prevents moisture pooling. Clamp platform centered over base, then drill up through base rails into cleats using 1¼" screws. Remove shims after final tightening.
Add non-slip mat and leveling feet
Cut the self-adhesive rubber mat to 15½" × 11½" (¼" inset on all sides). Peel and press firmly onto the top platform—start from center and smooth outward to eliminate bubbles. Then glue the four 2" × 1½" leveling feet to the bottom corners of the base using PL Premium construction adhesive. Let cure 24 hours before first use.
Tips & Common Mistakes
- Never skip the diagonal square check—the most common cause of wobbling is an out-of-square base.
- Avoid MDF or particleboard: The U.S. EPA estimates that 14% of household water usage is from leaks—and pet spills accelerate delamination in non-solid woods.
- Don’t mount bowls directly to wood: Use stainless steel bowl anchors (stainless steel bowl anchors) to allow easy removal and cleaning.
According to the American Veterinary Medical Association’s 2023 Companion Animal Guidelines, elevating food bowls 2–4 inches for medium-to-large dogs reduces esophageal stress during meals—especially important for breeds prone to bloat like Great Danes and German Shepherds.
Finishing Touches
Sand all surfaces with 120-grit, then 220-grit paper—pay special attention to rounded edges where pets may rub noses or paws. Wipe dust with a tack cloth. Apply three thin coats of Minwax Helmsman Spar Urethane using a foam brush, sanding lightly with 320-grit between coats. Let cure 72 hours before placing bowls. For households with chewers, consider adding a ¼" hardwood veneer edge band to the platform perimeter (edge band woodworking guide).
How do I adjust height for different-sized pets?
Add or remove ½" plywood spacers between base and platform—or build two separate platforms: one at 4" (for cats and small dogs) and another at 8" (for large breeds). Keep both bases identical so you can swap tops as your pet ages.
Can I add storage underneath?
Yes—but only if you raise the base height to at least 5" clearance. Use 1×4 boards for removable sliding trays, mounted on 3/8" nylon drawer slides. Avoid deep drawers: they shift center of gravity and increase tip risk.
What’s the best wood for outdoor use?
Cedar or redwood—both naturally rot-resistant. Skip pressure-treated pine: the copper-based preservatives can leach into spilled water and pose toxicity risks per the ASPCA Animal Poison Control Center (2024).
How do I clean it without damaging the finish?
Wipe daily with damp microfiber cloth and mild dish soap. Never soak or use vinegar solutions—acid degrades spar urethane over time. For stubborn stains, lightly buff with 0000 steel wool and re-coat the spot with thinned urethane.
Is this safe for puppies who chew?
The design eliminates exposed end grain and fasteners—but supervise closely for first 2 weeks. Add a chew deterrent spray (pet-safe chew deterrents) to lower rails during adjustment period. Replace pine with hard maple if chewing persists.
Can I paint instead of stain?
Absolutely—use acrylic latex paint rated for exterior trim (e.g., Benjamin Moore Aura Exterior), then seal with spar urethane. Avoid oil-based paints: they yellow faster near food zones and take longer to fully cure.
This feeding station grows with your pet, stands up to daily wear, and keeps mealtime calm and clean. Once built, you’ll notice fewer dropped kibble piles, less neck craning, and zero puddles under the bowls—proof that thoughtful design solves problems you didn’t know you had.