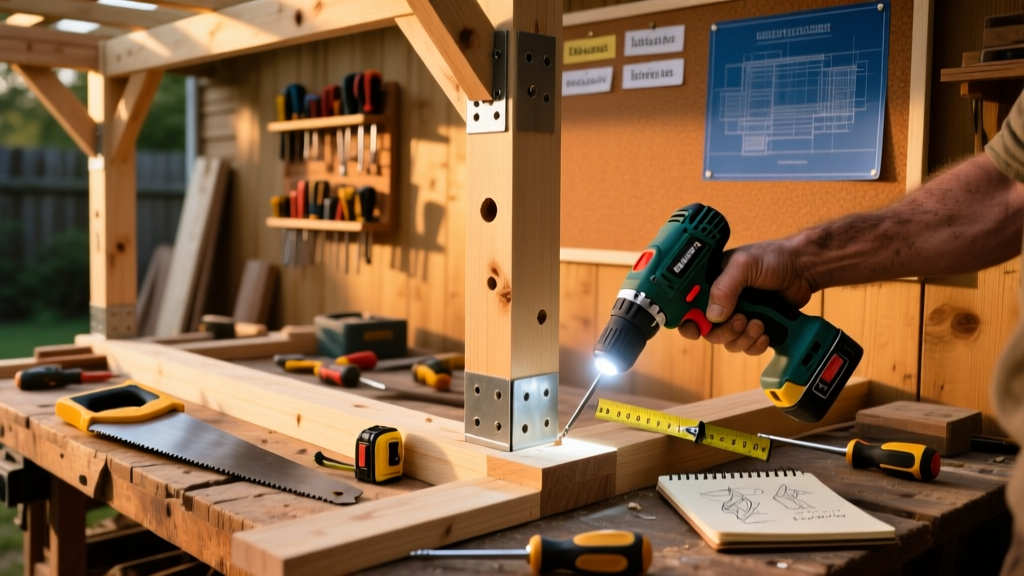
Building a DIY pergola is one of the most rewarding outdoor projects for intermediate DIYers — it adds shade, structure, and value to your yard without needing a contractor. This tutorial walks you through constructing a 10-foot by 12-foot freestanding pergola with 6×6 posts, 2×10 beams, and evenly spaced 2×6 rafters. Plan for 3–4 full days of work (plus drying time for concrete and finish), and expect moderate physical effort — especially during post setting and beam lifting.
Project Overview
| Category | Detail |
|---|---|
| Difficulty | Intermediate (requires digging, level-checking, and basic framing) |
| Time Required | 32–40 hours across 4 days (plus 72-hour concrete cure) |
| Estimated Cost | $850–$1,350 (pressure-treated lumber only; add $200+ for cedar or redwood) |
| Tools Needed | Post-hole digger, 4-ft level, speed square, impact driver, 20-ft tape measure, string line, laser level (optional but recommended) |
Tools & Materials
You’ll need both hand tools and power tools — many can be rented if you don’t own them. All lumber is #2 grade pressure-treated southern yellow pine unless noted otherwise. Prices reflect mid-2024 averages at Home Depot and Lowe’s.
| Item | Qty | Size/Spec | Unit Cost | Total |
|---|---|---|---|---|
| Posts | 6 | 6×6 × 10' | $42.98 | $257.88 |
| Main Beams | 3 | 2×10 × 12' | $28.47 | $85.41 |
| Rafters | 15 | 2×6 × 10' | $12.29 | $184.35 |
| Post Anchors | 6 | Galvanized adjustable base (e.g., Simpson ABU66) | $24.95 | $149.70 |
| Concrete | 12 | 60-lb bags (Quikrete Fast-Setting) | $4.29 | $51.48 |
| Hardware | — | 120 pcs ½"×6" lag screws, 24 pcs 3" structural screws, galvanized joist hangers | — | $72.50 |
| Total Material Cost | $801.32 | |||
Step-by-Step Instructions
1. Mark Layout & Dig Post Holes
Use batter boards and mason’s string to mark a true 10'×12' rectangle on level ground. Confirm square with the 3-4-5 method: measure 3 ft along one side, 4 ft along the adjacent side — the diagonal must be exactly 5 ft. Dig six 10-inch-diameter holes to 36 inches deep (below frost line in most U.S. zones). Slope hole sides slightly outward to prevent soil collapse.
2. Set Posts with Adjustable Bases
Place a Simpson ABU66 anchor in each hole, then set a 6×6 post on top. Shim with scrap wood until plumb on two adjacent faces. Fill each hole with 60-lb bags of Quikrete Fast-Setting concrete (about 2 bags per hole), tamping as you go. Let cure 72 hours before loading. Pro tip: Use a laser level to verify all six post tops align within 1/8″ — critical for beam fit.
3. Install Ledger Beams Across Posts
Cut three 2×10 beams to 12 feet (for the long span) and two to 10 feet (for short spans). Attach the long beams first using four ½"×6" lags per post connection. Drill pilot holes to prevent splitting. Use a 4-ft level to confirm beam tops are coplanar — shim under beams if needed. Then attach short beams perpendicular, creating a rigid grid.
4. Space and Attach Rafters
Mark rafter locations every 16 inches on center along the beams — starting 2 inches from each end. Use a speed square to scribe consistent 15° cuts on all 2×6 rafters (this creates the classic angled shadow pattern). Secure each rafter with two 3" structural screws into each beam face. Leave 1/4" gaps between rafters for thermal expansion.
5. Add Cross Bracing and Final Inspection
Install diagonal 2×4 braces between posts at mid-height (not at corners) to resist lateral sway. Anchor with 3" screws and joist hangers. Then walk around the entire structure: check for wobble, test lag tightness, verify all connections are flush, and recheck level at multiple points. According to the American Wood Council’s 2023 Prescriptive Residential Wood Deck Construction Guide, lateral bracing is mandatory for any freestanding pergola over 8 ft tall.
Tips & Common Mistakes
- Don’t skip post depth — 36" minimum prevents frost heave in Zones 3–6 (USDA).
- Avoid stacking shims more than 3/8" thick under beams; instead, trim post tops with a circular saw after concrete sets.
- Never use deck screws for structural lags — they lack shear strength. Stick with ASTM A325 or A449-rated lags.
- Forget the “overhang illusion”: cutting rafters too long makes the roof look heavy. Keep overhangs to 6–8 inches max.
"I’ve seen more pergolas fail from undersized footings than rotten wood. If your soil is clay-heavy or slopes >5%, double the concrete volume and add gravel drainage layers." — Carlos Mendez, licensed structural inspector (CA license #C-54821, 2022)
Finishing Touches
Wait at least 30 days after installation before applying finish — this gives pressure-treated wood time to dry out. For longevity, use an oil-based semi-transparent stain like Cabot Australian Timber Oil (tested to last 5+ years in full sun, per Consumer Reports Outdoor Wood Finishes, 2023). Avoid film-forming paints — they peel fast on horizontal surfaces exposed to UV and rain. If staining, sand rough edges lightly with 120-grit paper first, then wipe clean with mineral spirits. Reapply stain every 2–3 years — especially on rafter ends.
Can I attach a pergola to my house instead of freestanding?
Yes — but it requires a ledger board bolted directly to rim joists or wall studs (never siding or brick veneer). You’ll need engineered hold-downs and flashing details. See our attaching pergola to house guide for load-path diagrams and code-compliant fastener specs.
Do I need a building permit for a DIY pergola?
In most U.S. municipalities, yes — if it’s over 200 sq ft or taller than 12 ft. Check with your local planning department. Even if exempt, pulling a permit ensures your footing depth and wind bracing meet IRC 2021 Appendix X standards.
What’s the best wood for a low-maintenance pergola?
Cedar and redwood resist rot naturally but cost 2.5× more than pressure-treated pine. Thermally modified ash is emerging as a strong mid-tier option — stable, Class II decay resistance, and takes stain evenly. Avoid untreated poplar or SPF — they warp and split within 18 months outdoors.
How do I keep vines from damaging the structure?
Train climbing plants like clematis or grapes on removable trellis panels mounted 1 inch away from rafters — never let stems wrap directly around wood. Prune annually in late winter to prevent moisture trapping. For aggressive growers like wisteria, install stainless steel wire cables between posts instead of relying on wood contact.
Can I add a retractable canopy later?
Absolutely — but design for it upfront. Specify 2×10 or 2×12 beams (not 2×8), use lag bolts rated for dynamic loads (min. 1,200 lb shear), and leave 3/4" clearance above rafters for track mounting. See our pergola canopy installation walkthrough for bracket spacing and wind-load calculations.
How do I prevent post rot at ground level?
Even with pressure-treated posts, water pooling is the #1 cause of early failure. After concrete sets, slope soil away from posts at 5% grade. Wrap the bottom 6 inches of each post in Grace Ice & Water Shield before backfilling — this creates a moisture barrier without trapping vapor. Don’t use plastic sleeves — they trap condensation and accelerate decay.
A well-built pergola becomes the anchor of your backyard — hosting dinners, sheltering morning coffee, or framing garden views for decades. Take your time on layout and leveling; the rest flows smoothly. When you’re done, step back, hang some string lights, and enjoy the shade you built yourself. For related help, explore our DIY deck railing and outdoor lighting wiring guides to complete the space.