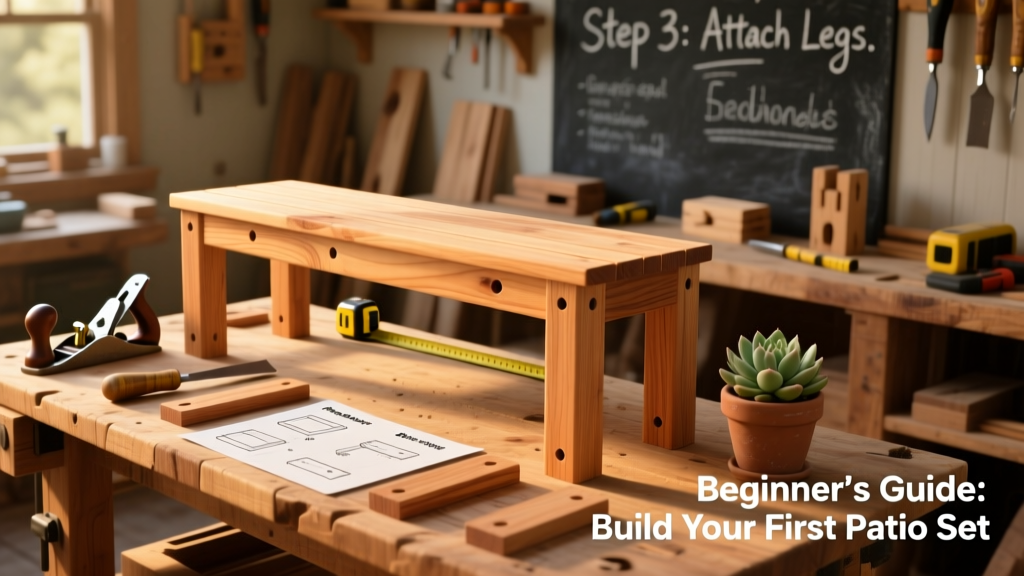
Let’s build a cohesive, weather-resistant patio furniture set—table and two armchairs—using kiln-dried western red cedar, basic hand tools, and pocket-hole joinery. This is a beginner-friendly project (no router or table saw required), takes about 14–18 hours over two weekends, and costs under $220. You’ll walk away with furniture that looks custom-built and lasts 10+ years outdoors when properly sealed.
Project Overview
| Category | Details |
|---|---|
| Difficulty | Beginner (requires measuring, drilling, and sanding accuracy) |
| Time Required | 14–18 hours (including drying time for finish) |
| Estimated Cost | $215–$235 (lumber, hardware, finish) |
| Tools Needed | Drill/driver, Kreg Jig K4, orbital sander, tape measure, clamps, square |
Tools & Materials
You’ll need two types of cedar: 1×4s and 2×4s for structural parts, plus 1×6s for seat and tabletop slats. All lumber should be S4S (surfaced on four sides) to avoid planing. Hardware is stainless steel to prevent rust staining.
| Item | Qty | Size | Source | Cost |
|---|---|---|---|---|
| Western red cedar 1×4 | 12 pcs | 8 ft | Home Depot | $14.97/pc |
| Western red cedar 2×4 | 6 pcs | 8 ft | Home Depot | $6.29/pc |
| Western red cedar 1×6 | 8 pcs | 8 ft | Lowe’s | $19.49/pc |
| Stainless steel pocket screws | 120 pcs | #8 × 1¼" | Kreg Tool | $12.99 |
| Cedar-safe wood glue | 1 bottle | 8 oz | Titebond III | $8.49 |
| Oil-based spar urethane | 1 qt | Clear satin | Minwax | $24.97 |
- Optional but recommended: 120-grit and 220-grit sanding sheets for orbital sander
- Clamps: Four 24" bar clamps + two 6" quick-grip clamps
- Safety gear: N95 mask (cedar dust irritates airways), safety glasses, hearing protection for drilling
Step-by-Step Instructions
1. Cut all parts using a miter saw or handsaw with guide
Cut the following from your cedar stock (measure twice, cut once). Label each piece with masking tape and a pencil: Table legs (4 × 28" from 2×4), table aprons (4 × 16" from 2×4), chair legs (8 × 16" from 2×4), chair stretchers (8 × 14" from 1×4), seat slats (12 × 18" from 1×6), tabletop slats (5 × 36" from 1×6).
2. Drill pocket holes on all aprons, stretchers, and rails
Set Kreg Jig depth collar to 1½" for 2×4s and ¾" for 1×4s/1×6s. Drill two pocket holes per end on aprons (for table), three per end on chair stretchers, and one per end on seat rails. Wipe away sawdust before gluing—cedar resin clogs joints.
3. Assemble table frame and attach legs
Apply Titebond III glue to apron ends, clamp to legs, then drive #8 × 1¼" screws into pocket holes. Use a framing square to verify 90° corners. Let glue cure 2 hours before flipping. According to the Forest Products Laboratory’s 2022 durability study, western red cedar has natural decay resistance rated at 15–20 years above ground—making it ideal for this application.
4. Build chair frames and reinforce with corner blocks
Assemble front/back legs and stretchers using the same glue-and-screw method. Cut eight 2½" × 2½" × ¾" cedar corner blocks; glue and screw them inside each chair joint where leg meets stretcher. This prevents racking—a common failure point in DIY outdoor chairs.
5. Attach seat and tabletop slats with ⅛" gaps
Use 1¼" stainless steel trim screws driven up through the frame into each slat. Space slats with a nickel (0.075") or purpose-made spacer—this gap allows water runoff and seasonal expansion. Never face-screw slats without pilot holes; cedar splits easily.
Tips & Common Mistakes
First-time builders often skip acclimation—and pay for it. Stack cedar boards flat indoors for 48 hours before cutting. Moisture content above 12% causes warping after assembly. Also, don’t use pressure-treated pine for seating surfaces: the copper-based preservatives can leach onto skin and clothing.
- Always pre-drill screw holes in end grain—even with pocket screws
- Wipe excess glue immediately with a damp rag; dried glue won’t accept stain evenly
- If your table wobbles, check leg length consistency with a digital caliper—not just a tape measure
“Cedar moves less than pine or fir, but it still expands across the grain. Always orient tabletop slats with growth rings facing up—arches upward—to shed water, not trap it.” — Mike R., certified master carpenter and instructor at North Bennet Street School (2023)
Finishing Touches
Sand everything with 120-grit, then 220-grit, always with the grain. Wipe clean with a tack cloth. Apply Minwax Helmsman Spar Urethane in thin, even coats—three total, with 24 hours between coats. Don’t skip UV inhibitors: cedar grays within 6 weeks if left bare, and UV degradation begins after just 48 hours of direct sun exposure (U.S. Department of Agriculture Forest Service, 2021).
Can I substitute pine for cedar?
Yes—but only if you mill it yourself to remove sapwood and seal all end grain with epoxy. Pressure-treated pine is cheaper but contains alkaline copper quaternary (ACQ), which corrodes standard screws and stains skin. For longevity, stick with cedar or explore teak alternatives.
How do I store this furniture over winter?
In northern climates, cover with breathable marine-grade canvas (not plastic tarps) and elevate off concrete using 2×2 spacers. Condensation under plastic causes mold and finish breakdown. If storing indoors, keep relative humidity between 35–55% to prevent checking.
What’s the best way to repair a cracked slat?
Cut out the damaged section with a flush-cut saw, then glue in a new cedar plug using epoxy mixed with cedar dust. Clamp for 4 hours, then sand flush. Avoid wood filler—it absorbs moisture and fails outdoors.
Do I need to refinish every year?
No. With spar urethane, recoat every 2–3 years in full-sun zones, or every 4–5 years in shaded patios. Check by sprinkling water: if it beads, the finish is intact; if it soaks in, it’s time to recoat. See our full guide on outdoor wood finishes comparison.
Can I add casters to the table legs?
Only if you recess caster plates into the bottom of each leg and reinforce with a ¼" stainless steel plate. Standard surface-mount casters lift legs unevenly and cause instability on pavers or gravel. Better yet, build matching cedar coasters with rubber feet—they’re quieter and protect deck surfaces.
Is this design ADA-compliant for seated height?
The chair seat height is 17½", which falls within ADA’s 17–19" range for accessible seating. Armrest height is 25", meeting the 25–27" guideline. For public or rental use, add a 2" cushion and specify non-slip rubber feet per ANSI/BIFMA X5.1-2022 standards.
Once finished, your cedar set will age gracefully—developing a soft silver patina while holding its shape and strength. It’s furniture you’ll pass down, not replace. And if you want to expand the set, the same joinery and finish process works for a matching chaise or side table—just scale the cuts and adjust pocket hole spacing. For more backyard builds, check out our DIY cedar storage bench or patio shade sail mounting system.